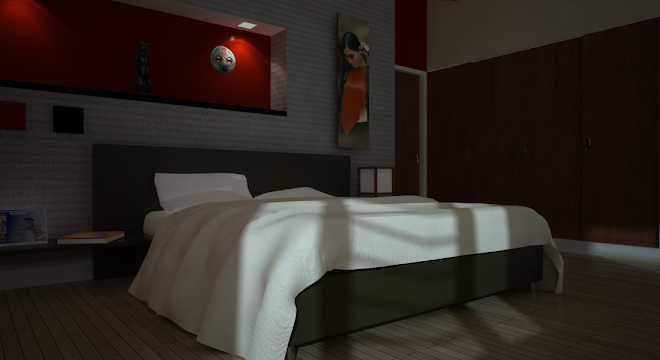
In this case, what shall we do? The good news is there is a very simple solution in Vray Sketchup 1.49.01 and here is this using the output vrimage.
This is an old Sketchup file which I did almost four years ago. Let me just use it to quickly show you the trick
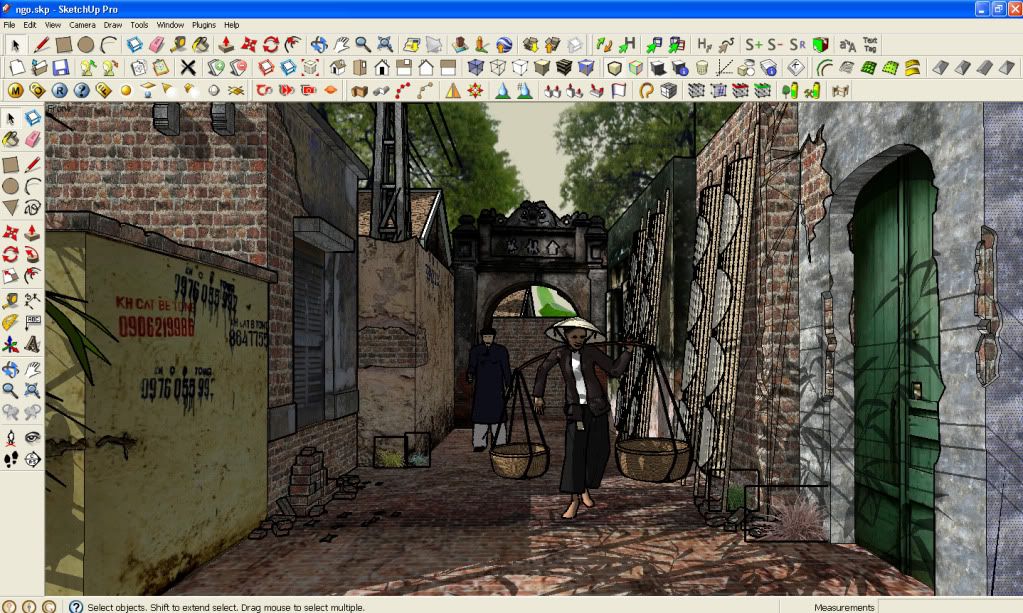
Step 1: The output size
I have rendered before more than 8000px width x 4000px spherical panorama render which I used for this Virtual reality post. CLICK HERE to view this post. So far this was the maximum size I have tried. Anyhow in this particular render, I will make an output of perhaps half of this.
Step 2: IR passes
Since the image is huge, you don't need that high min/max rate. I lowered my min/max rate to -5,-3 .

Step 3: VRImage output.
Locate the output roll-out window and under the setting output, tick the box "Render to VRImage". Once selected save it in exr root file to any folder that you want.
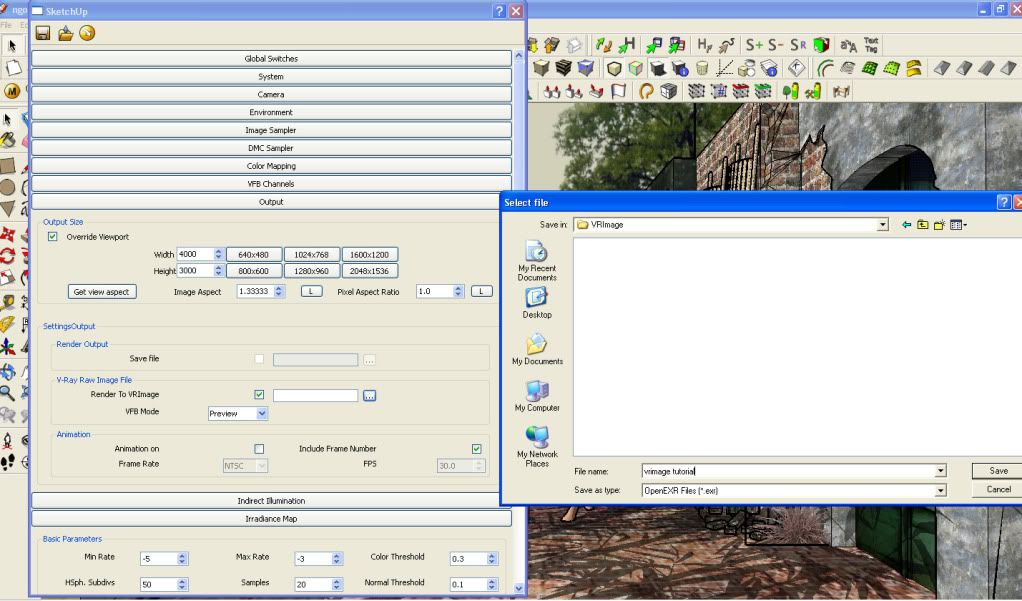
Step 4: Preview Image.
Vray SketchUp will now begin to write the data in your hardrive. The Vray frame buffer will appear and you will see on the very top it reads "preview of the file output size that you have entered".
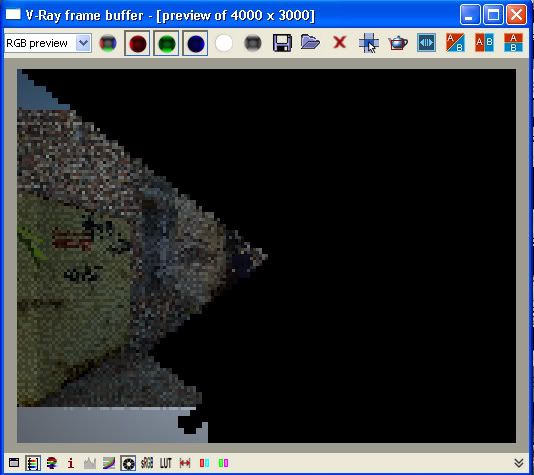
Once done, the image file will be written to the assigned folder that you have chosen.
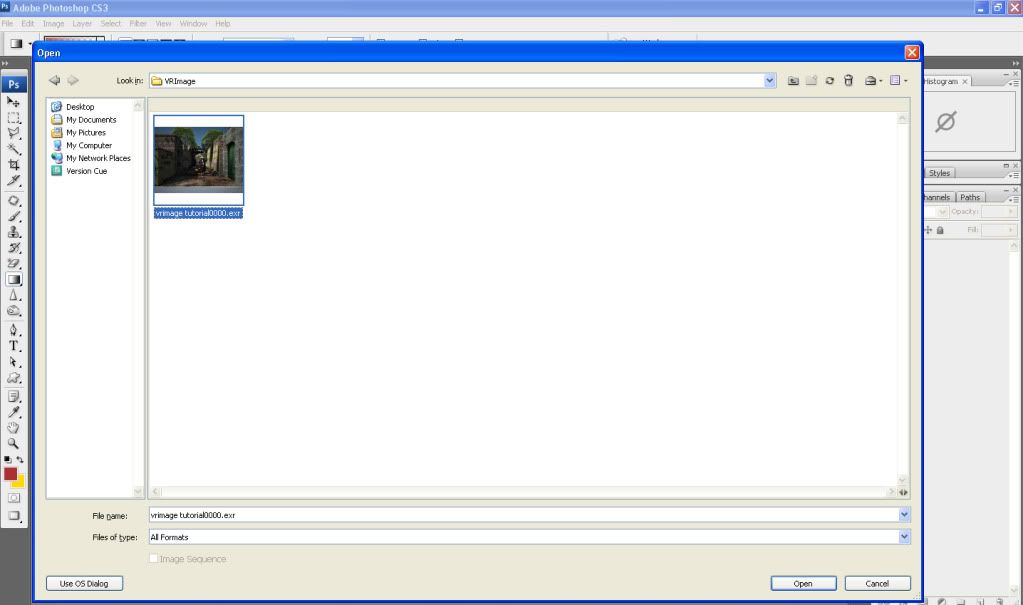
Open Photoshop and load the exr file
Step 5: Converting the Gamma 2.2 to Gamma1.0
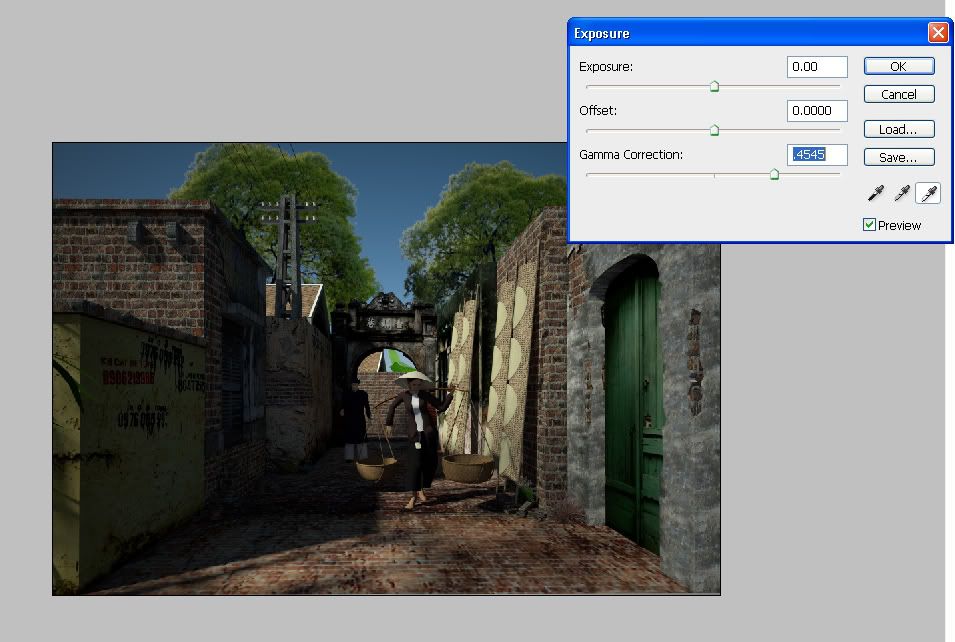
Vray SU by default uses gamma 2.2. When we open the file in Photoshop you should not be surprise why it's too bright. In order to convert the Gamma 2.2 to 1.0, select image/ adjustments/exposure.
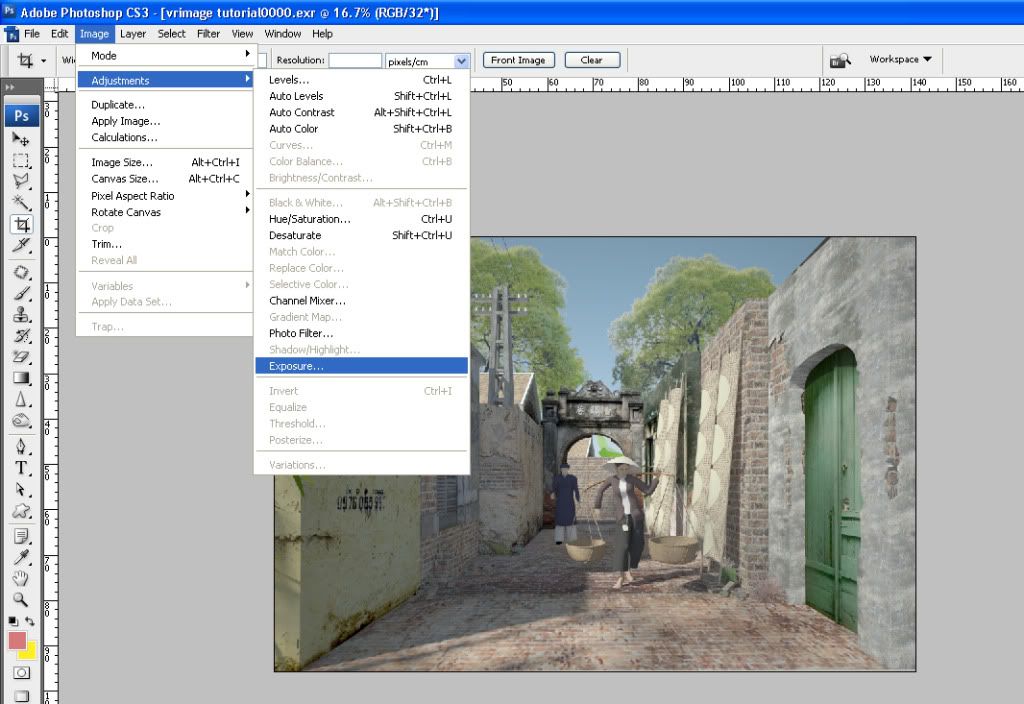
Enter the value 0.45.45 ( 1.0 divided by 2.2)
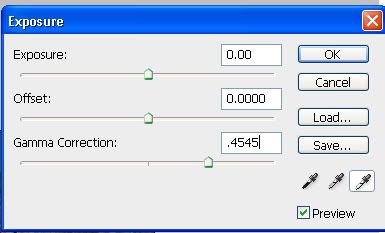
Here it is..
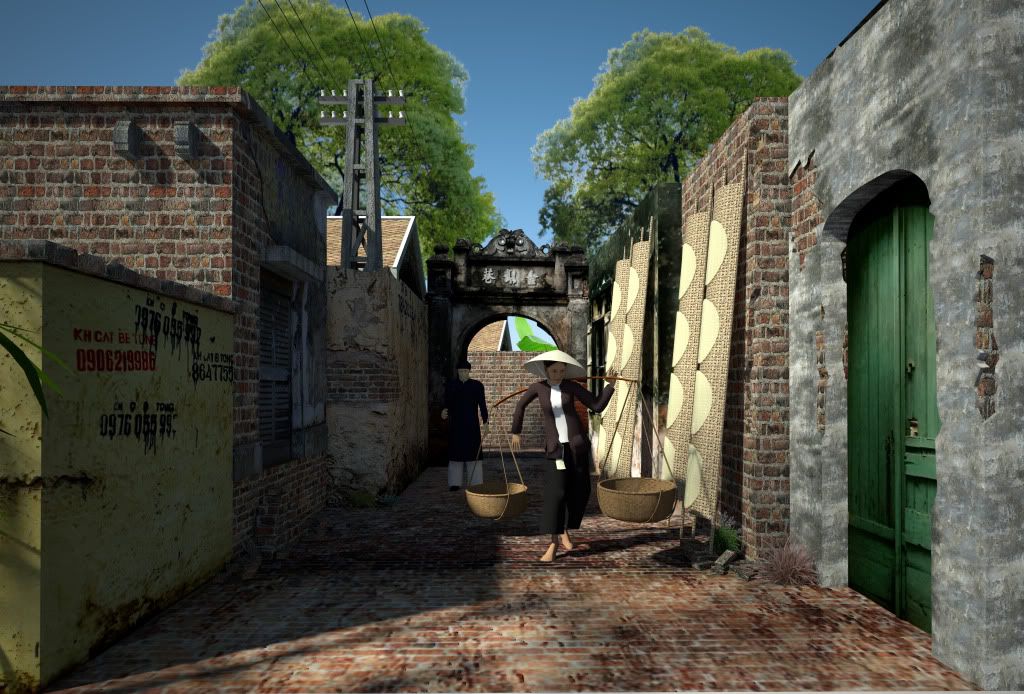
I hope this is useful!
Nomeradona