Modeling clothing in SketchUp is not difficult at all. Here is a simple quick workflow on how to do it quickly.
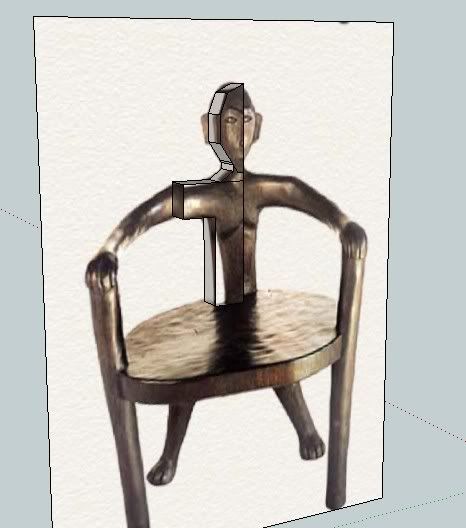
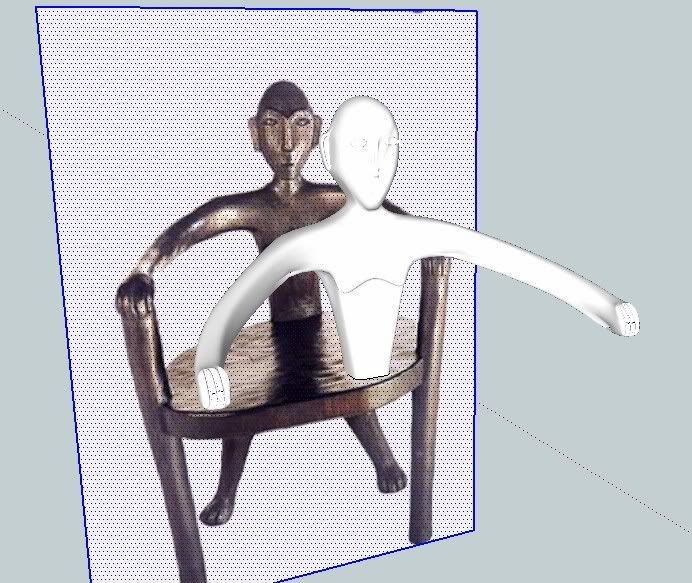
One of the best thing in SkechUp is the ability to project the image.
Step 1: Importing reference image.
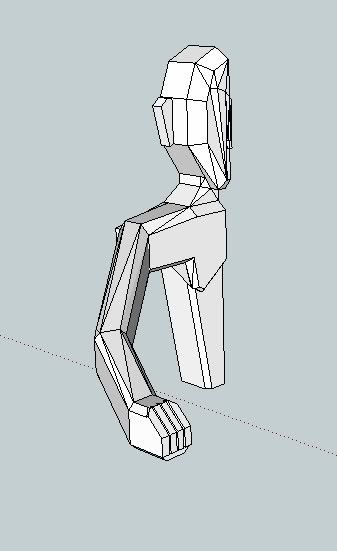
 Step 2: Tracing the outside boundary using line tool
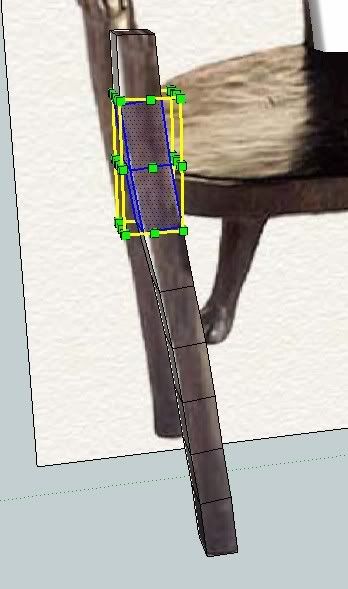
All you have to do is to use line tool and trace the boundary of the Tshirt, then
pulling it with push pull tool.
 Step 3. Adding subdivision
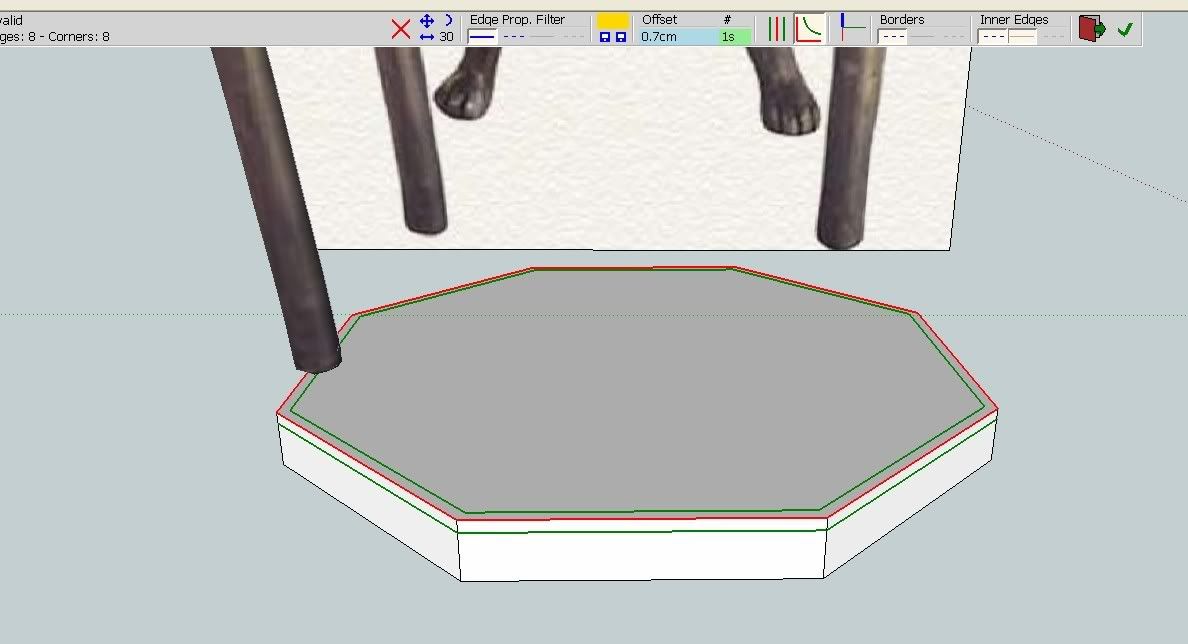
To add subdivision, simply copy the bounding edges (not the face) and paste it twice (see the image below)

Step 4: Re-scale the top and bottom face.
Rescale the top and bottom face. Hold the control key so that the scale anchor point will be in the middle.

You can also use round corner "bevel face" by Fredo here.
Step 5: Beveled Faces
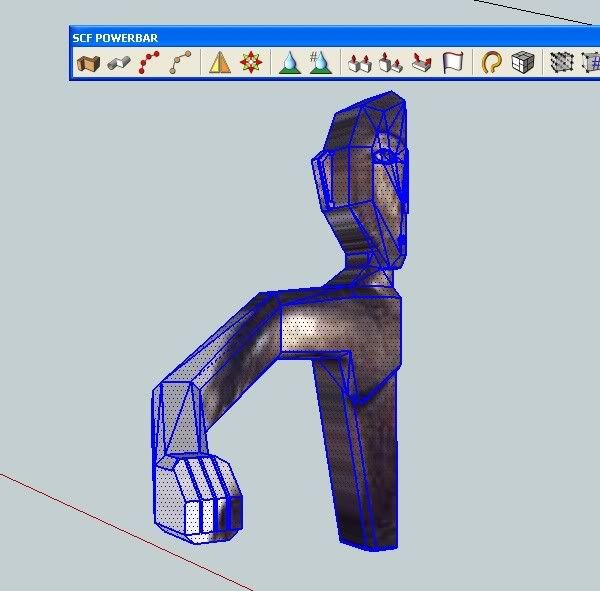
 Step 6: Paint Projected image
You can now paint the model using projected image option. This is important for tracing the other parts of the T-shirt.

Step 7: Repositioning edges
In the image below, I repositioned some of the lines to follow the contour of shirt.

Step 8: Tracing the neckline
Here I traced the neckline.
 Step 9: Push pulling some parts of the neckline
After tracing the neckline and offsetting it, I used push pull tool to add depth and height. Here you can see the different heights without the projected image.
 Step 10: Tracing the sleeve
Trace the sleeve and push pull one more time.

Step 11: Reposition again some of the lines

Here is the Raw Model without smoothing. Generally you can even use this with projected image and soften edges. If your model is far from the camera, this is more than enough to fool the viewers eye.
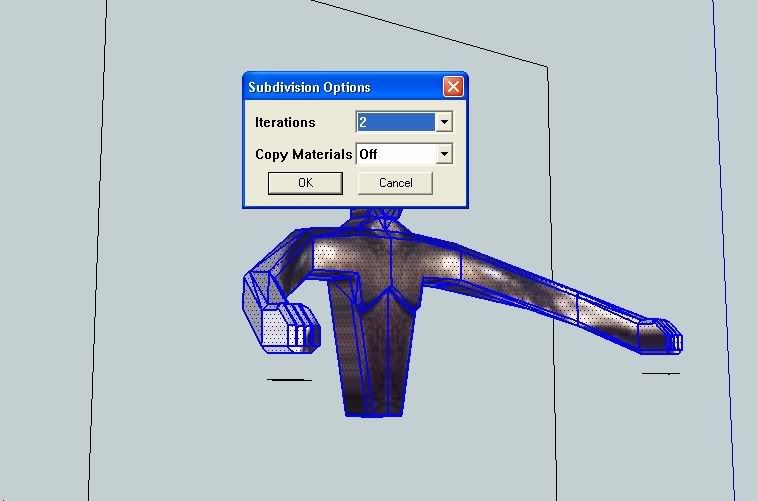
 Step 12: Smoothing
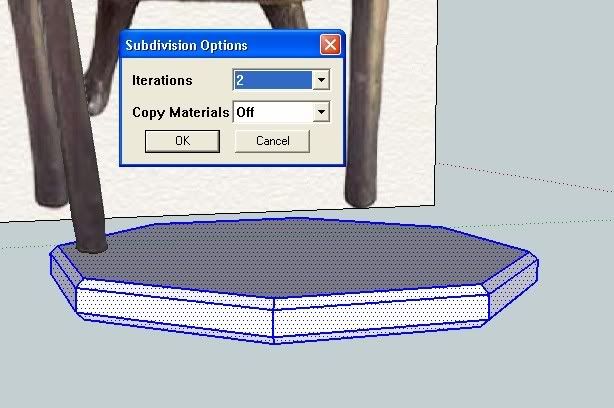
For high poly models that you want to use even near the camera, we can further sub-smooth the models. All we need to do it to select the model and subdivide it with 2 iterations.

Here is the result
 Step 13: Further sculpting
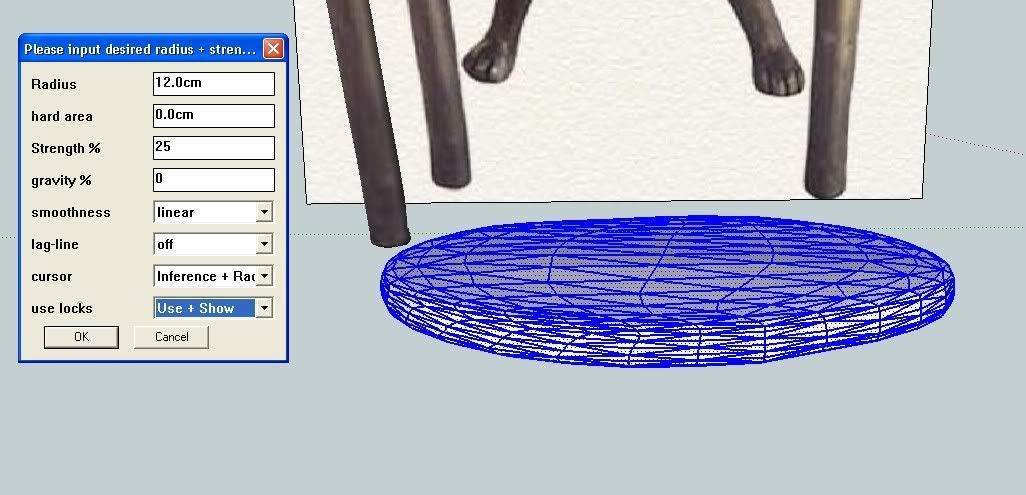
Once again using the sculpt tool script made by BTM. Download it for free
HERE

 Here is the finish model
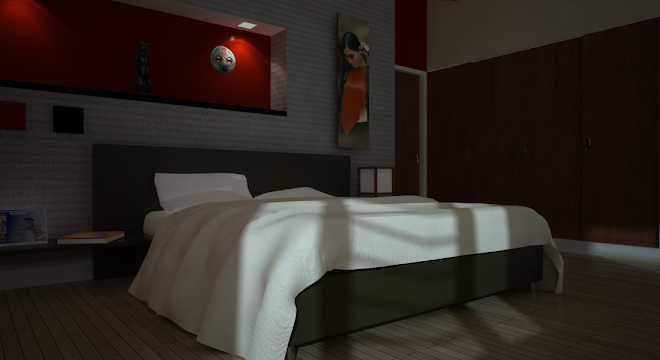
 RENDERED VIEWS


Hope this will encourage you to model and not keep on looking everywhere for models.