

Here is how its done in Photoshop
Step 1: Load the texture
Step 2: Go to Filter and click other. Select Offset in the options.

Step 3: Adjust horizontal and vertical offset until you see the noticeable seam.
Notice by doing this. The edges of original texture both vertically and horizontally were shifted.

Step 4: Use Patch tool.
Select the seamed area and drag it to another area.


Step 5: Use Clone stamp tool.
You can also use the clone stamp tool by taking some sample and stamping in on the areas you need to correct.

Thats it!
Below shows the corrected texture. The obvious seam was corrected.

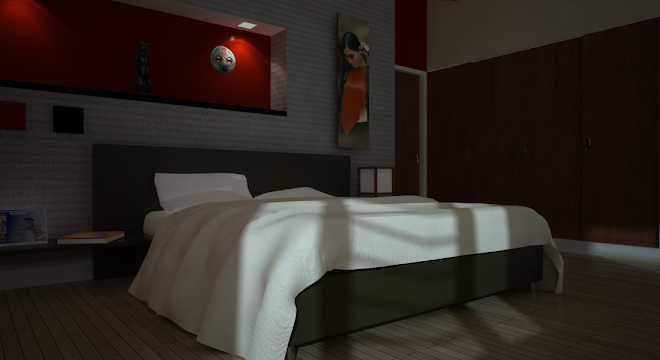
Below shows the effect of the seamless texture

Download the materials I did.
Diffuse map

Bonus. I also did some displacement and bump map.
Displacement/bump map

Specular map.

No comments:
Post a Comment