This is a simple tip about IES lights I want to share some of my two cents when it comes to IES lighting.
1. Unit Matters:
Alot of people asked this. Why I can't make my IES light to appear, then they do all sorts of tweaking. Some they even put multi-miilion intensity values. Unit in VRAY SketchUp matters and VRAY uses with its DOF value in Inches. This is the same with IES lightings. Therefore the first thing that you will do is to put your unit in inches. So go to your model info, before you render, be sure your length unit is in INCHES.

Since inches and centimeters have little variance, you can also put it in Centimeter length unit.
2. IES Generator
You can create your own IES using Karba's IES generator. It's free and you can download HERE.
Below shows a sample IES light I created. 0 parameters signifies the mid of the light effect. the bigger the angle the bigger the distance of the effect from the center. Once satisfied, you can save your IES light to any folder.

Load the IES file under. Notice that I DID NOT even put value with intensity. VRAY will read the value of the file.

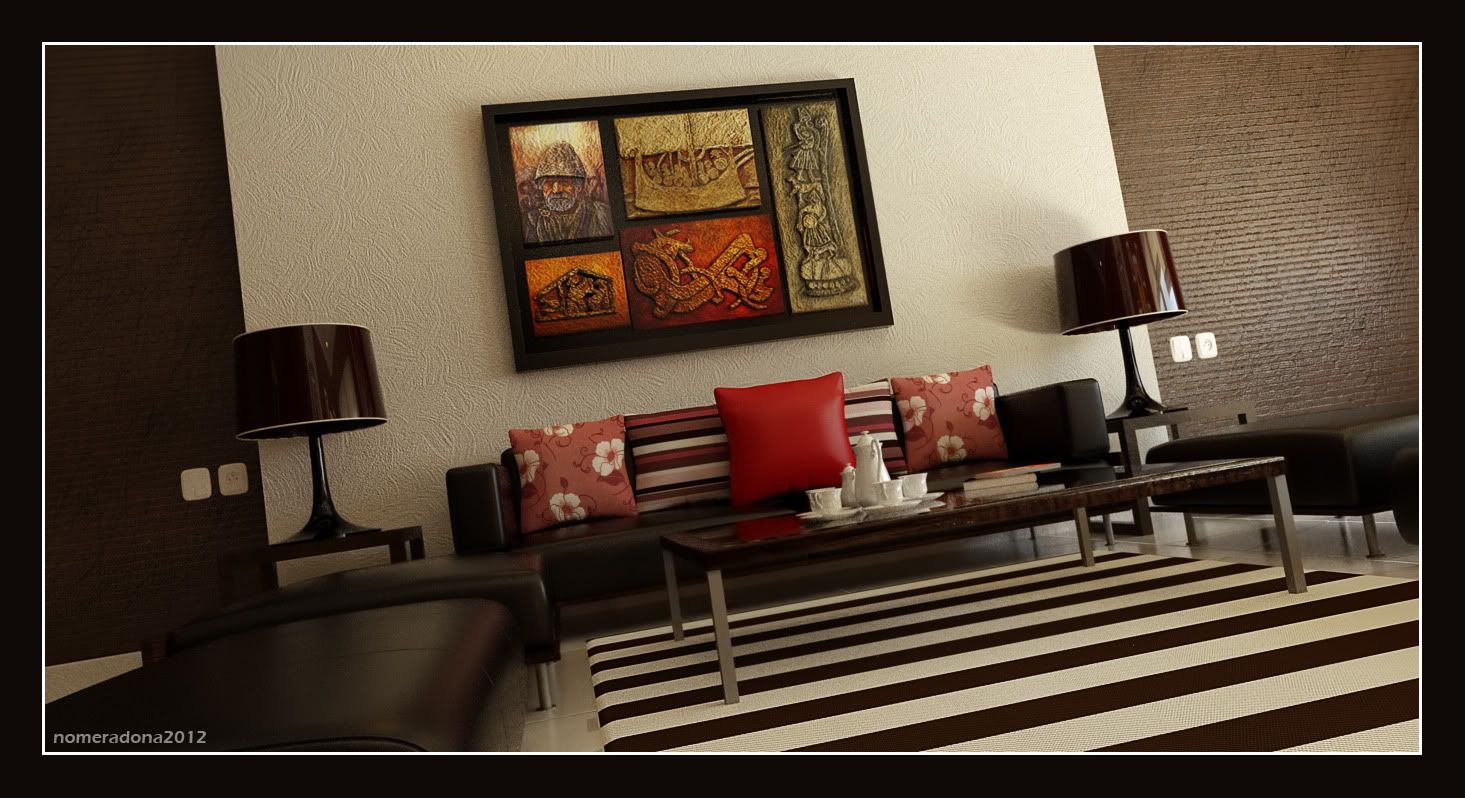
Below is the render using the IES light I created using the IES generator.

3. Physical Camera Settings
Control the exposure using your camera. I have a very simple VRAY Physical camera setting. I normally start with F number 1.0, Shutter speed 200, and ISO 400. This is a personal preference. Normally with all the IES file that I used, this work as always. Then I adjust the F number if its too bright, if its dark, I normally adjust my ISO with hundred increments.. I guess I am use too on this.. You can opt not to follow me on this.

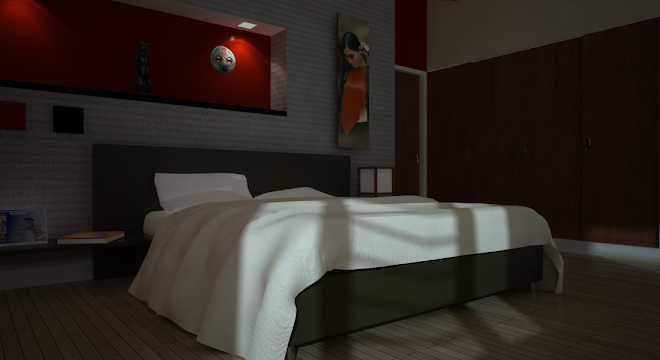
Below is another render using the above Camera settings but using different IES file.