Search

Custom Search

Welcome to My Blogsite

You will find on this blog a collection of my work mostly done in Google SketchUp and Rendered in either Vray for Sketchup, Hypershot, Vray Max, LightUp and Podium.

Download Free Google SketchUp
Download Vray SKetchUp (you need to register in order to download)
Download Podium Evaluation copy Do you want to try Bunkspeed Shot? Click HERE.


Saturday 15 December 2012

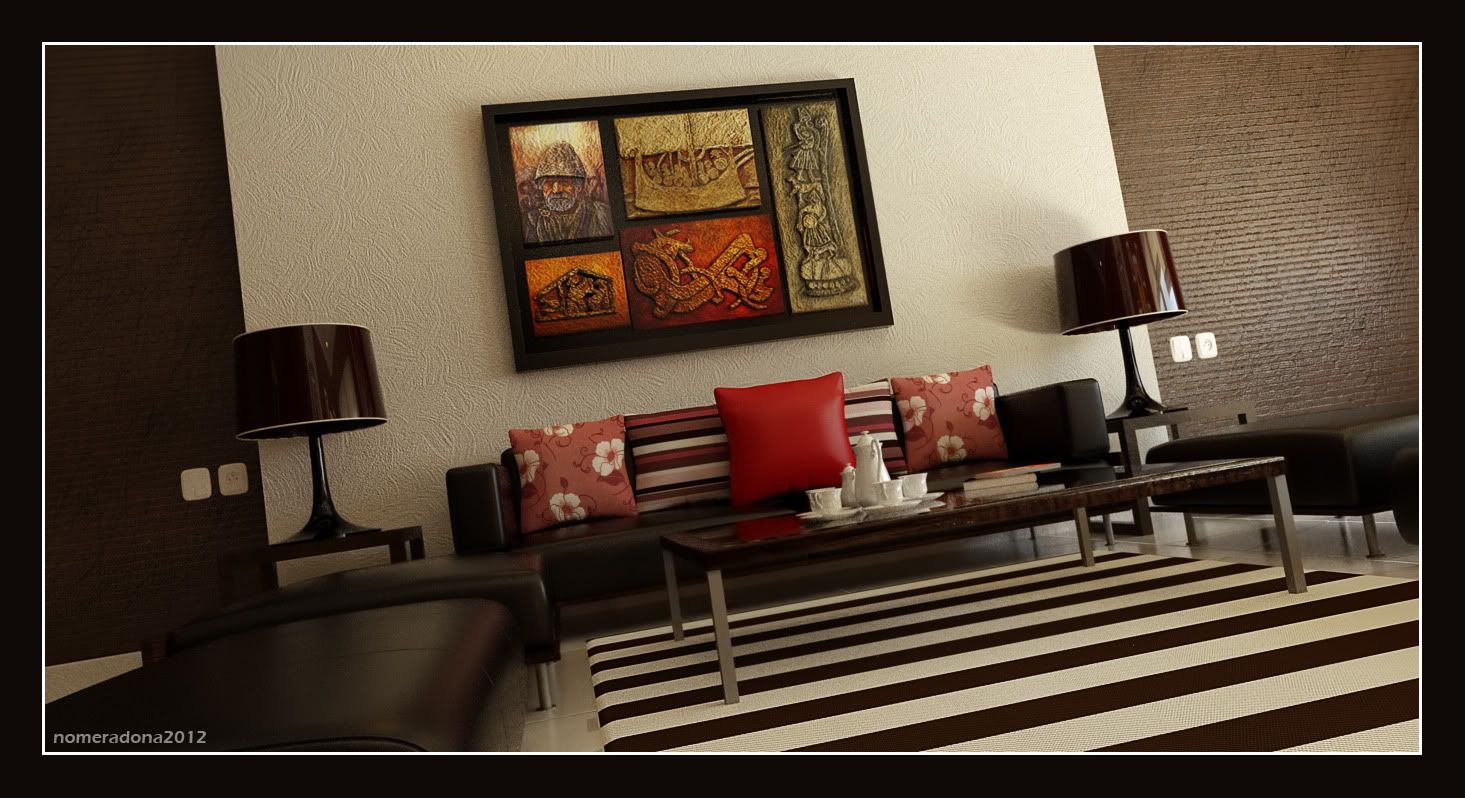
Some IES Render Exploration

The first image have a bit of post process. The rest are raw render. I have done all the IES lights and I am testing them.

This is a simple tip about IES lights
I want to share some of my two cents when it comes to IES lighting.

1. Unit Matters:

Alot of people asked this. Why I can't make my IES light to appear, then they do all sorts of tweaking. Some they even put multi-miilion intensity values. Unit in VRAY SketchUp matters and VRAY uses with its DOF value in Inches. This is the same with IES lightings. Therefore the first thing that you will do is to put your unit in inches. So go to your model info, before you render, be sure your length unit is in INCHES.


Since inches and centimeters have little variance, you can also put it in Centimeter length unit.

2. IES Generator

You can create your own IES using Karba's IES generator. It's free and you can download HERE.

Below shows a sample IES light I created. 0 parameters signifies the mid of the light effect. the bigger the angle the bigger the distance of the effect from the center. Once satisfied, you can save your IES light to any folder.


Load the IES file under. Notice that I DID NOT even put value with intensity. VRAY will read the value of the file. 


Below is the render using the IES light I created using the IES generator.


3. Physical Camera Settings

Control the exposure using your camera. I have a very simple VRAY Physical camera setting. I normally start with F number 1.0, Shutter speed 200, and ISO 400. This is a personal preference. Normally with all the IES file that I used, this work as always. Then I adjust the F number if its too bright, if its dark, I normally adjust my ISO with hundred increments.. I guess I am use too on this.. You can opt not to follow me on this.


Below is another render using the above Camera settings but using different IES file.


Sunday 18 November 2012

Gradient Glass tests

Gradient Glass tests

Milky effect


Milky but 100% transparent on top


With Green tint 40%-0% opacity

Tuesday 21 August 2012

Thea Render Contest

I won third prize in this contest. I am glad considering I am still exploring this software..

Original Post HERE

The "Seasons" contest has finished and we are happy to announce the winners. We would like to thank all the artists who participated with their renders - they gave life to this contest. We would also like to thank our sponsors for the prizes they offered to the winners.
It is worth mentioning that the final decision for the winners came by considering the concept, originality of the idea, the technical details (quality of materials and textures) and the overall render quality. Choosing the winners was not easy, since there were a lot of very nice renders. At the end, such decisions are taken based on personal criteria as well.

Finally, we have also decided to give a smaller prize for a 3rd winner. In addition to these prizes, we will also give a single Thea Render license to two participants of the contest that were not licensed users but contributed with noticeable renders.

Congratulations to the winners and to all participants! You can see below the results.  
1st winner: "Recipe for Seasons" by Rafael Sanchez (aka Rosco)

1<sup>st</sup> winner Rosco: Recipe for seasons


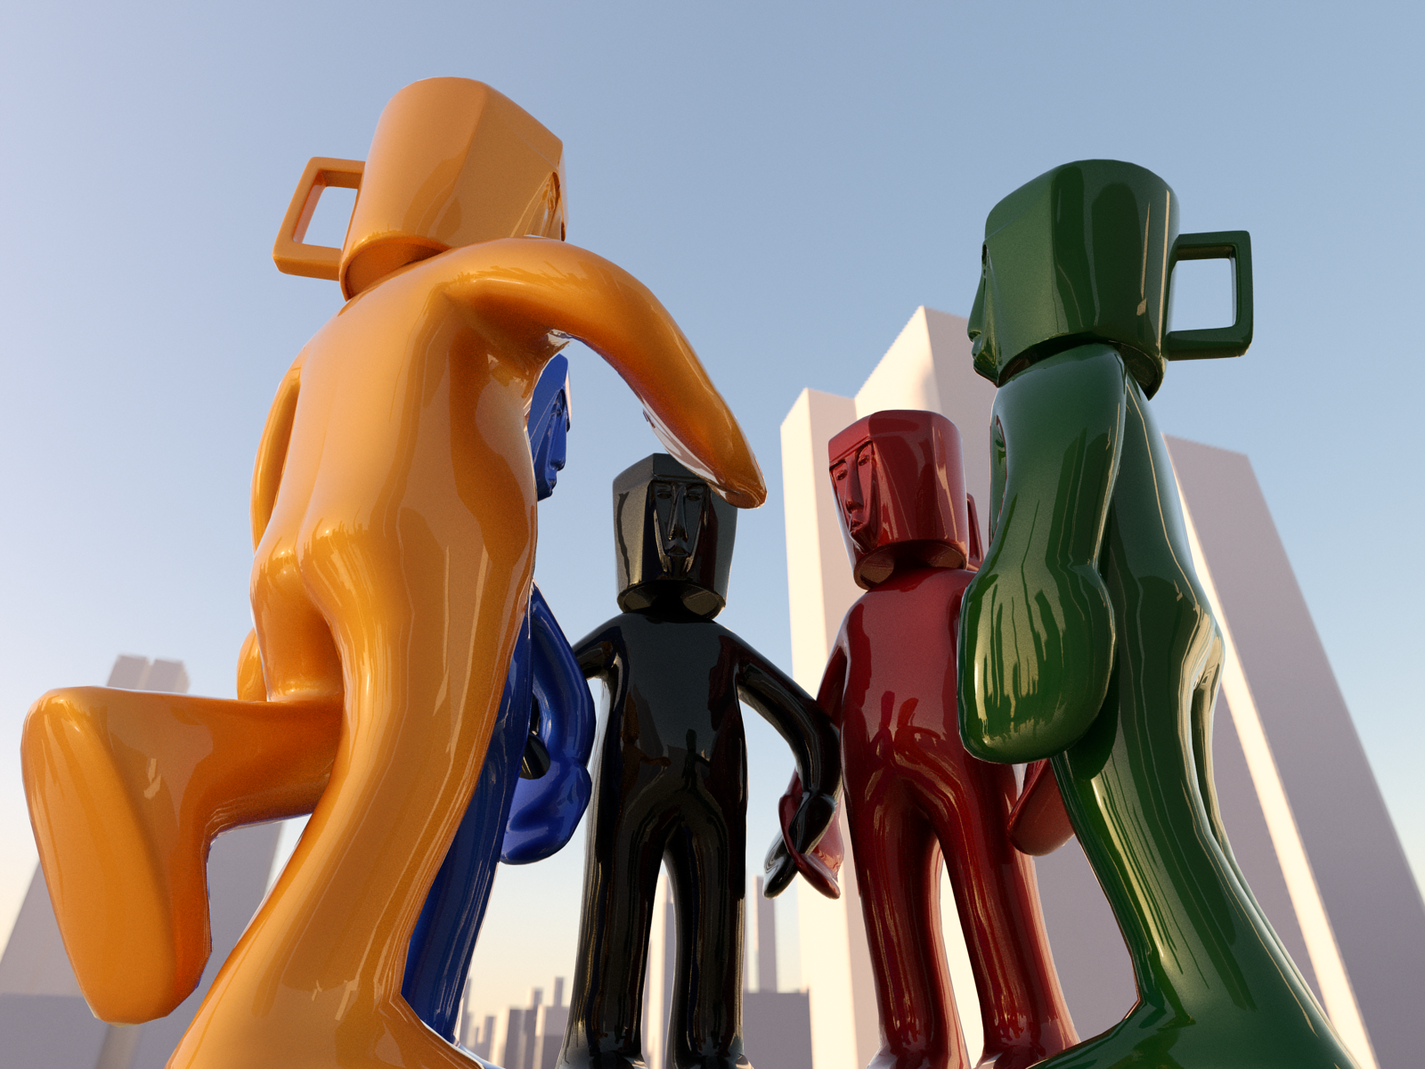
2nd winner: "The Unusual Suspects" by Sandro Sorce (aka SandroS)
2<sup>nd</sup> winner Sandros: The unusual suspects


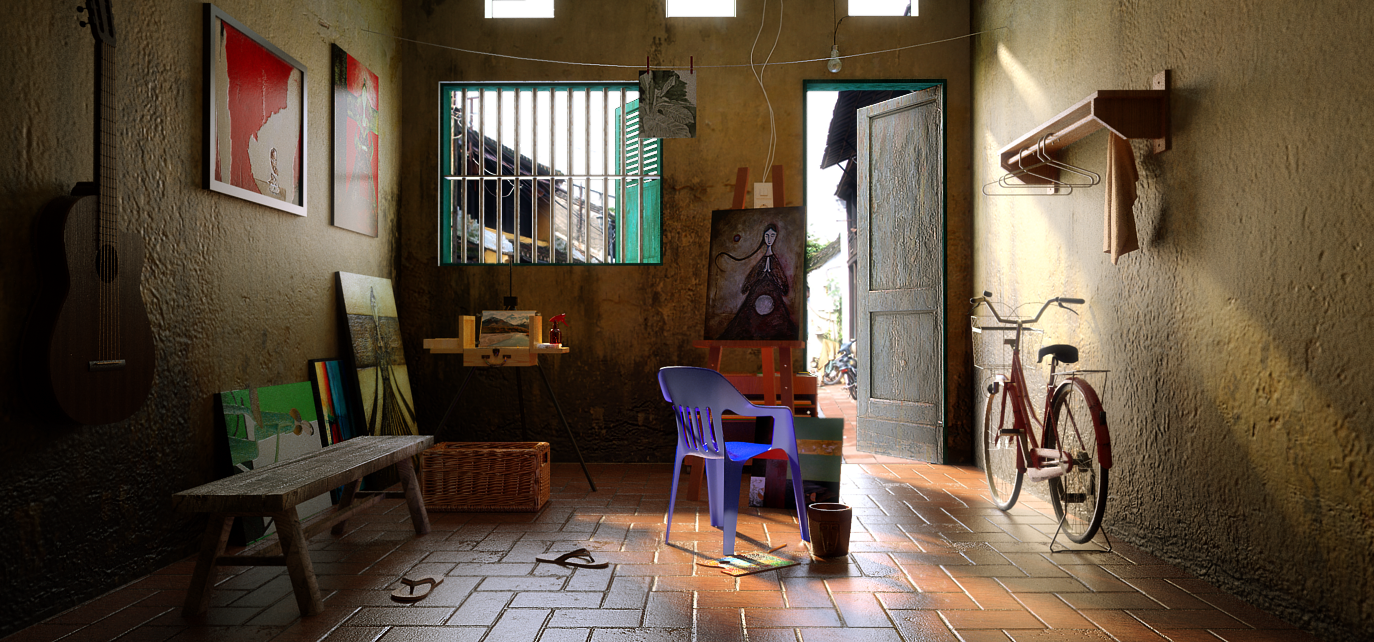
3rd winner: "Living in Hanoi" by Adona Nomer (aka nomeradona)

3<sup>rd</sup> winner Nomeradona:Living in Hanoi

Friday 27 July 2012

NPR and PR

To do NPR or not NPR. PR or not PR that is the question! No question in the end cause I can do both.


Monday 23 July 2012

Different Ways how to produce large render output

Because of the memory limitation of SketchUp (32 bit), Vray SketchUp is also affected by it. Whenever we try to produce huge output, say 8000 pixel width, surely we end up choking the memory limit of SketchUp and thus resulting VRAY SU to crash.. Sounds familiar right?

I want to share here at least three different options on how to compensate this limitation.


Option 1: Using the vrimage and EXR output. I have done a tutorial for this one HERE.
Even with this with higher settings I still crash my Vray Su.


Option 2: Using render region. Here is how I do it.

Step 1: Render in low resolution and small output size. Here I used low Image sampler and output first
  

Step 2: Crank up the Irradiance Map and Light Cache settings. See the render...


 Step 3: Saved the Irradiance and Light Cache maps. Then load the save maps in both irradiance and light cache again this time the mode should be "From File". You also increase the Image sampler and lower the color treshold for smoother image.

Save LC map
Save Irradiance Map


Increase Image sampler
Load Maps again


Step 4: Increase the Vray output.. Here I will do 3000 x 1403px. Hit Render. Now wait for the Vray Frame Buffer to appear once it appeared stop the rendering.


Step 5: Use the render region


In this render I selected the 1/4th part of the render image in the frame buffer.


Step 5: Choose the next area: After render choose the next area. Then the next one. You may wish to save every file then compose them in Photoshop. If you are lazy in saving you can finish the rendering using this technique.


Option 3: Use Image Enlarger.

There is a free program that you can download HERE called Smilla Enlarger. For me this is a very good alternative. It's faster and at the same time simpler.

Produce a smaller render output, then enlarge it using this software.


Cheers!

Nomeradona

Monday 28 May 2012

Things around me series 1_Vial of sand

I want to model and render some of the things around me.

Here is my first one.. Vial of sand in front of my computer.


Saturday 19 May 2012

Toni Nalbani's Design

Thank You Toni Nalbani for this Model. Here is my night rendering version.

Sunday 6 May 2012

Wednesday 2 May 2012

Second Thea Render

I think I'm getting the hang of Thea.. This one I used Adaptive AMC rendering engine core.


Tuesday 1 May 2012

My first Thea render with my own SketchUp model

A year ago I tried Thea. I gave up because of long rendering time. Fred Moro told me the latest Chameleon version of Thea. I decide to download the upgrade and tried Thea again. Here is my raw output result so far.


Sunday 29 April 2012

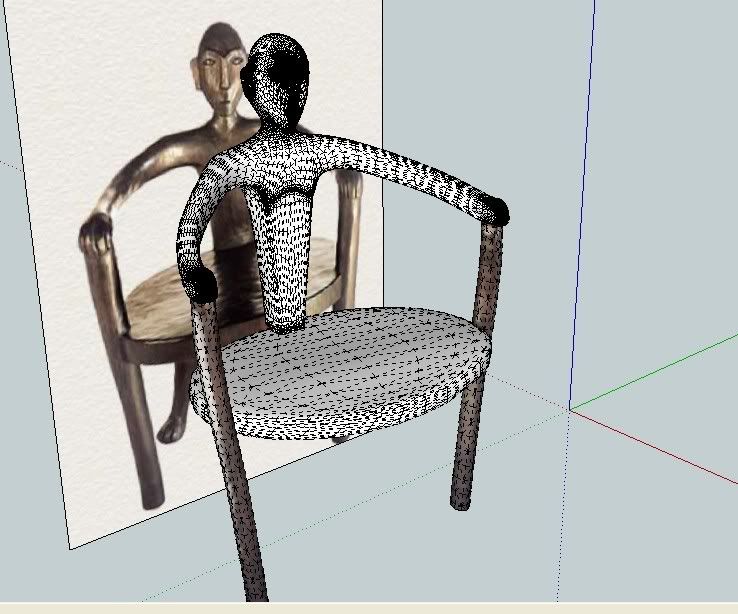
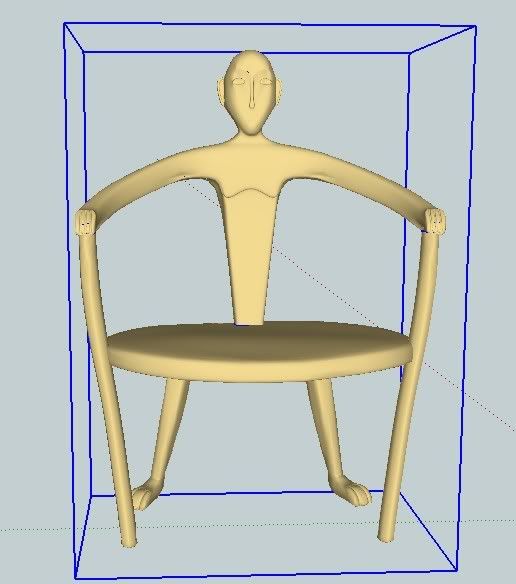
Modeling my Igorot Chair

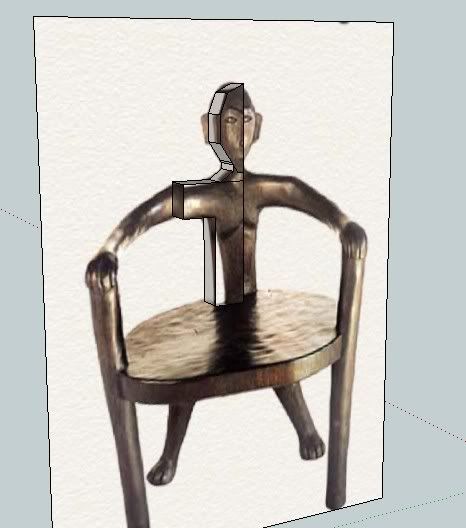
Here is a quick workflow on how I modeled this chair.

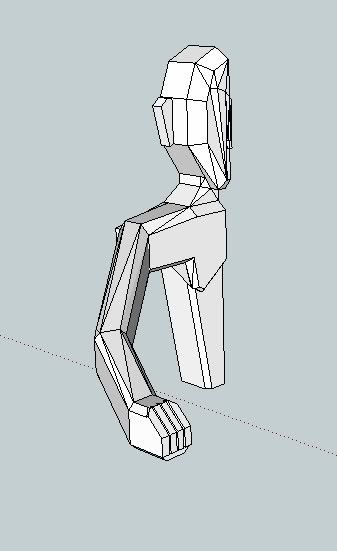
Step 1: Basically I have this reference image. I traced the image using blocks.

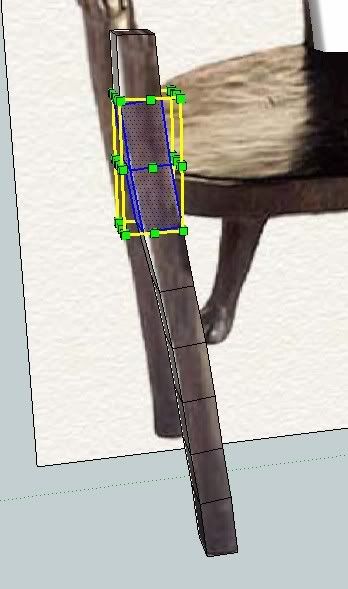
For the hand, I used blocks, and used move tool and round edges tool using the simple chamfer tool.

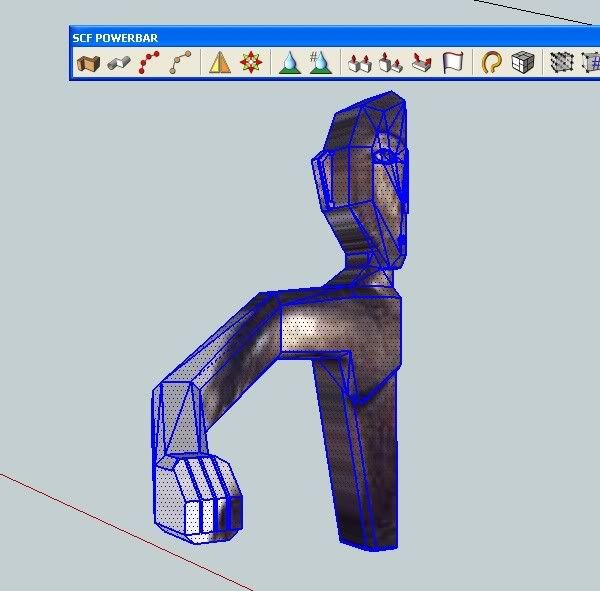
Here is the one with projected texture
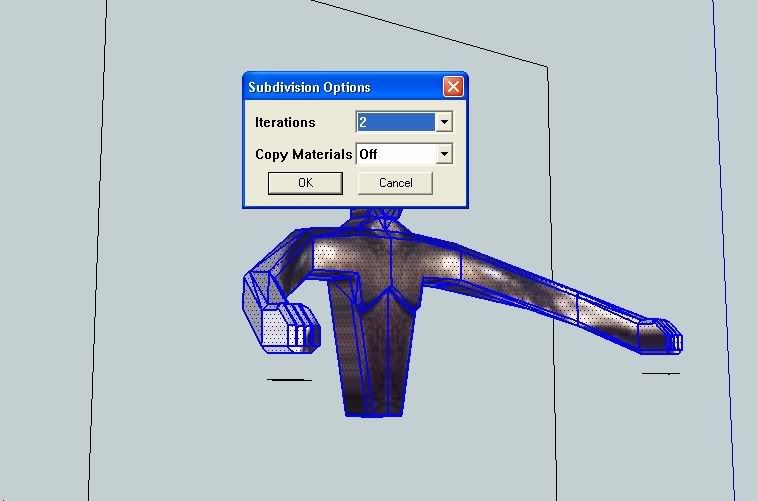
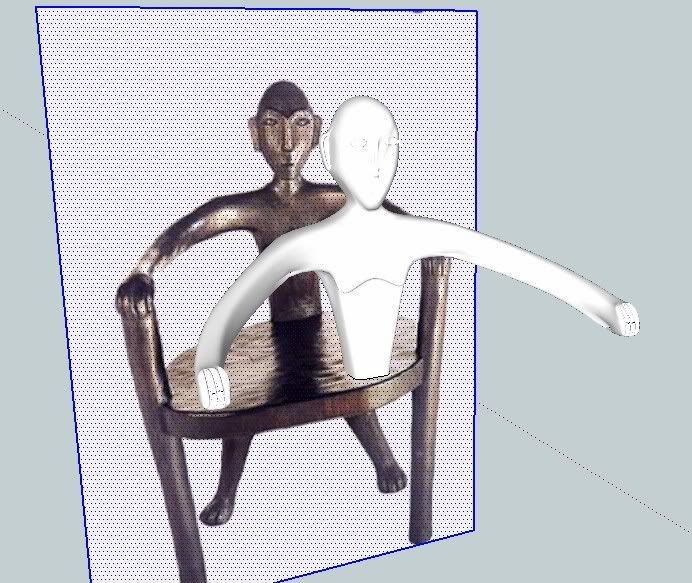
Then I mirror the finished model before using SDS tool with 2 iterations
Here is the finished top part

For the legs I used again a simple rectangular tool, I copied the one edge then subdivided it. then I moved/scaled each subdivision, afterwards I used SDS with 1 iteration.
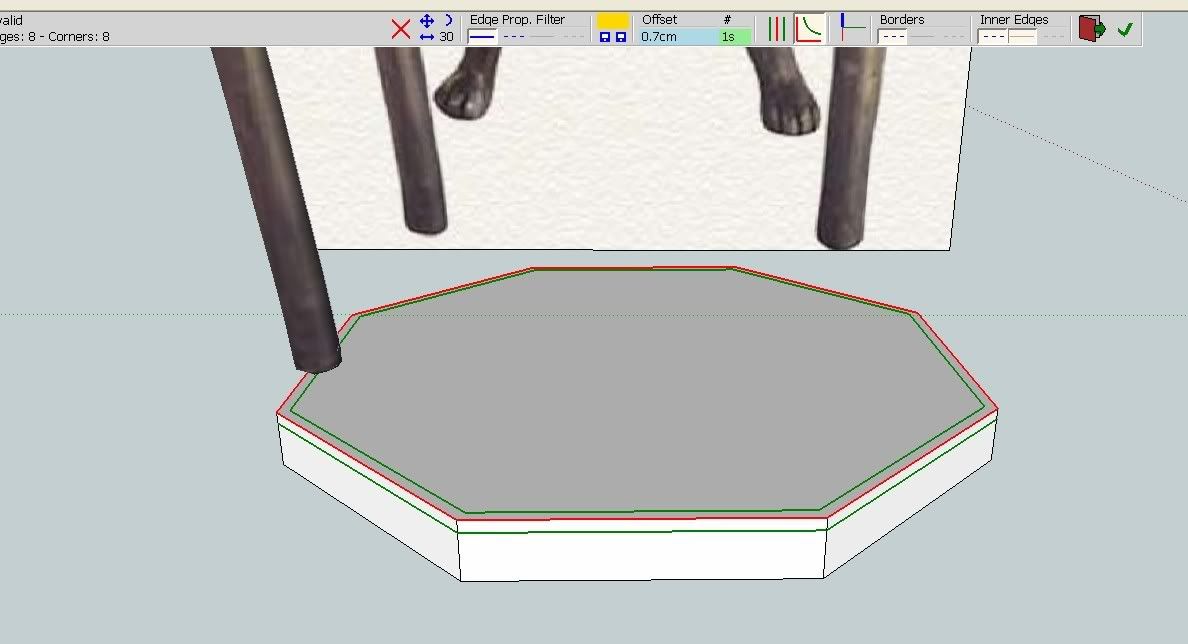
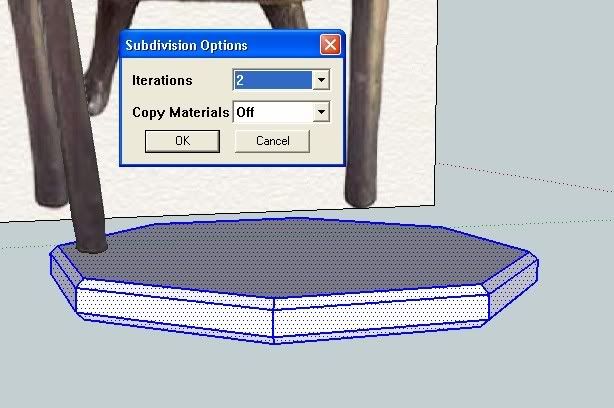
For the circular part, I modeled it using an octagonal shape, applied round corner with only 1 side.
After chamfering both face, again I used SDS with 2 iterations.
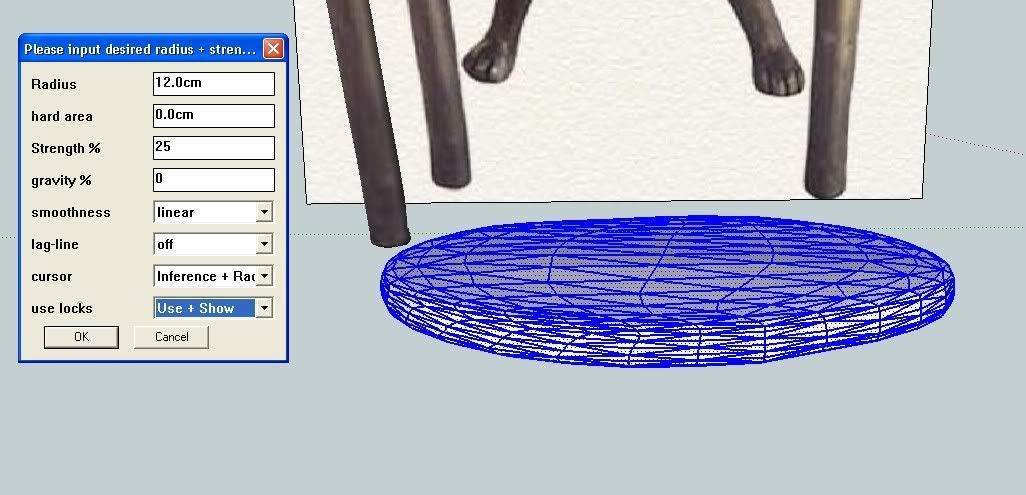
I used sculpt tool to relax and displaced some edges.

Here is the model. For the leg behind, its almost similar with the front legs.
Finished Model

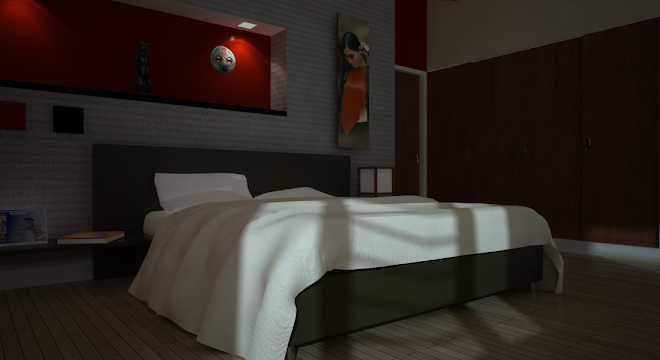
Bedroom Interior Rendering

Bedroom Interior Rendering