Search

Custom Search

Welcome to My Blogsite

You will find on this blog a collection of my work mostly done in Google SketchUp and Rendered in either Vray for Sketchup, Hypershot, Vray Max, LightUp and Podium.

Download Free Google SketchUp
Download Vray SKetchUp (you need to register in order to download)
Download Podium Evaluation copy Do you want to try Bunkspeed Shot? Click HERE.


Saturday 25 June 2011

Three more tutorials

We have shared three more tutorials in our sketchupvrayresources.blogspot.com

1. Thanks to Michaliszissiou in allowing us to share his Blender to SketchUp workflow.

2. Thanks to David Heir in allowing us to share his tutorial on how to make a seamless concrete texture.

3. Thanks to Archie Roscom for his workflow Batzal roof to Sketchup.


Thursday 16 June 2011

Water Droplet tutorial

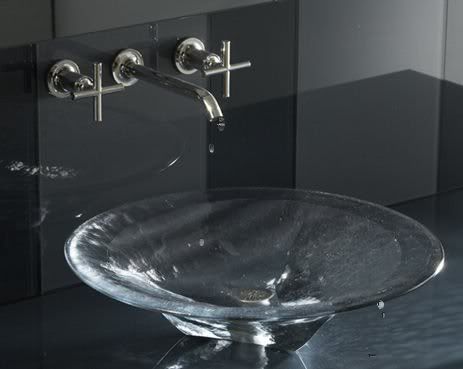
Here is a post processing tutorial on how to create quick water droplet. Click the image to view the tutorial.

Saturday 11 June 2011

3D Sketchup, Rendering Software in Traditional painting

I always love using 3D software like sketchup and rendering softwares as preparatory work for my paintings.

Here are some studies for my worship series paintings


These are the rendered images where I used both Podium and Vray Sketchup rendering engines.
motherandchild32m13syl1

igorotfinaltl3

igorotfinal2copyzc2

motherandchild32m6sva9

This is one of my painting. The texture was done by dripping PVA glue and pouring actual sand. 

motherandchildpy6

NPR Tropical Trees & Plants SKP Volume 1

Sunday 5 June 2011

Tutorial: Ivy Pluggin_ Sketchup and Vray SketchUp

I have done this POST three weeks ago. Now I want to do a quick guide, how to use it. In case you want to know more about this, I urge you to go back to my old post. This software works better with Sketchup 8, since the skp files of the ivy components were done in SU8. If you want it to work in SU7, you need to resave the files inside the ivy pluggin folder in version 7.

Image 1.  Here is a quick screen grab showing the starting stage of the ivy branch (red line below the wall). Also it shows the menu bar of the script.


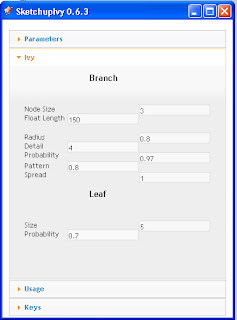
Image 2-5: Shows the different roll-outs inside the SketchUp Ivy Menu bar.


Shortcut Keys

Let us start creating....
Image 6 :  Branches and Stems: Clicking the left key of the mouse will create the ivy stems and branches. Keep on clicking it until you are satisfied.


Image 7: Leaves 
I have added leaves. This time I used CTRL+Click

 Image 8: Finishing the Ivy. To finish the ivy, all you do is press Shift+Click left mouse button.

Images 9-10: Adding the second Ivy. First I rotated the model, then repeated similar steps as mentioned above.

Image 11: The final Ivy Model.


HERE is the final render using Vray SketchUp.

Note: I reworked the materials. I converted them into png files and made the background transparent.

Wednesday 1 June 2011

SketchUp_VraySU_Fotosketcher_Photoshop Workflow

Since it's first beta I love Fotosketcher. FotoSketcher is a FREEWARE program developed by David Thoiron. Different styles like pencil sketch, pen and ink drawing, and painting renderings can be done from the photograph. This software can be downloaded at http://www.fotosketcher.com/.


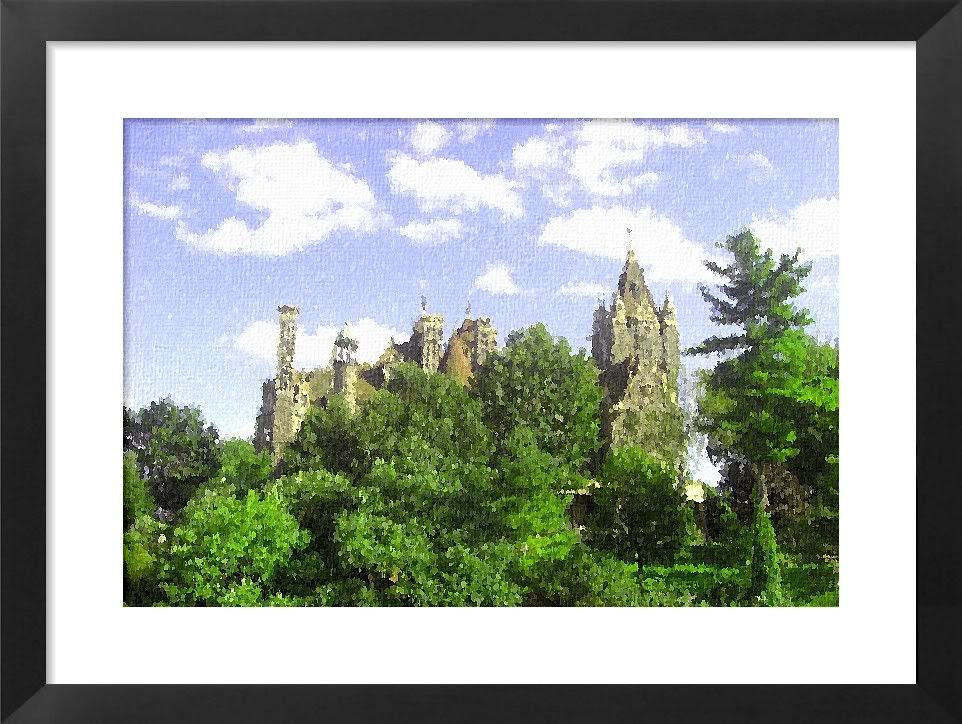
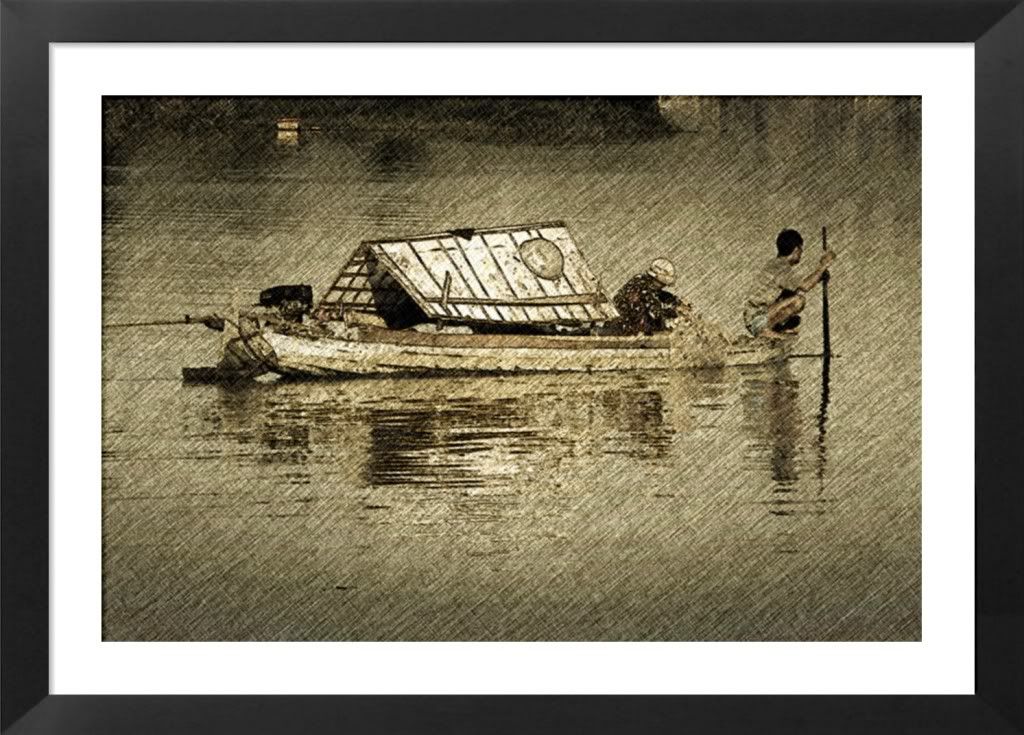
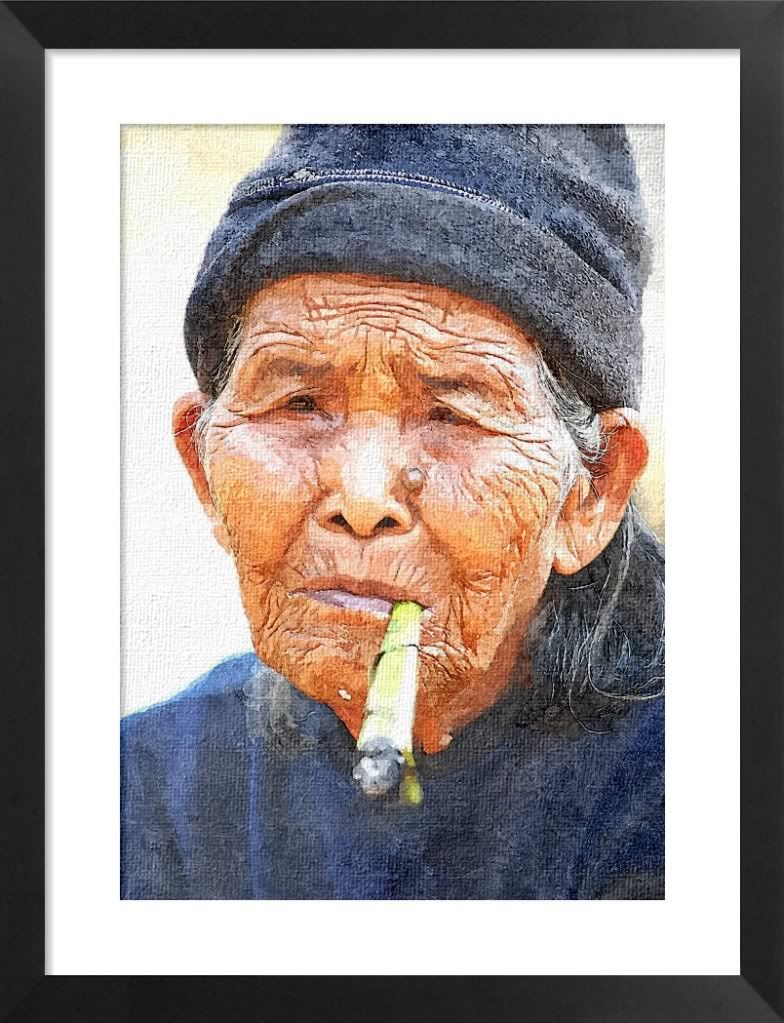
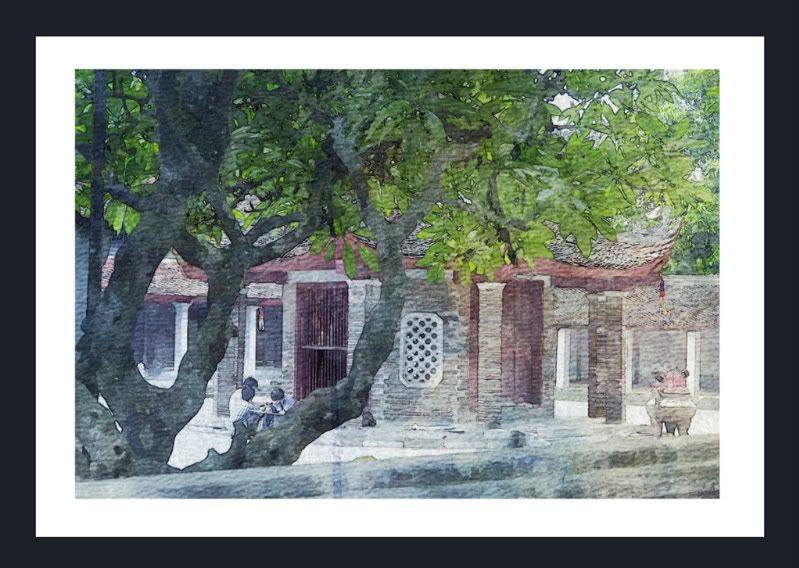
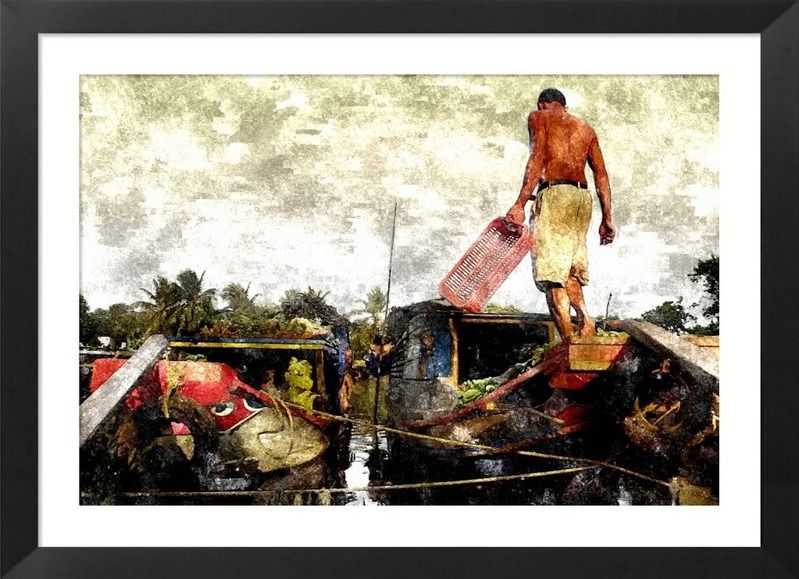
I mainly use Fotosketcher by turning my photos to arty looks. My favorite is the watercolor effect. Here are some of my previous works done with Fotosketcher.
Photobucket

Photobucket

Photobucket

Photobucket

Photobucket

Recently at Sketchucation.com, many of our friends there use this with SketchUp and eventually the compilation of this work was publish by SKetchupartists.org HERE. As a teacher and practicing visual artist, I could never believe how much Fotosketcher could do. I tried to integrate Fotosketcher with my personal preference by using sketchup styles. Here is my SketchUp_Fotosketcher
Photoshop work-flow.

Step 1: Saving the different Layers. 

The Sketchup Style

I used a model from the 3dWarehouse- "Mirasol5". I applied the blue ink style. Here is the result.


The Vray Sketchup Render Output


Since I just need the render image, I quickly render this image with just using native SketchUp materials.


Step 2: Converting the Vrayrender image into watercolor style in FotoSketcher
Next I have converted the Vray render image using FotoSketcher.


 Here is the result.

Step 3. Combining the styles in Photoshop
Open Photoshop and load both the Fotosketcher result and the blue line style image in SketchUp. The blue Sketchup blue line style must be under the Fotosketcher layer. Then by using mask, start to paint black the outside edges with a fairly big size brush. In playing the elements of design, usually the colored part will be more noticeable; thus creating emphasis. 


Step 4: Adding the water color paper texture
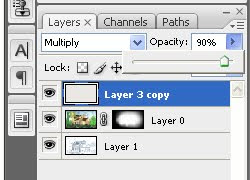
Although, Fotosketcher has its own built paper texture, I opted to put my texture using Photoshop. I created a new layer and pasted a watercolor paper. Below is the screen grab showing the hierarchy of the different layers. 


I applied a "multiply"blending mode and 90% opacity.


Here is the finish product.

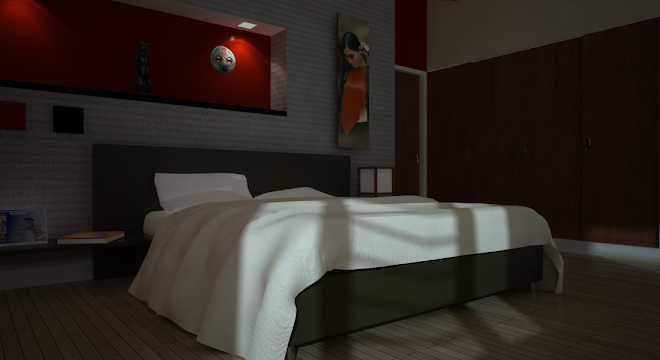
Bedroom Interior Rendering

Bedroom Interior Rendering