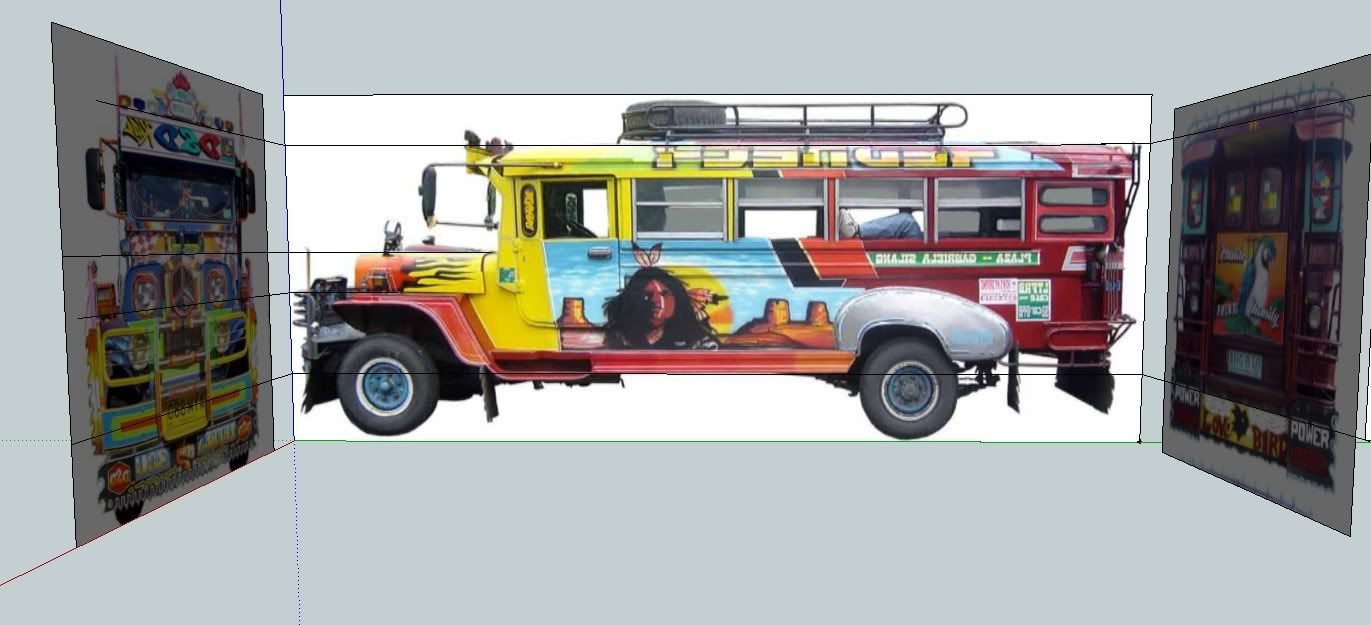
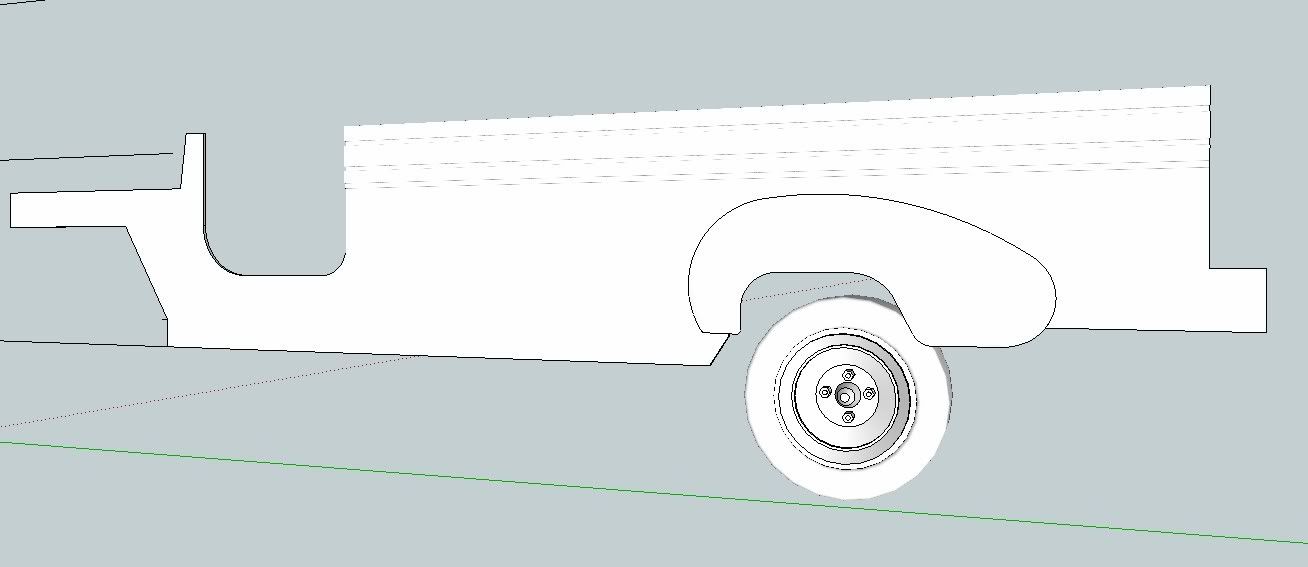
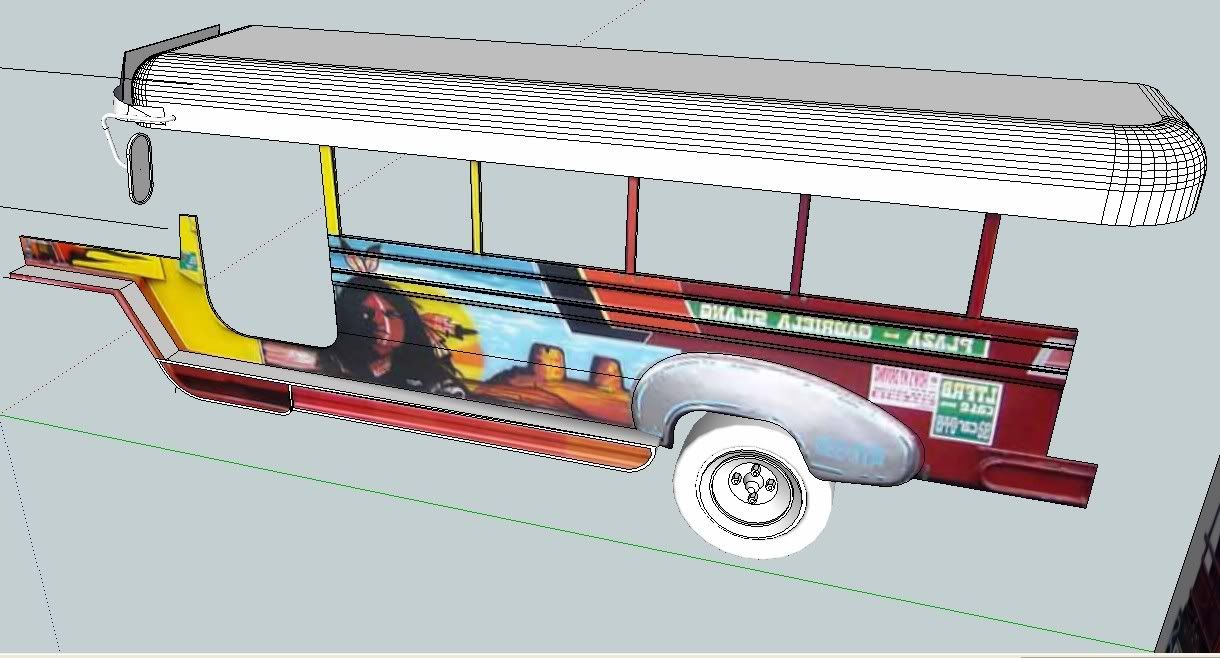
I want to document my modeling process with this Philippine Jeepney. I cant find proper blue print, therefore I have to do it using both imagination and different images.
Set up
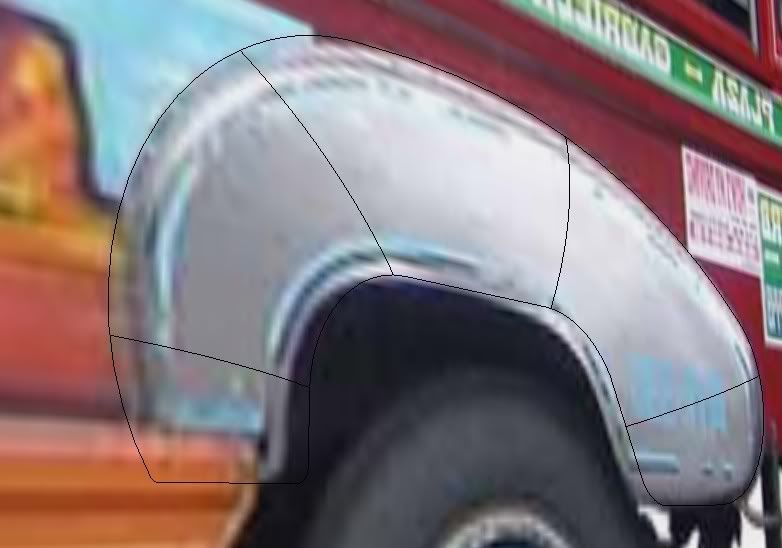
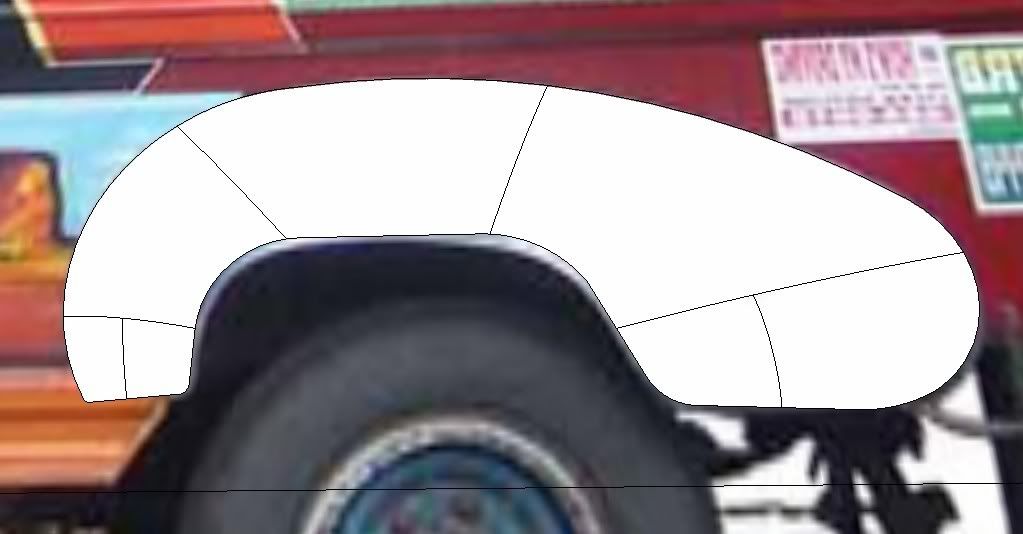
Tracing that hood. I dont know exactly the name of this part.
push the farthest edge
Adding arcs
Curviloft
Adding some more body
Extending the top part. Roof is just a simple rectangle with arc. Then pushed upward. I thne applied round corner. I will only model half because later I will copy this and create a mirror.
Search

Custom Search
Welcome to My Blogsite
You will find on this blog a collection of my work mostly done in Google SketchUp and Rendered in either Vray for Sketchup, Hypershot, Vray Max, LightUp and Podium.
Download Free Google SketchUp Download Vray SKetchUp (you need to register in order to download)
Download Podium Evaluation copy Do you want to try Bunkspeed Shot? Click HERE.
Download Free Google SketchUp Download Vray SKetchUp (you need to register in order to download)
Download Podium Evaluation copy Do you want to try Bunkspeed Shot? Click HERE.
Saturday, 17 December 2011
Sunday, 4 December 2011
Tutorial: Exterior Rendering with Vray Sketchup
Some of my old tutorial showing how to set up, model, and render exterior scene in Vray Sketchup.
Download tutorial HERE.
Download tutorial HERE.
Saturday, 3 December 2011
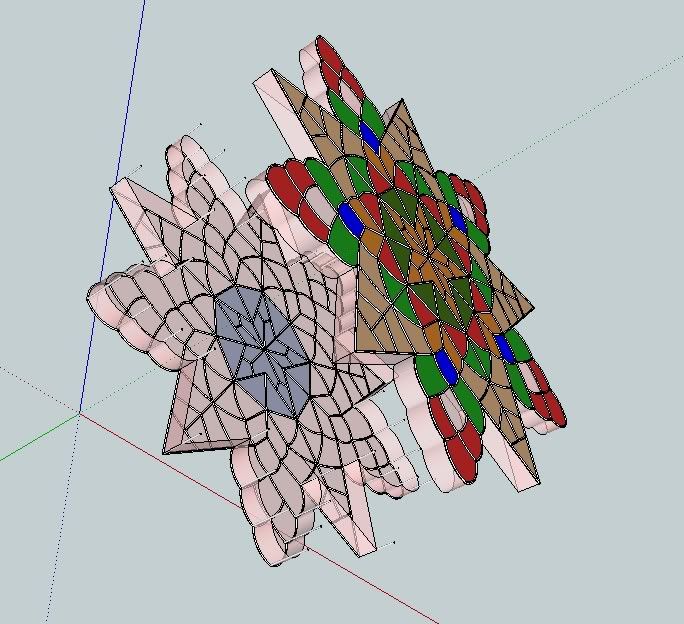
Mini-Tutorial: How to model a "Pilipino Gilingan"
I am please the my use of the Smooth and Subdivide script is getting better. I think I am getting the hang on what would be the outcome after the subdivision process. I want to share this image that shows what it can do.
Saturday, 26 November 2011
Tutorial: How to model Ifugao Mask in Google SketchUp
I want to share here how I model this mask. This is an Ifugao Mask from the Northern part of Philippines. This will be our reference image in this tutorial.
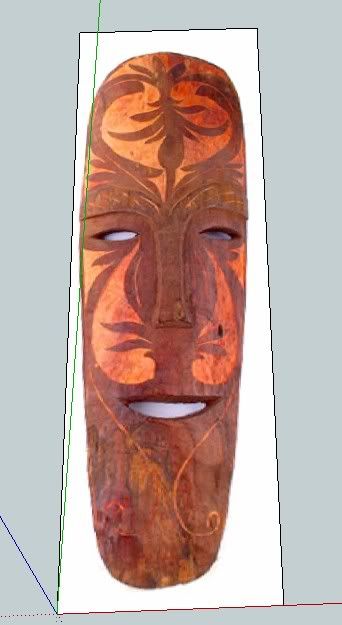
Step 1: Trace the outline
Trace the outline of th mask, tracing can be faceted. It does not matter.See the image below.
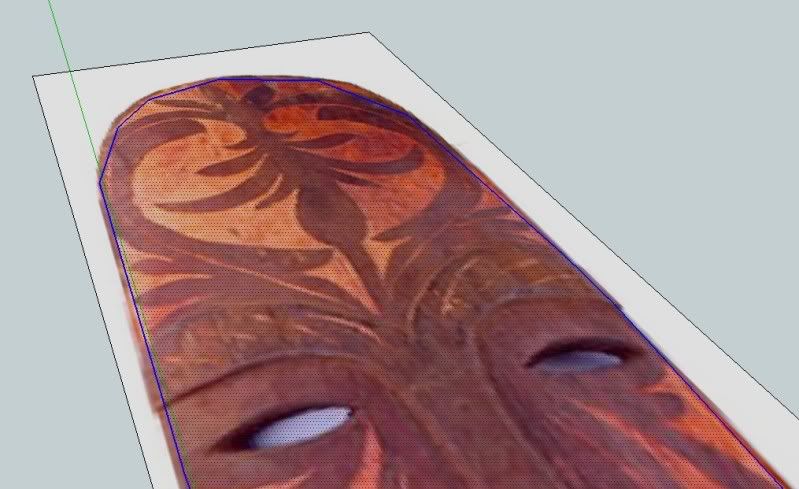
Step 2: Push Pull
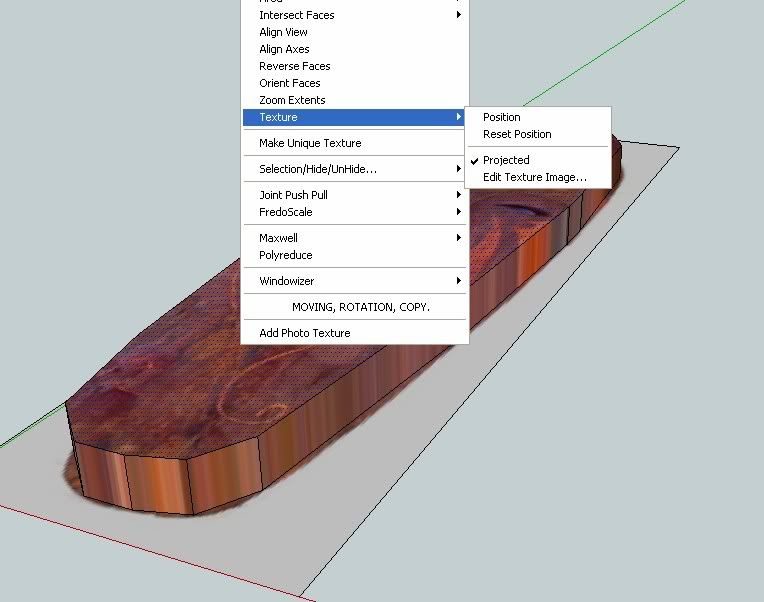
After tracing the whole image, we can push pull it with desired height. Tracing images will always have projected texture. If projected texture in not on then right click and tick projected texture.
Step 3: Offset tool
Select the outside boundary of the top face and use the offset tool. (see image below).
Step 4: Autofold
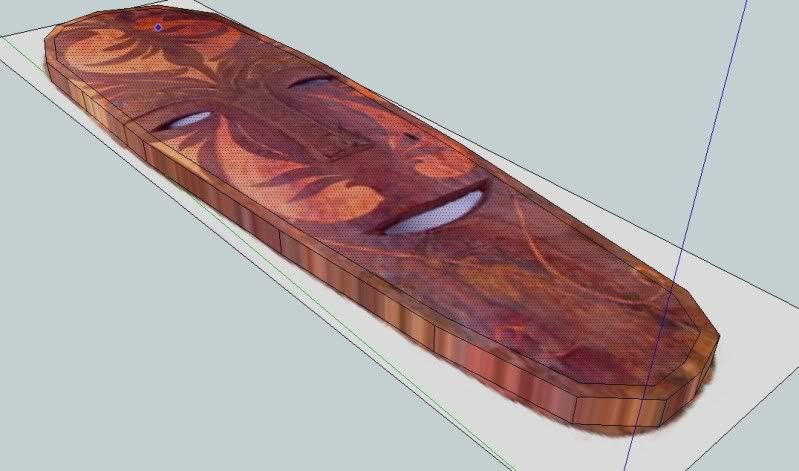
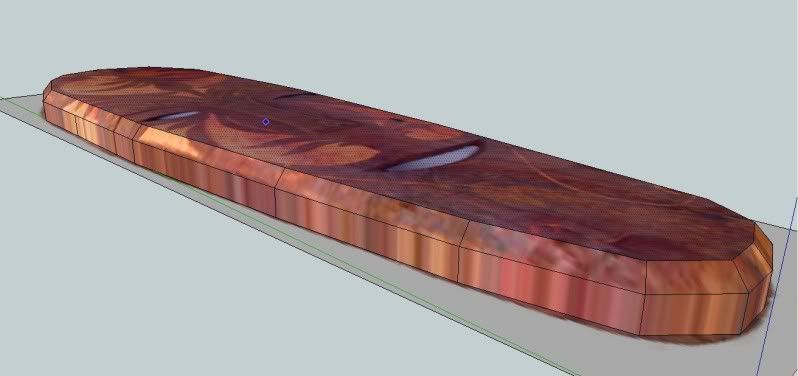
To enable autofold function, select the face and then use the move tool and at the same time press Alt.
Step 5: Trace the eyes.
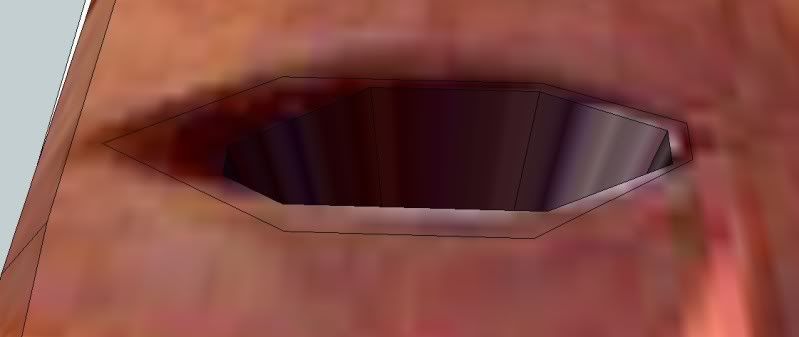
I traced the eye like the below image. Then I created the hole.
Then push the other part like the below image.
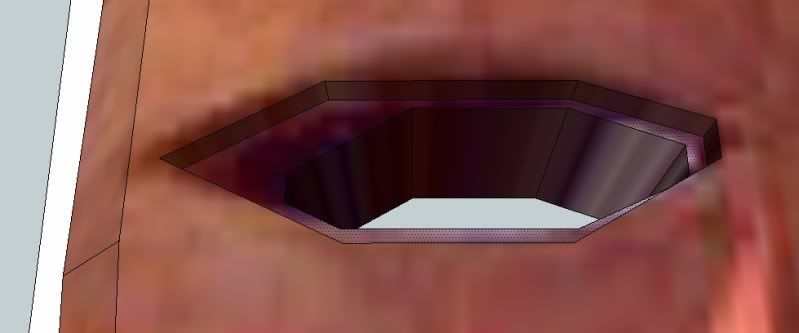
I then move some of the below lines to the upper lines to create some slopes. I did the same thing with the other eye and the mouth.
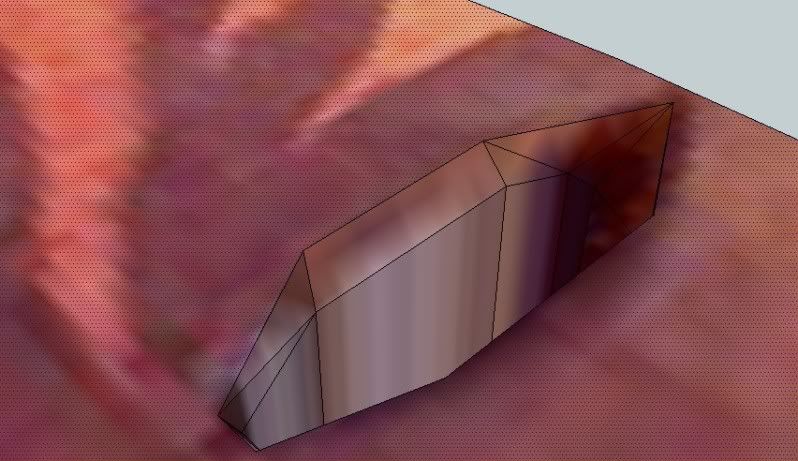
Step 6. Tracing the nose
Next I traced the nose. (see the image below)
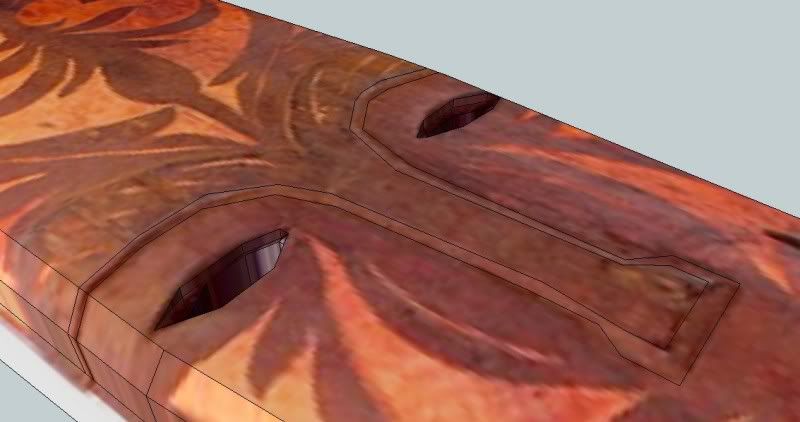
I push again the whole thing up (see image)
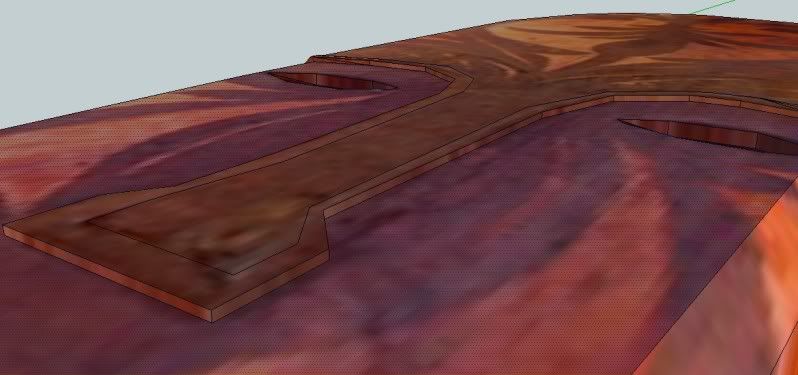
I selected some of the lines (see highlighted lines below)
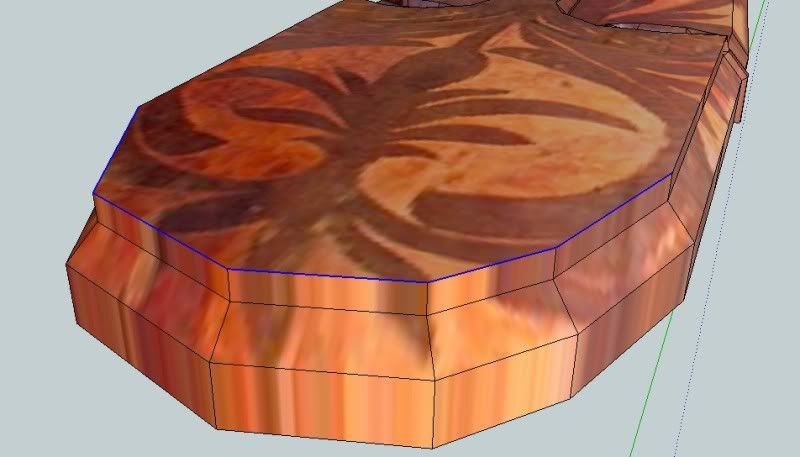
and move them to the below lines.
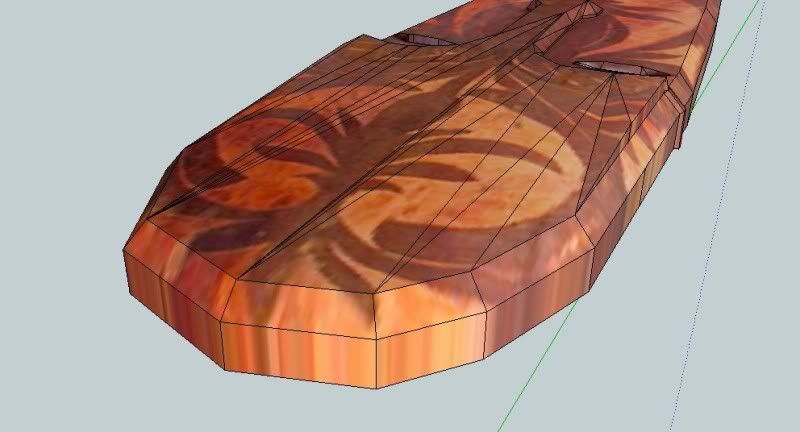
Here is so far the model.
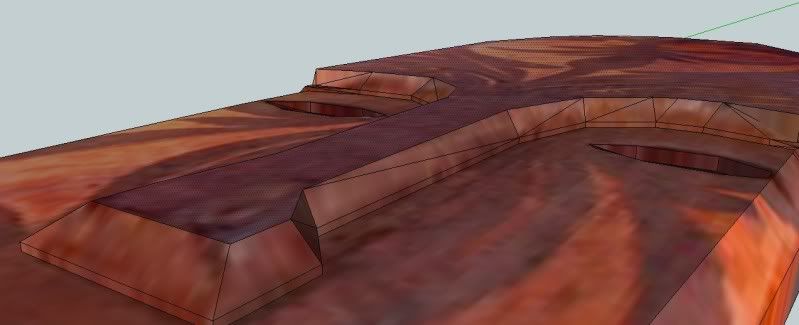
Step 7: Tracing the details.
I traced some of the details and pushed them a bit. now we are ready to subdivide. I would like you to notice the line near the mouth.
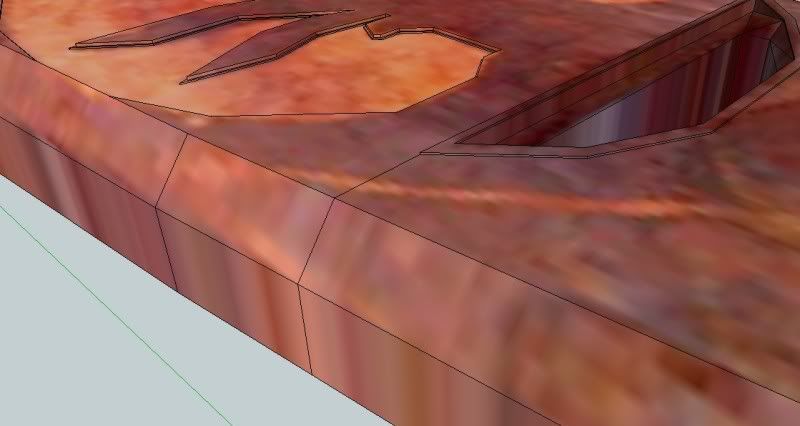
This is the subdivided mesh. Notice the abruptness of the subdivision near the mouth. This because there is big area below the mouth and the distance between the edge of the mouth and side is too small. The lines diverged on that area whilst you can see some abruptness.
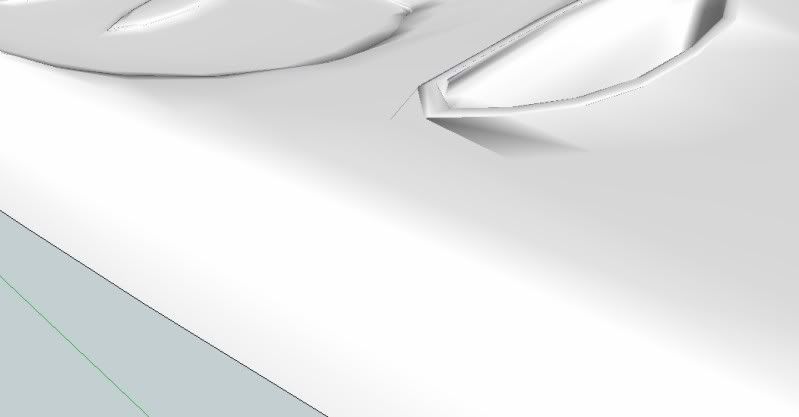
Next I added another line. To separate that area with the rest.
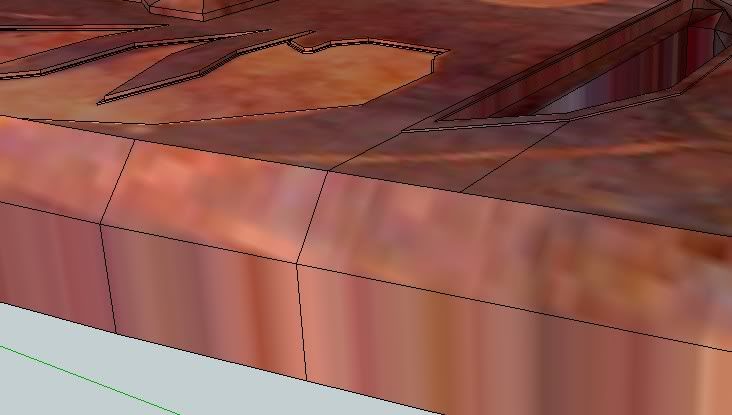
Now the subdivision is smoother.
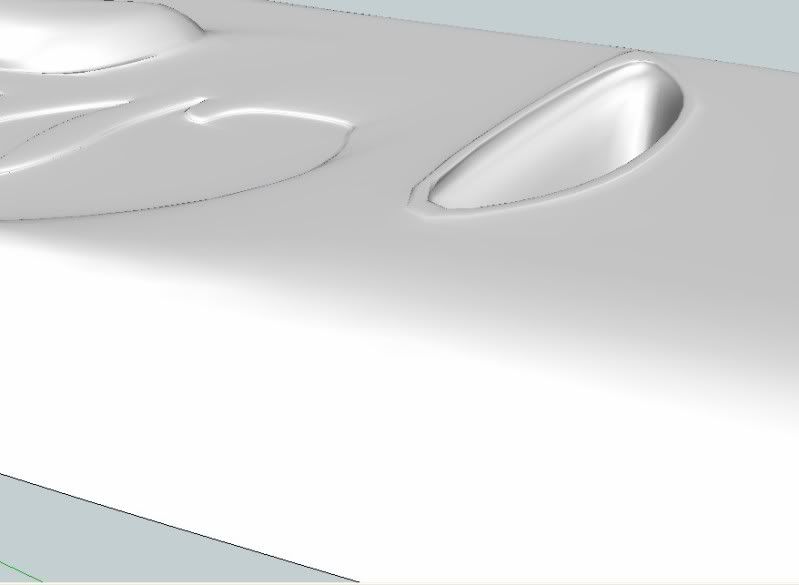
Here is the complete subdivided model
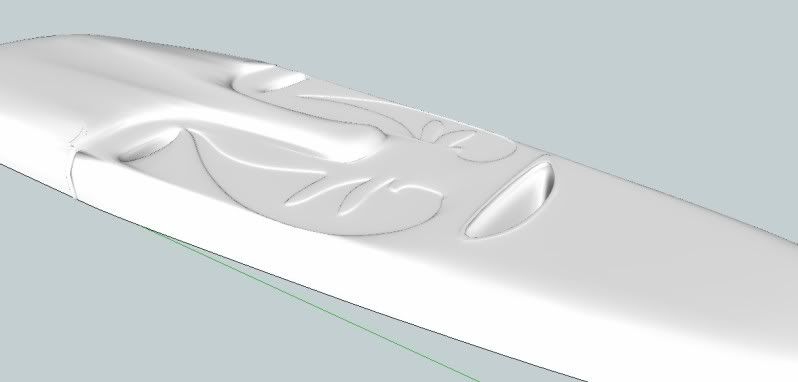
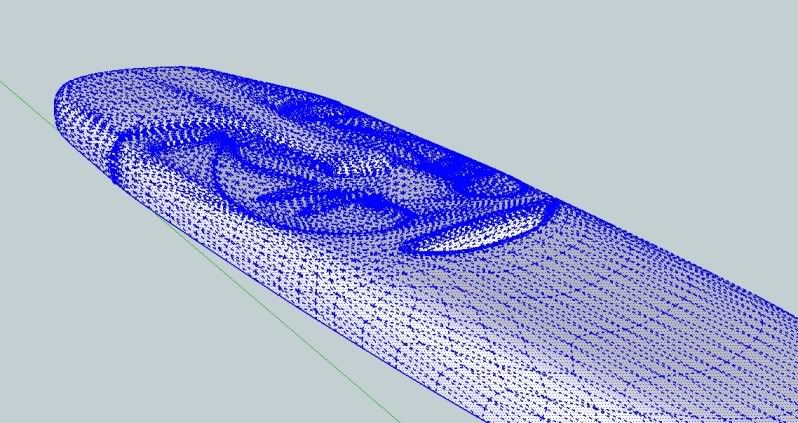
Here is the wireframe
I painted the texture.
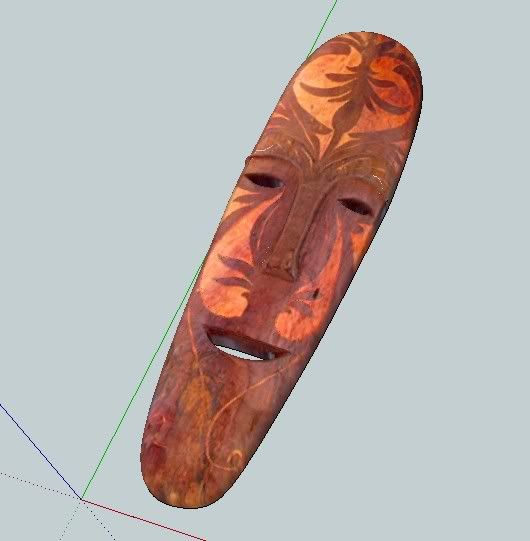
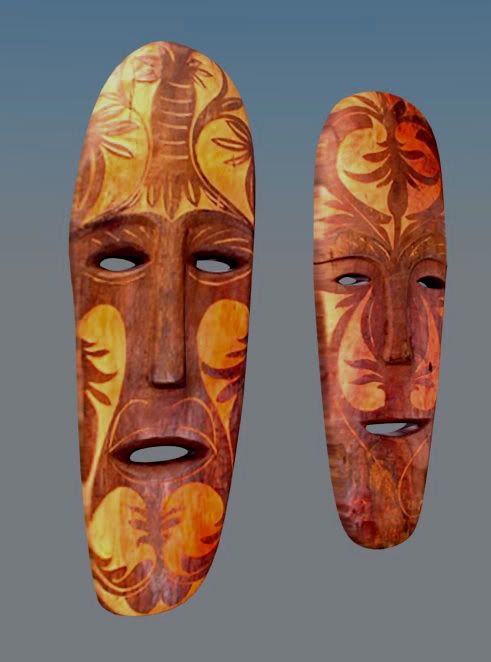
Here is the render.

Step 1: Trace the outline
Trace the outline of th mask, tracing can be faceted. It does not matter.See the image below.

Step 2: Push Pull
After tracing the whole image, we can push pull it with desired height. Tracing images will always have projected texture. If projected texture in not on then right click and tick projected texture.

Step 3: Offset tool
Select the outside boundary of the top face and use the offset tool. (see image below).

Step 4: Autofold
To enable autofold function, select the face and then use the move tool and at the same time press Alt.

Step 5: Trace the eyes.
I traced the eye like the below image. Then I created the hole.

Then push the other part like the below image.

I then move some of the below lines to the upper lines to create some slopes. I did the same thing with the other eye and the mouth.

Step 6. Tracing the nose
Next I traced the nose. (see the image below)

I push again the whole thing up (see image)

I selected some of the lines (see highlighted lines below)

and move them to the below lines.

Here is so far the model.

Step 7: Tracing the details.
I traced some of the details and pushed them a bit. now we are ready to subdivide. I would like you to notice the line near the mouth.

This is the subdivided mesh. Notice the abruptness of the subdivision near the mouth. This because there is big area below the mouth and the distance between the edge of the mouth and side is too small. The lines diverged on that area whilst you can see some abruptness.

Next I added another line. To separate that area with the rest.

Now the subdivision is smoother.

Here is the complete subdivided model

Here is the wireframe

I painted the texture.

Here is the render.

Labels:
Tutorial
Thursday, 24 November 2011
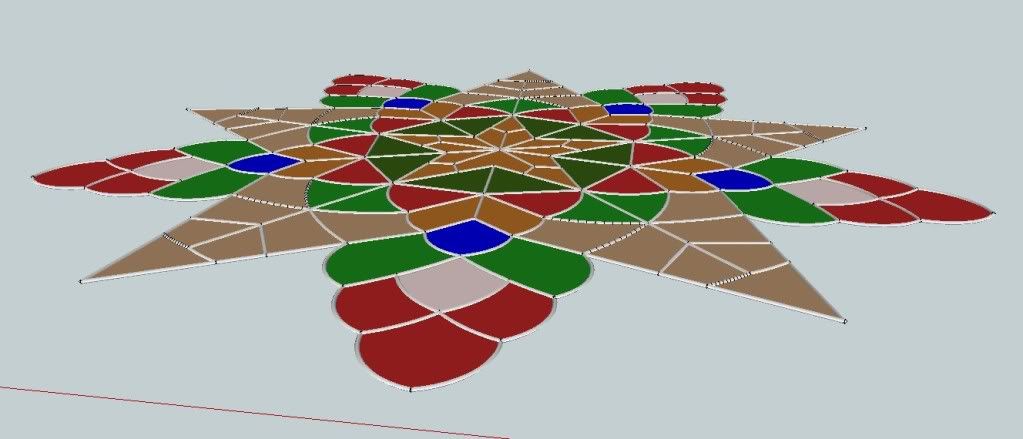
How to create Pampanga's Lantern using convert lines to tubes and extrude lines along vector
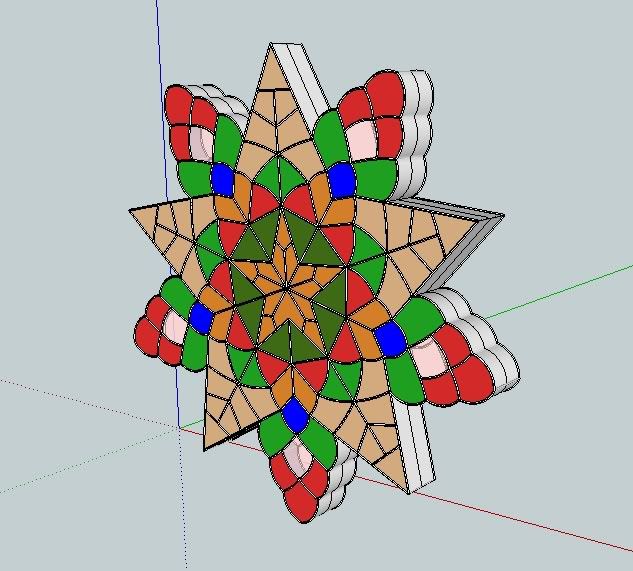
Pampanga, Philippines is known for each giant parol or lantern, the biggest in the world. Since Christmas is coming, I decided to do Christmas models particularly from the Philippines. This model is easy and can be done in multiple approaches. However, I would like to share my workflow especially in using some scripts that automates the steps. I would like to introduce 2 useful scripts; "convert lines to tubes" and "extrude lines along vector" which are both free. HERE is a good place to download them.
Step 1. The model
Here is a 2d model of the parol that I will be modeling.
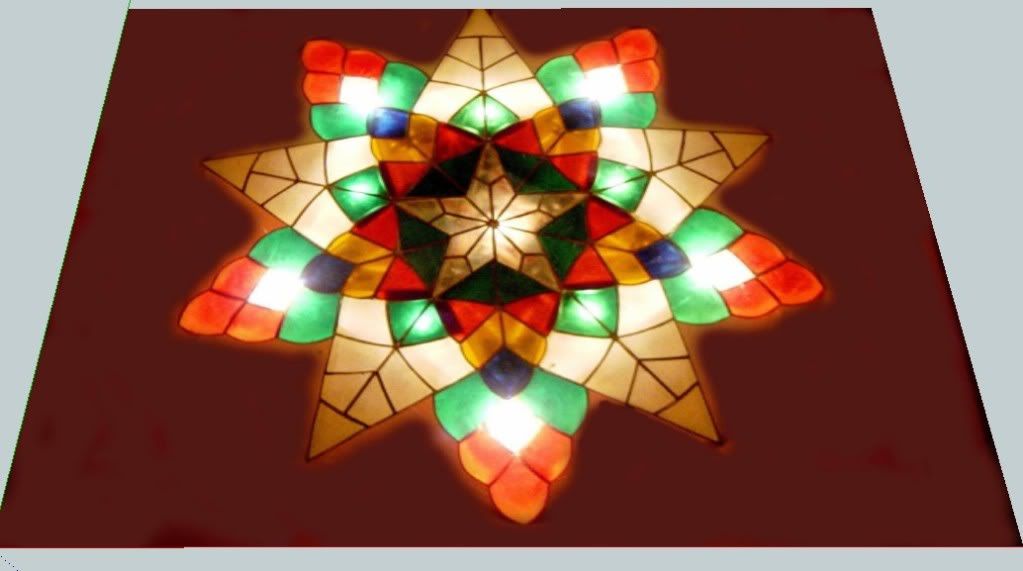
Step 2: Tracing the Lines
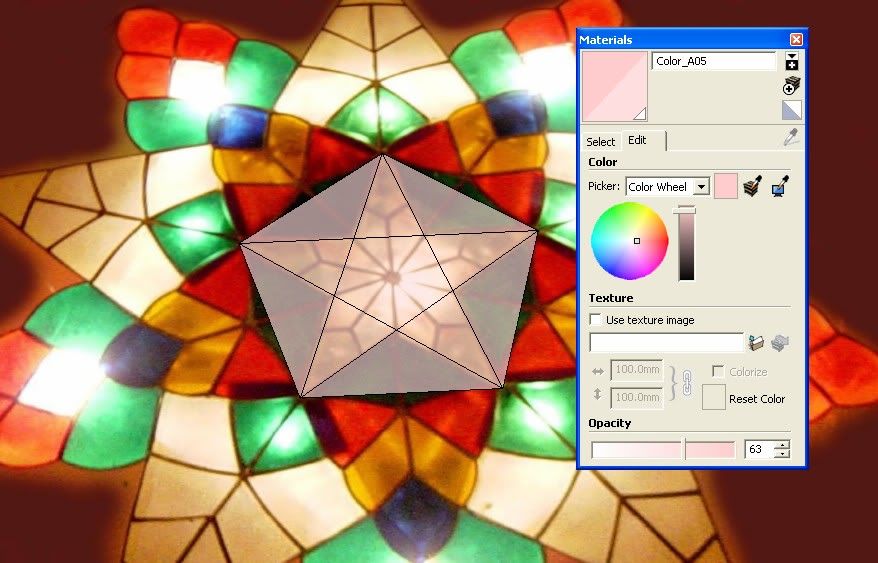
Since we have the reference image, all we need is to trace each lines. I applied semi transparent material so that I can see what I am tracing below. After tracing on part, I will copy and rotate it 4 times.
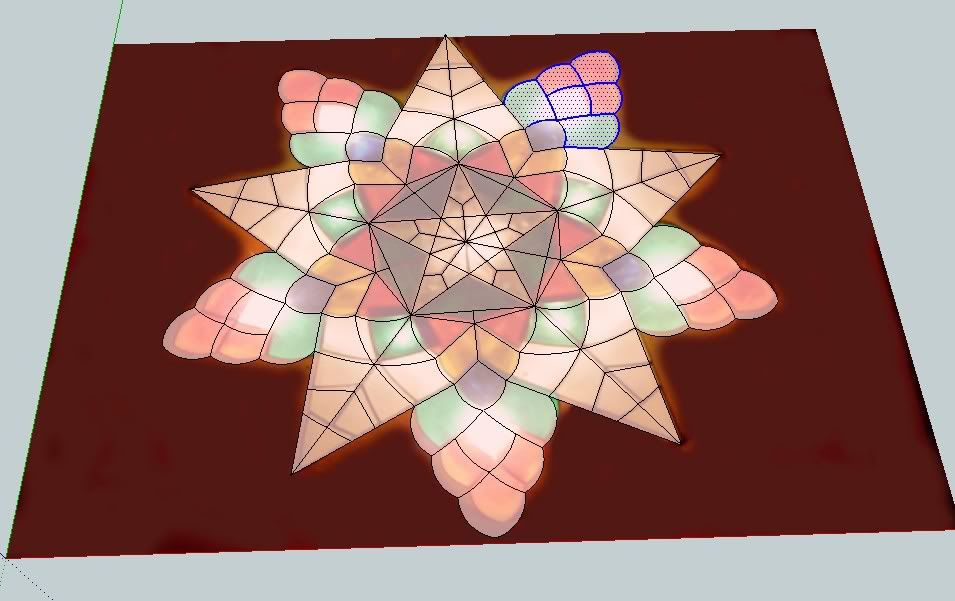
Here is the finished lines and arcs
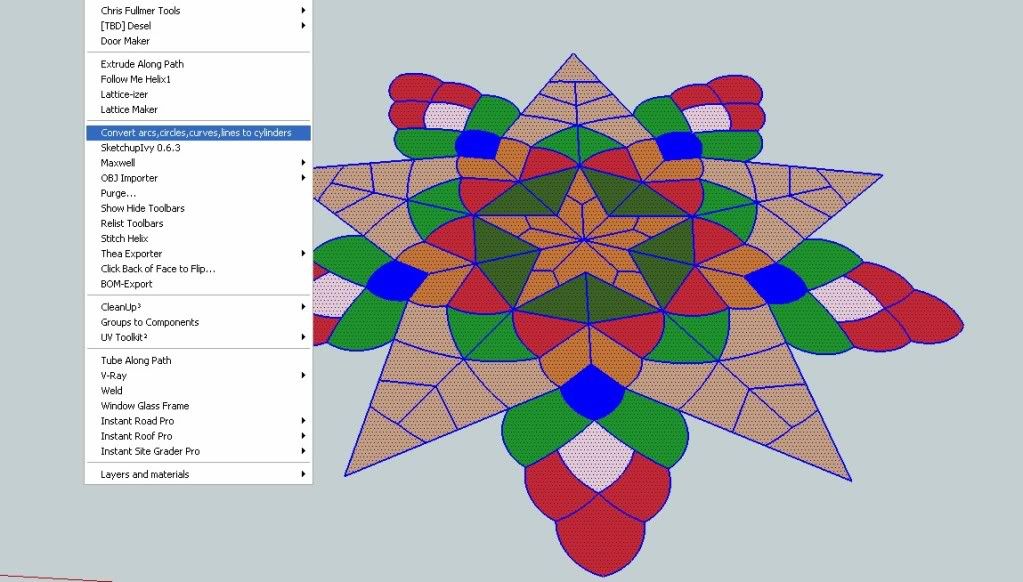
Step 3: Convert Lines into tubes
Using the script convert lines into tubes, I will convert the traced lines into cylinders basically.
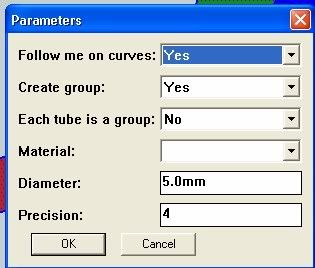
In order to optimize the number of sides, I only used precision 4 (4 sides)
Here is an image showing the converted lines into tubes.
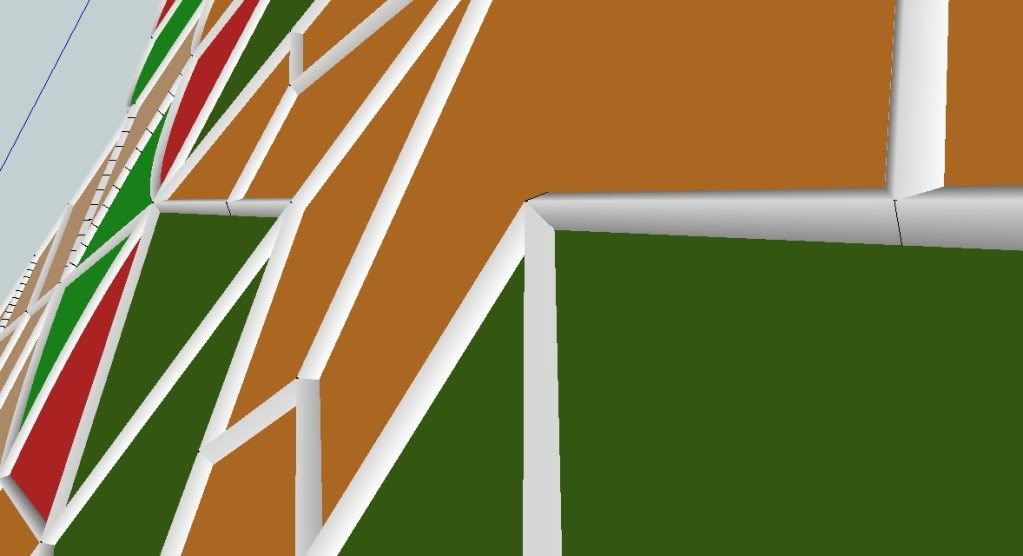
Close up
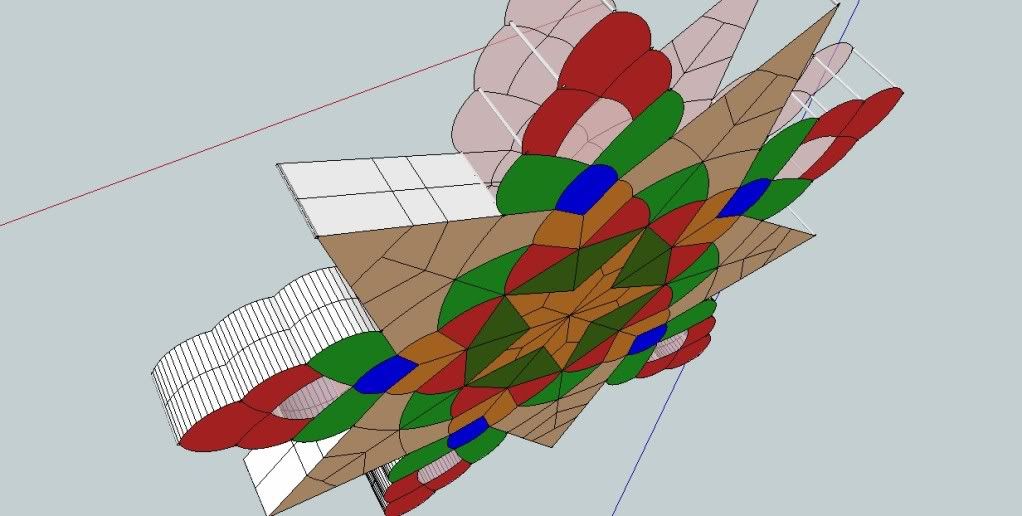
Step 4: Copying, mirroring and adding the sides.
I copied the completed face and made it into component. Then I flipped the copy using mirror tool. I added the sides using "extrude line along vector". Again this is a shortcut of doing faces.
Here is the finish model.
Details
Step 1. The model
Here is a 2d model of the parol that I will be modeling.

Step 2: Tracing the Lines
Since we have the reference image, all we need is to trace each lines. I applied semi transparent material so that I can see what I am tracing below. After tracing on part, I will copy and rotate it 4 times.

Here is the finished lines and arcs

Step 3: Convert Lines into tubes
Using the script convert lines into tubes, I will convert the traced lines into cylinders basically.

In order to optimize the number of sides, I only used precision 4 (4 sides)

Here is an image showing the converted lines into tubes.

Close up

Step 4: Copying, mirroring and adding the sides.
I copied the completed face and made it into component. Then I flipped the copy using mirror tool. I added the sides using "extrude line along vector". Again this is a shortcut of doing faces.

Here is the finish model.

Details

Labels:
Nomeradona Mini Tutorials
Tuesday, 22 November 2011
Tutorlal: Quick CLoth or undulating landscape
You just need 3 or 4 step to create this in Sketchup and Sculptool.
Monday, 21 November 2011
Tutorial: How to model folded T-shirt in Google SketchUp
Modeling clothing in SketchUp is not difficult at all. Here is a simple quick workflow on how to do it quickly.
One of the best thing in SkechUp is the ability to project the image.
Step 1: Importing reference image.
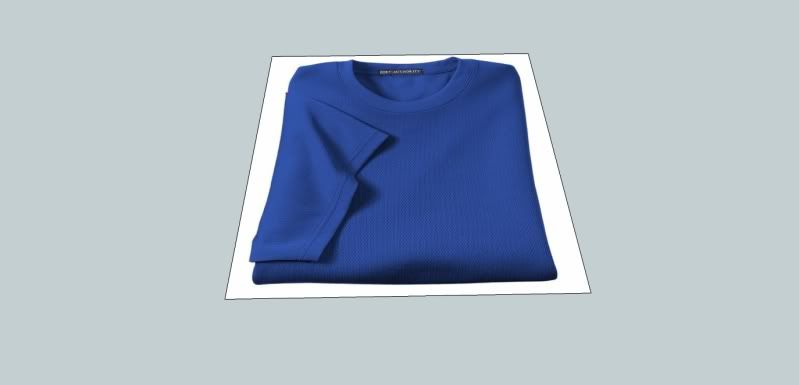
Step 2: Tracing the outside boundary using line tool
All you have to do is to use line tool and trace the boundary of the Tshirt, then
pulling it with push pull tool.
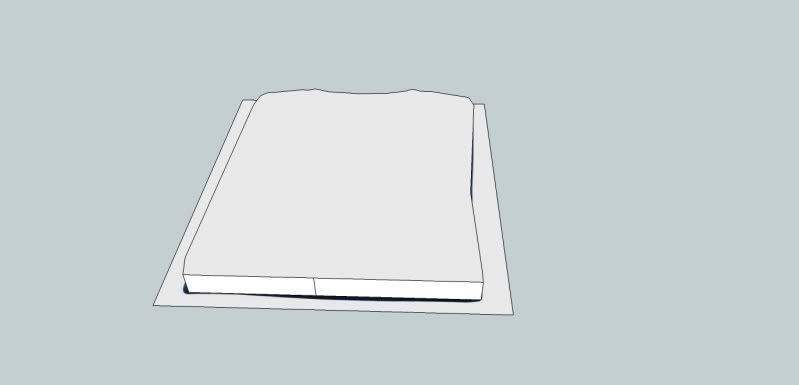
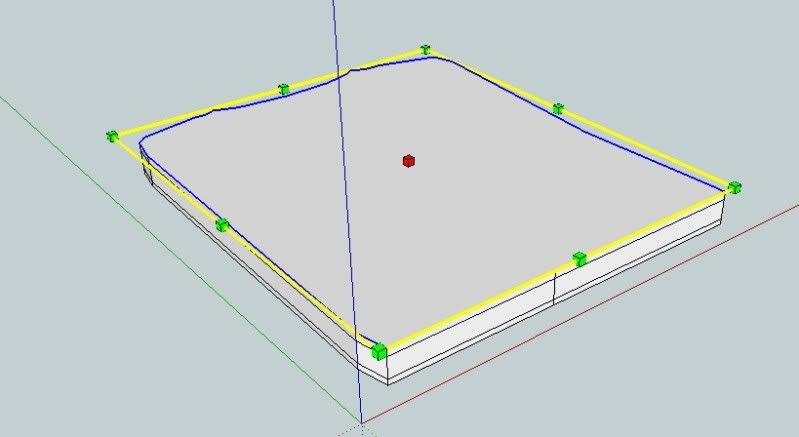
Step 3. Adding subdivision
To add subdivision, simply copy the bounding edges (not the face) and paste it twice (see the image below)
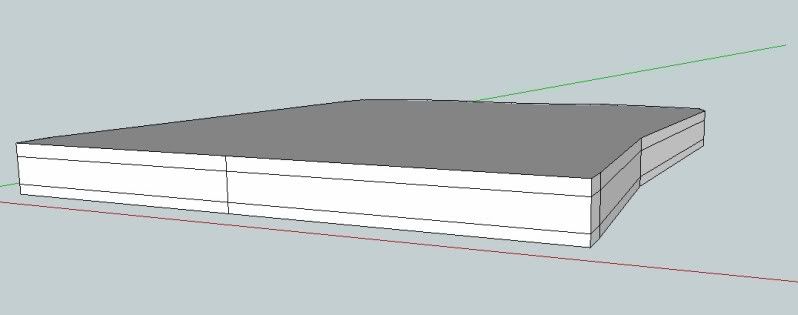
Step 4: Re-scale the top and bottom face.
Rescale the top and bottom face. Hold the control key so that the scale anchor point will be in the middle.
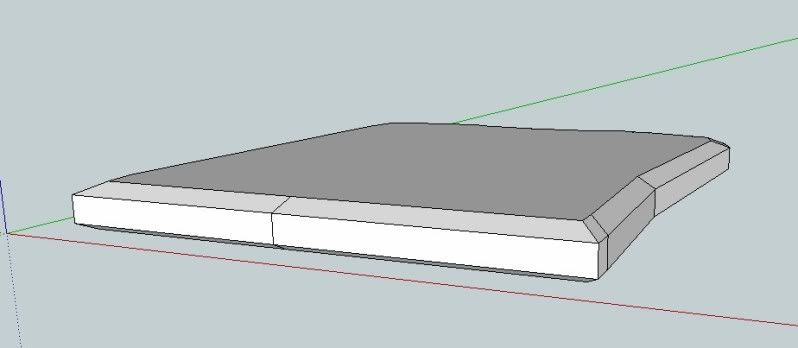
You can also use round corner "bevel face" by Fredo here.
Step 5: Beveled Faces
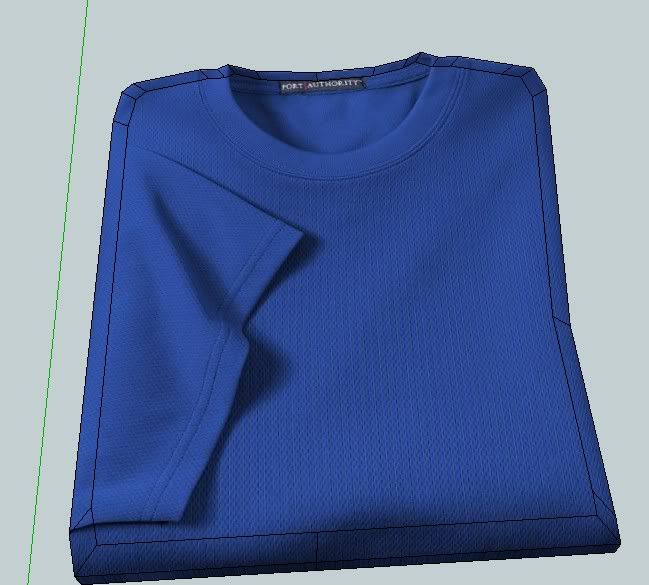
Step 6: Paint Projected image
You can now paint the model using projected image option. This is important for tracing the other parts of the T-shirt.
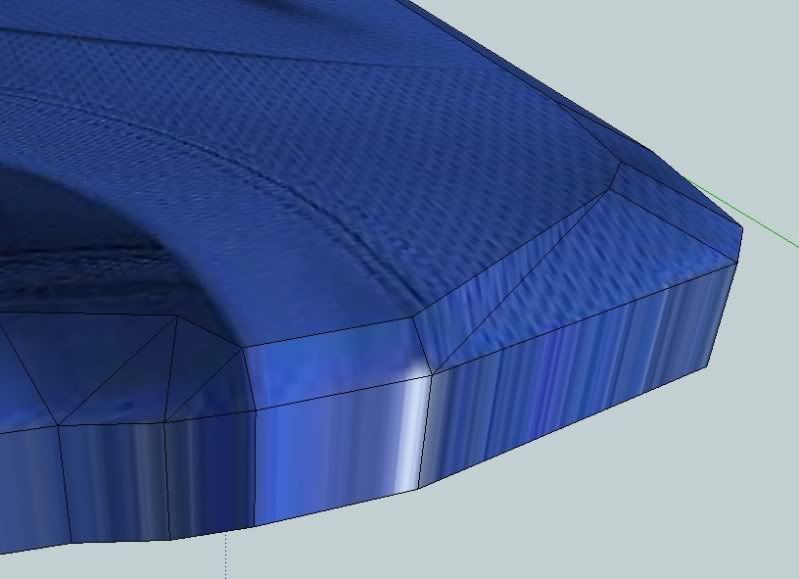
Step 7: Repositioning edges
In the image below, I repositioned some of the lines to follow the contour of shirt.
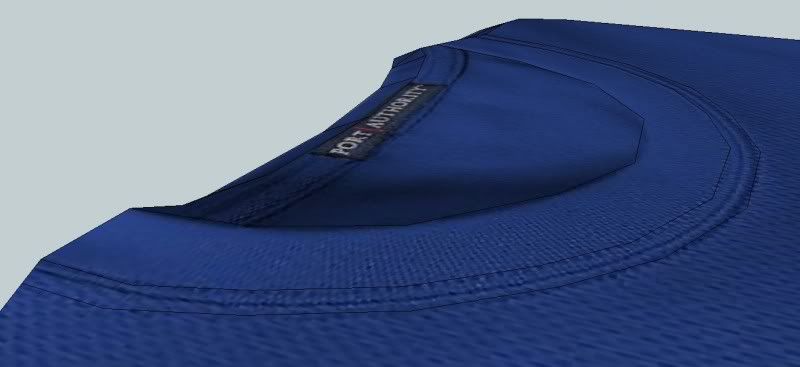
Step 8: Tracing the neckline
Here I traced the neckline.
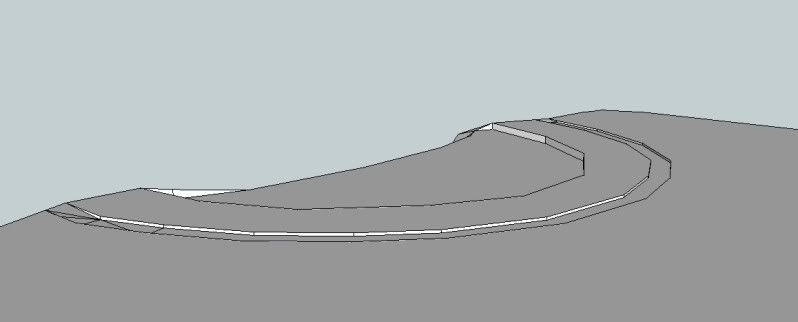
Step 9: Push pulling some parts of the neckline
After tracing the neckline and offsetting it, I used push pull tool to add depth and height. Here you can see the different heights without the projected image.
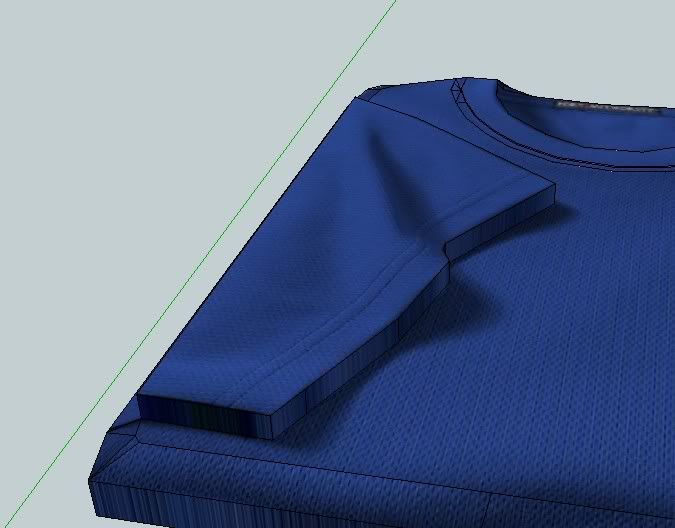
Step 10: Tracing the sleeve
Trace the sleeve and push pull one more time.
Step 11: Reposition again some of the lines
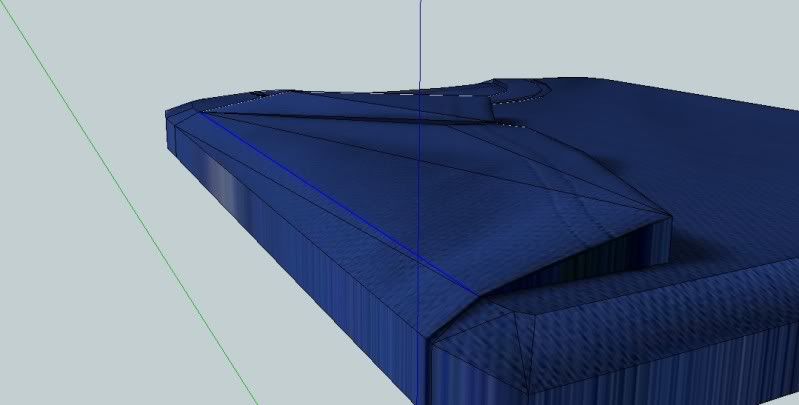
Here is the Raw Model without smoothing. Generally you can even use this with projected image and soften edges. If your model is far from the camera, this is more than enough to fool the viewers eye.
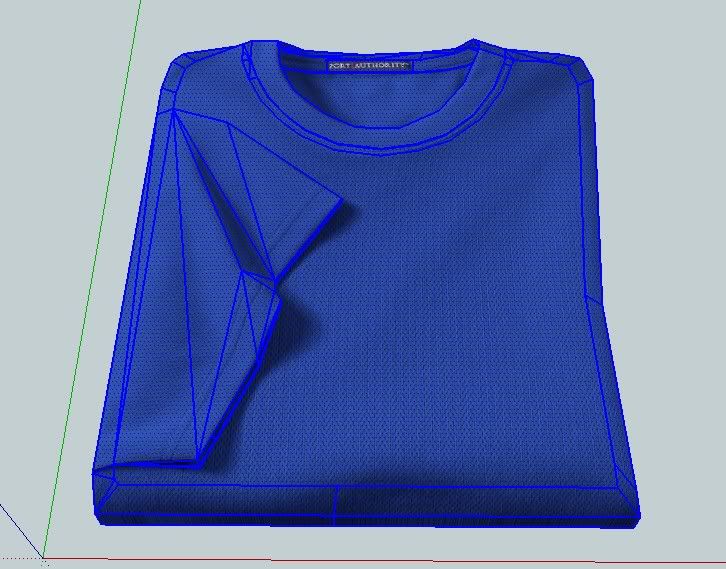
Step 12: Smoothing
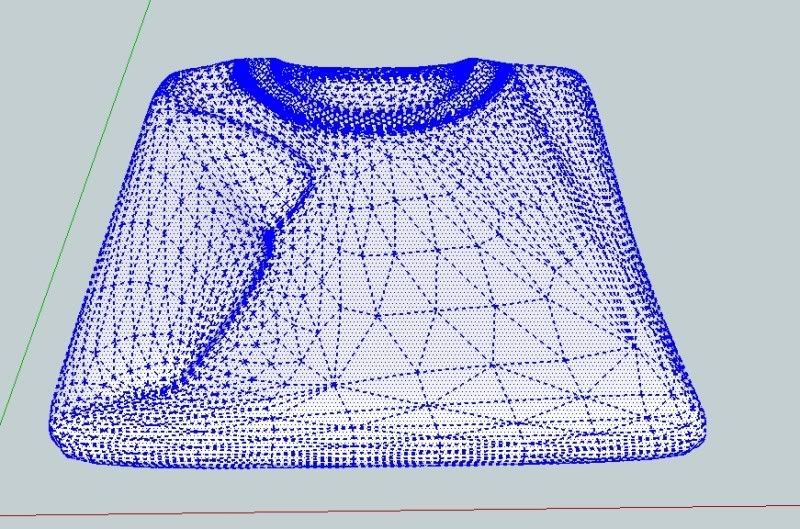
For high poly models that you want to use even near the camera, we can further sub-smooth the models. All we need to do it to select the model and subdivide it with 2 iterations.
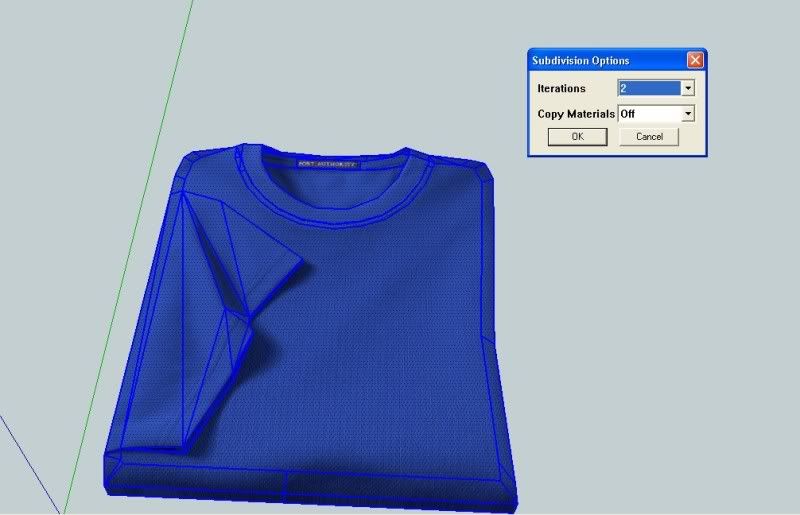
Here is the result
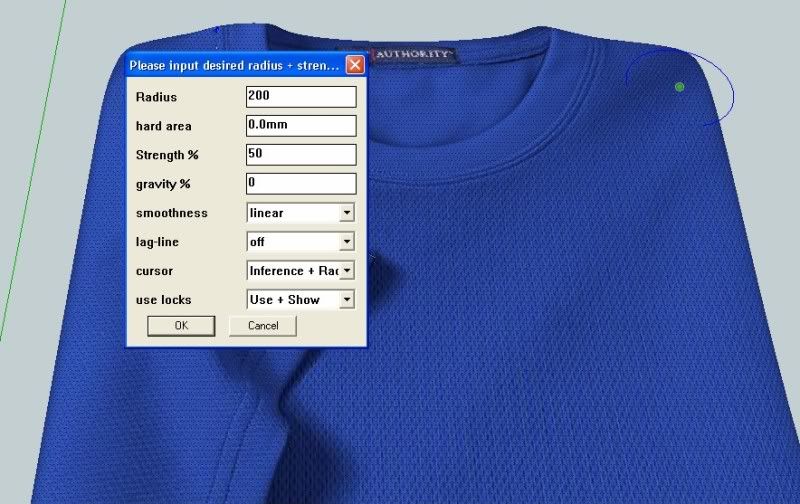
Step 13: Further sculpting
Once again using the sculpt tool script made by BTM. Download it for free HERE
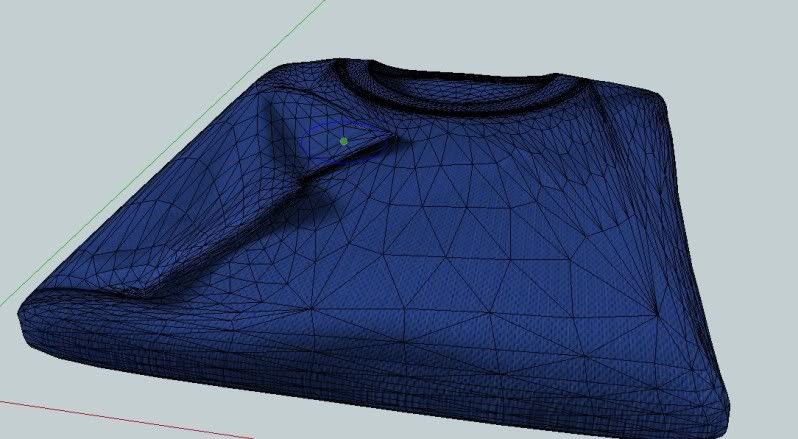
Here is the finish model
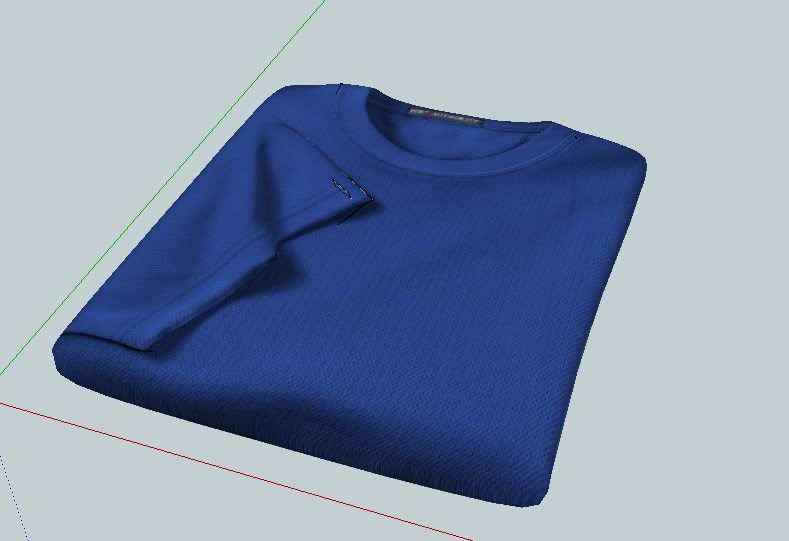
RENDERED VIEWS
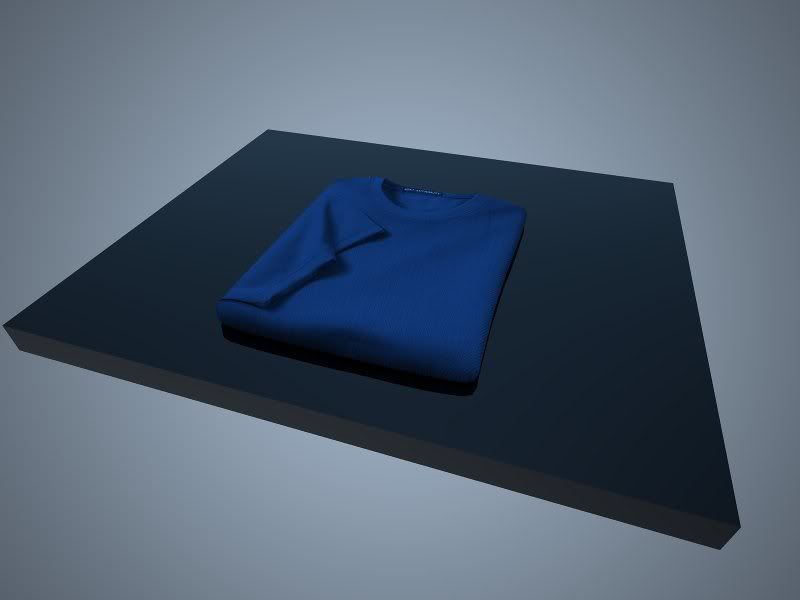
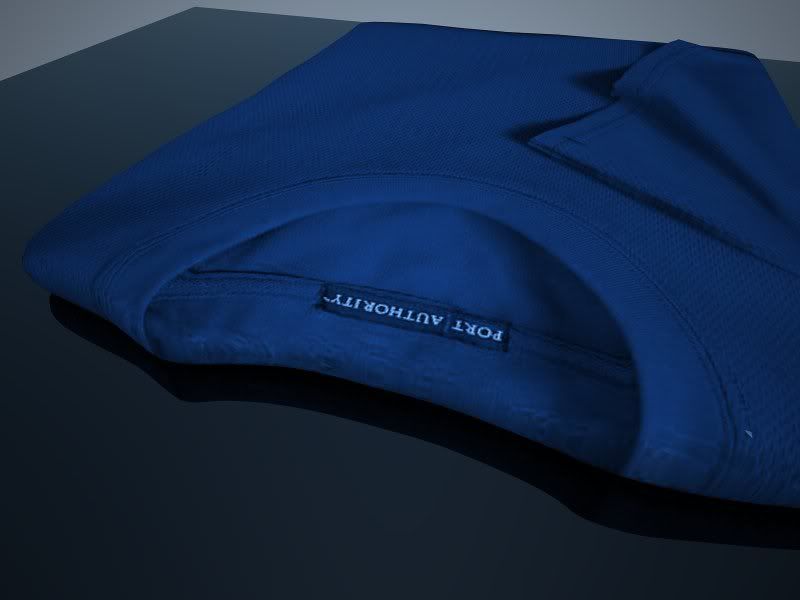
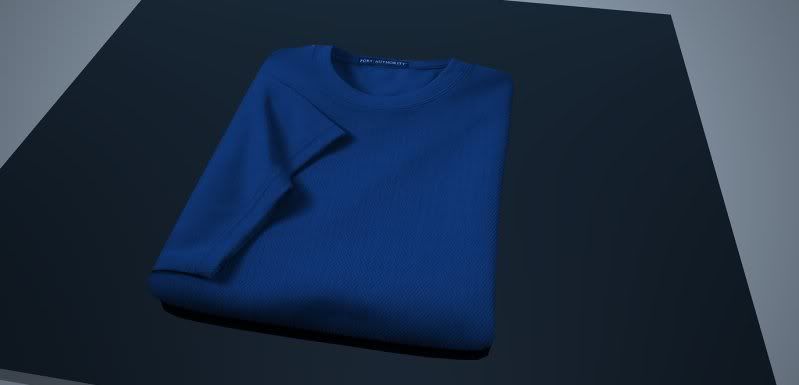
Hope this will encourage you to model and not keep on looking everywhere for models.
One of the best thing in SkechUp is the ability to project the image.
Step 1: Importing reference image.

Step 2: Tracing the outside boundary using line tool
All you have to do is to use line tool and trace the boundary of the Tshirt, then
pulling it with push pull tool.

Step 3. Adding subdivision
To add subdivision, simply copy the bounding edges (not the face) and paste it twice (see the image below)

Step 4: Re-scale the top and bottom face.
Rescale the top and bottom face. Hold the control key so that the scale anchor point will be in the middle.

You can also use round corner "bevel face" by Fredo here.
Step 5: Beveled Faces

Step 6: Paint Projected image
You can now paint the model using projected image option. This is important for tracing the other parts of the T-shirt.

Step 7: Repositioning edges
In the image below, I repositioned some of the lines to follow the contour of shirt.

Step 8: Tracing the neckline
Here I traced the neckline.

Step 9: Push pulling some parts of the neckline
After tracing the neckline and offsetting it, I used push pull tool to add depth and height. Here you can see the different heights without the projected image.

Step 10: Tracing the sleeve
Trace the sleeve and push pull one more time.

Step 11: Reposition again some of the lines

Here is the Raw Model without smoothing. Generally you can even use this with projected image and soften edges. If your model is far from the camera, this is more than enough to fool the viewers eye.

Step 12: Smoothing
For high poly models that you want to use even near the camera, we can further sub-smooth the models. All we need to do it to select the model and subdivide it with 2 iterations.

Here is the result

Step 13: Further sculpting
Once again using the sculpt tool script made by BTM. Download it for free HERE


Here is the finish model

RENDERED VIEWS


Hope this will encourage you to model and not keep on looking everywhere for models.
Labels:
Modeling,
nomeradona,
Tutorial
Subscribe to:
Posts (Atom)
Bedroom Interior Rendering
