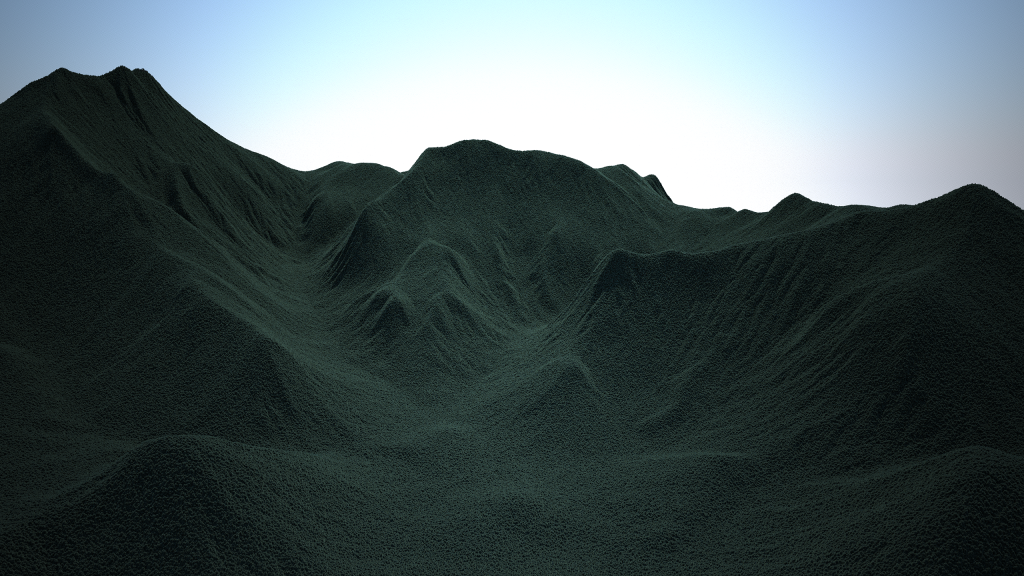
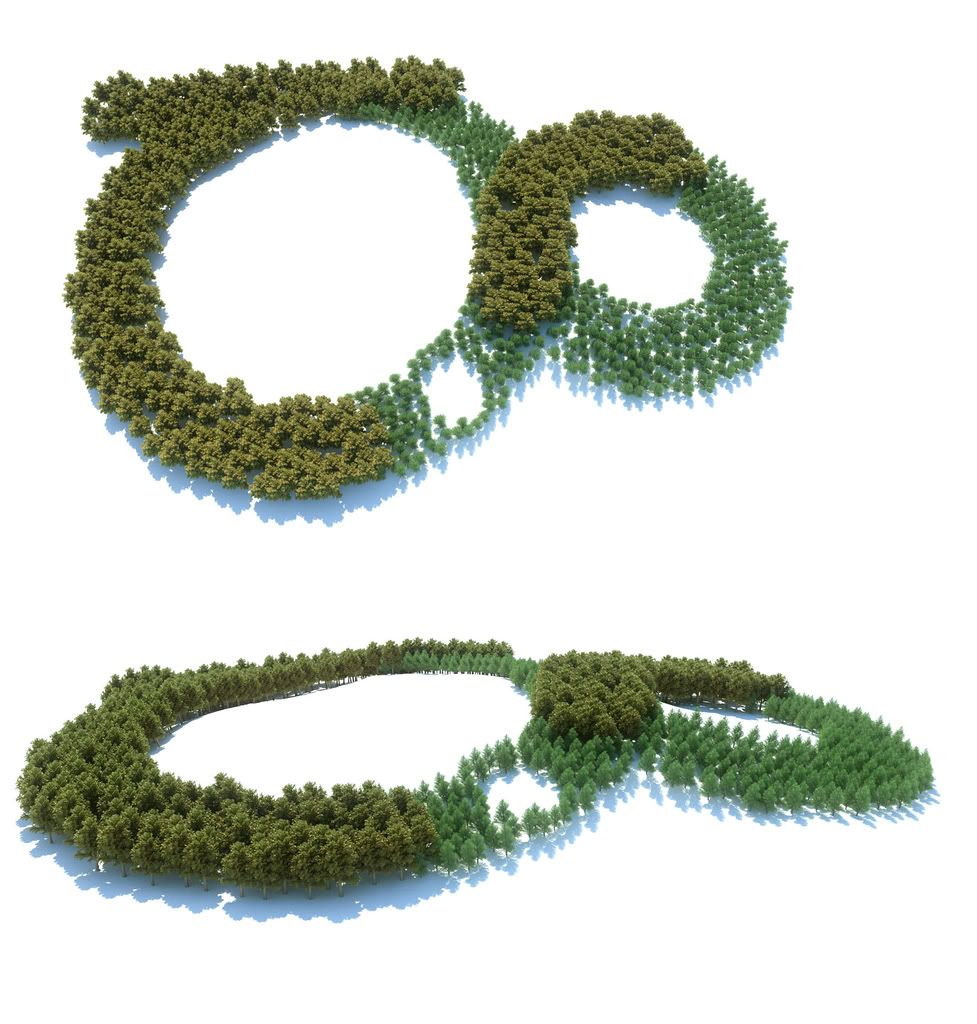
Many people are scared of using SketchUp when it comes with modeling curve structure. For me all the curve structures can be actually modeled even with the basic SketchUp's Sandbox tool. I decided to use video on this particular tutorial. This is actually my first video tutorial.
Youtube
Search

Custom Search
Welcome to My Blogsite
You will find on this blog a collection of my work mostly done in Google SketchUp and Rendered in either Vray for Sketchup, Hypershot, Vray Max, LightUp and Podium.
Download Free Google SketchUp Download Vray SKetchUp (you need to register in order to download)
Download Podium Evaluation copy Do you want to try Bunkspeed Shot? Click HERE.
Download Free Google SketchUp Download Vray SKetchUp (you need to register in order to download)
Download Podium Evaluation copy Do you want to try Bunkspeed Shot? Click HERE.
Saturday, 27 August 2011
Wednesday, 24 August 2011
Sketch Up Ur Space August 2011 Edition
SketchUp Ur Space August 2011 Edition was released. Andrew Telker is the main guy. Jim Legitt and Nomeradona's tutorials were also included. Visit SketchUp UR Space here. Or download their PDF file.
Monday, 15 August 2011
Wednesday, 10 August 2011
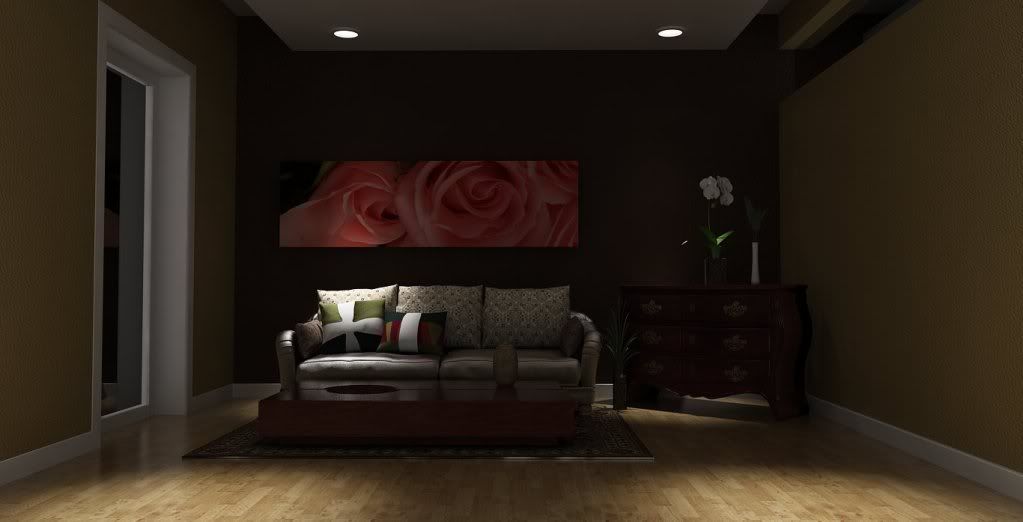
Work In Progress
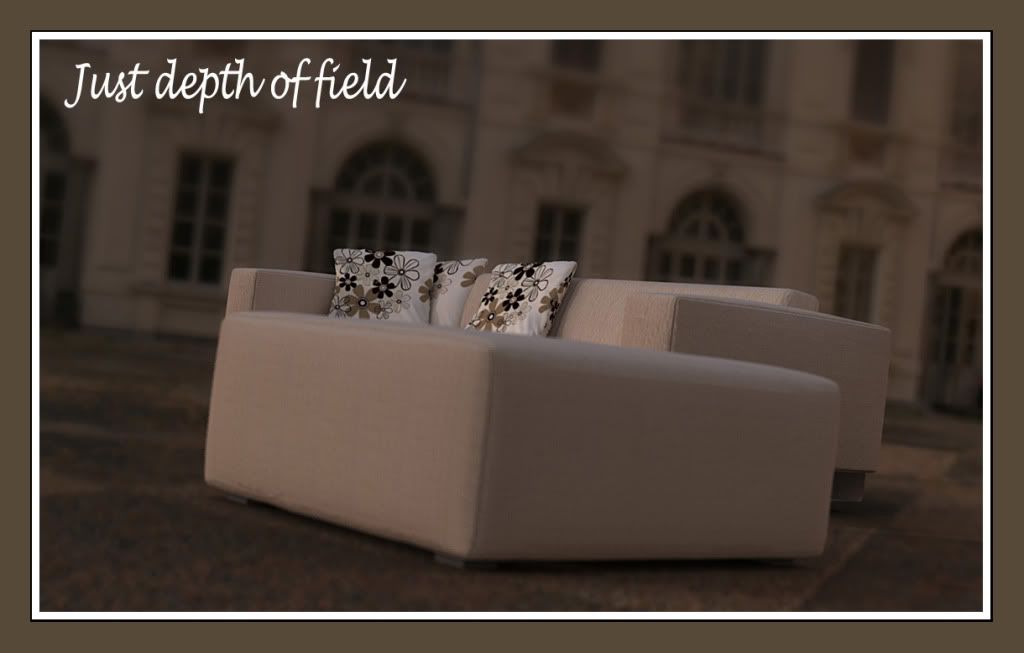
I will be doing a tutorial on the following using this image:
1. IES light using the newest Vray SU 1.49.01
2. How to control the UV of your Bump material visually in Vray SU
3. Why F-Stop Value
4. Using Fillet before rendering
5. Bump and Displacement.. The carpet needs to have bump and displacement. No effect yet at the moment. It's kind of stiff.
6. Perhaps I will explore leather material.

Labels:
WIP
Tuesday, 9 August 2011
News: Telker Design and SketchUp Artists London Daily published my tutorial
Thursday, 4 August 2011
Tutorial: How to render extra huge output image without crashing in Vray SketchUp
I have encountered these following questions "My client wanted me to print A0 size paper with nice quality, how can I do it?" Today I receive this from one of the follower with my Nomeradona Facebook page "Nomeradona, I am working on a Google SketchUp 3D Floor Plan, and trying to Render it in Vray. I am able to Render it at (800x600), but I run out of ram, when I tried to output the (4000x3000 dpi) file size. Are there any tricks you can recommend to reduce the file size or increase rendering optimization?"
In this case, what shall we do? The good news is there is a very simple solution in Vray Sketchup 1.49.01 and here is this using the output vrimage.
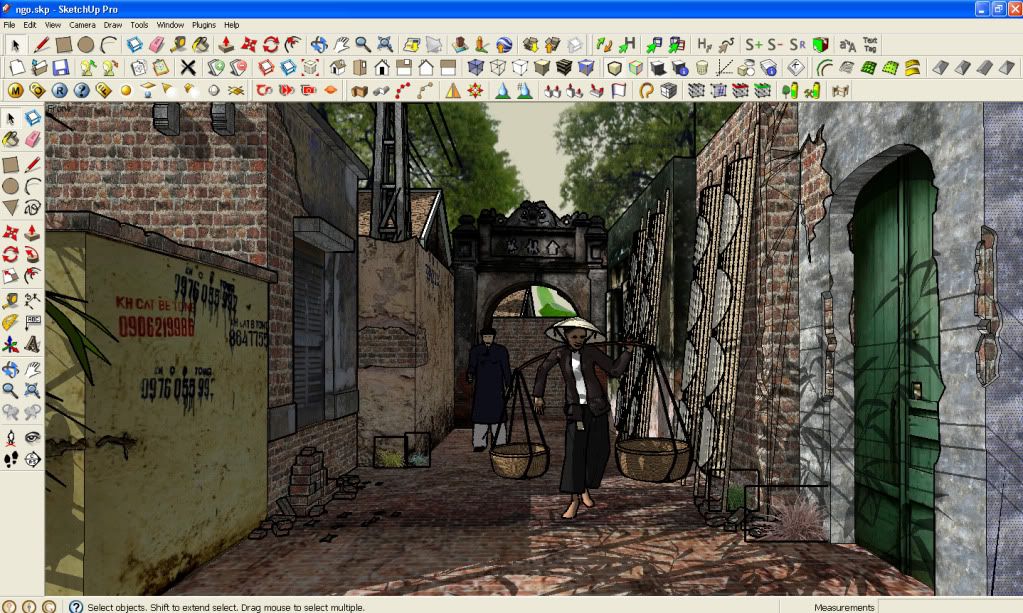
This is an old Sketchup file which I did almost four years ago. Let me just use it to quickly show you the trick
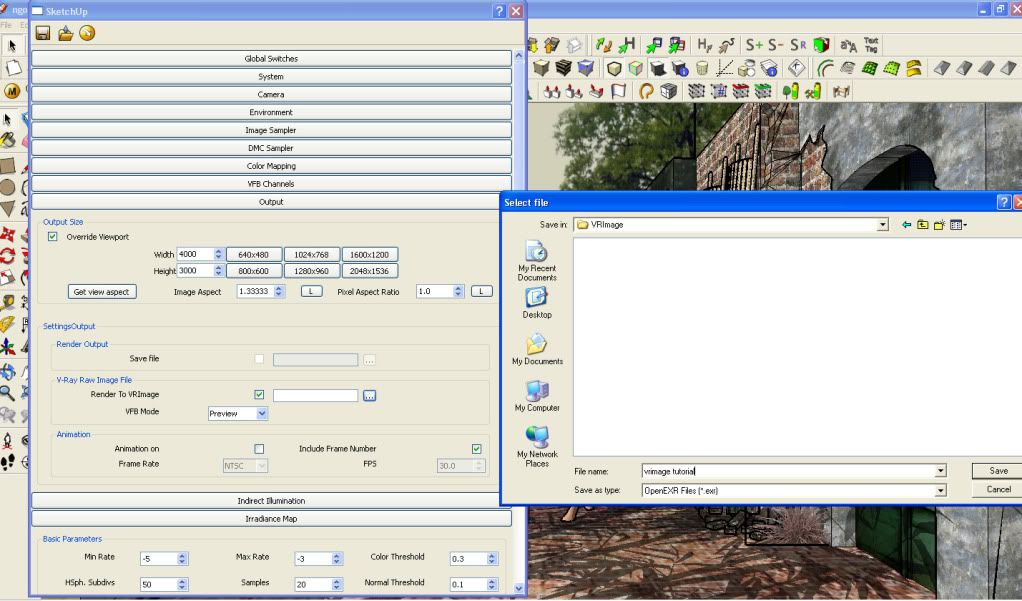
Step 1: The output size
I have rendered before more than 8000px width x 4000px spherical panorama render which I used for this Virtual reality post. CLICK HERE to view this post. So far this was the maximum size I have tried. Anyhow in this particular render, I will make an output of perhaps half of this.
Step 2: IR passes
Since the image is huge, you don't need that high min/max rate. I lowered my min/max rate to -5,-3 .
Step 3: VRImage output.
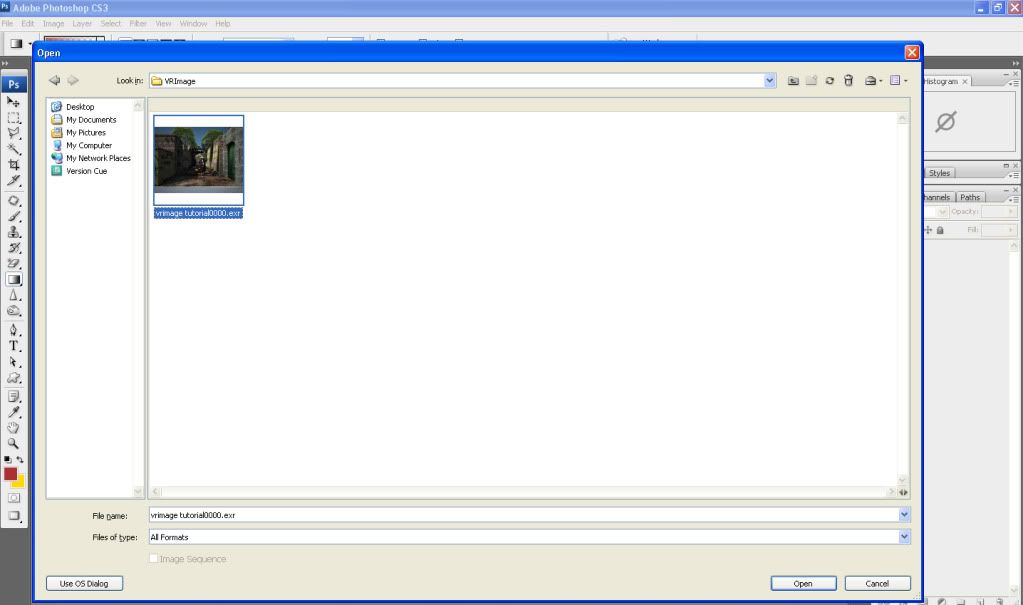
Locate the output roll-out window and under the setting output, tick the box "Render to VRImage". Once selected save it in exr root file to any folder that you want.
Step 4: Preview Image.
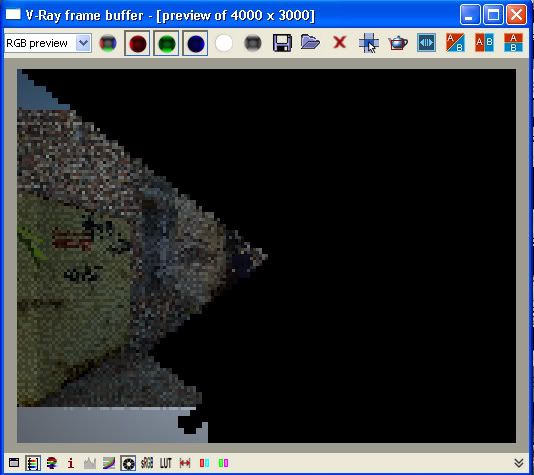
Vray SketchUp will now begin to write the data in your hardrive. The Vray frame buffer will appear and you will see on the very top it reads "preview of the file output size that you have entered".
Once done, the image file will be written to the assigned folder that you have chosen.
Open Photoshop and load the exr file
Step 5: Converting the Gamma 2.2 to Gamma1.0
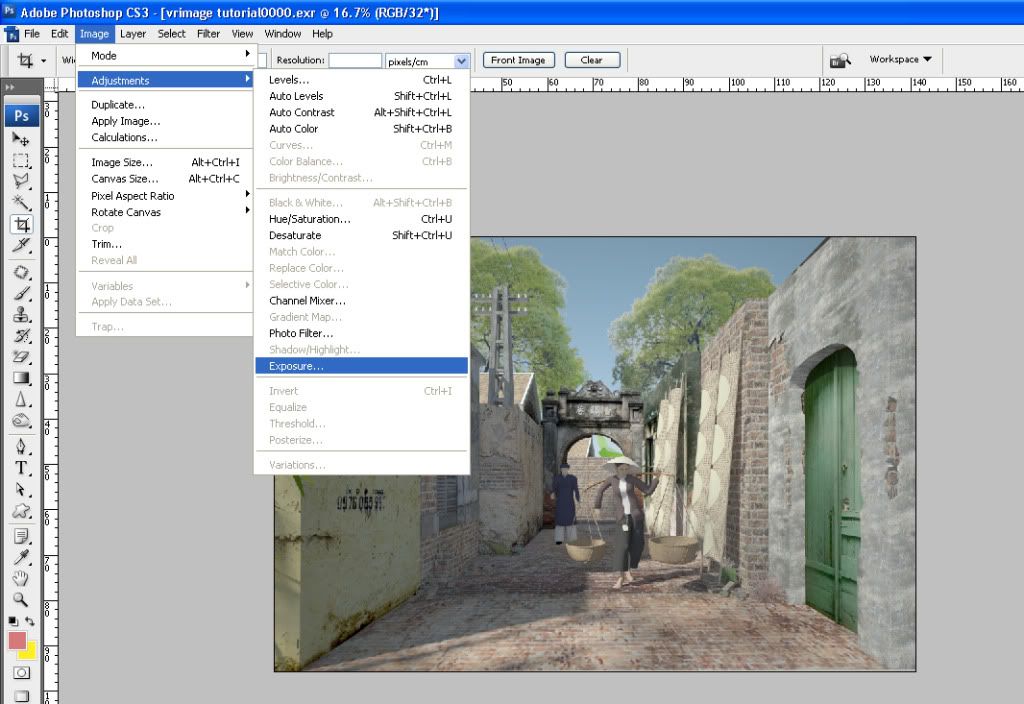
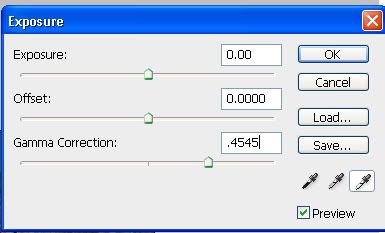
Vray SU by default uses gamma 2.2. When we open the file in Photoshop you should not be surprise why it's too bright. In order to convert the Gamma 2.2 to 1.0, select image/ adjustments/exposure.
Enter the value 0.45.45 ( 1.0 divided by 2.2)
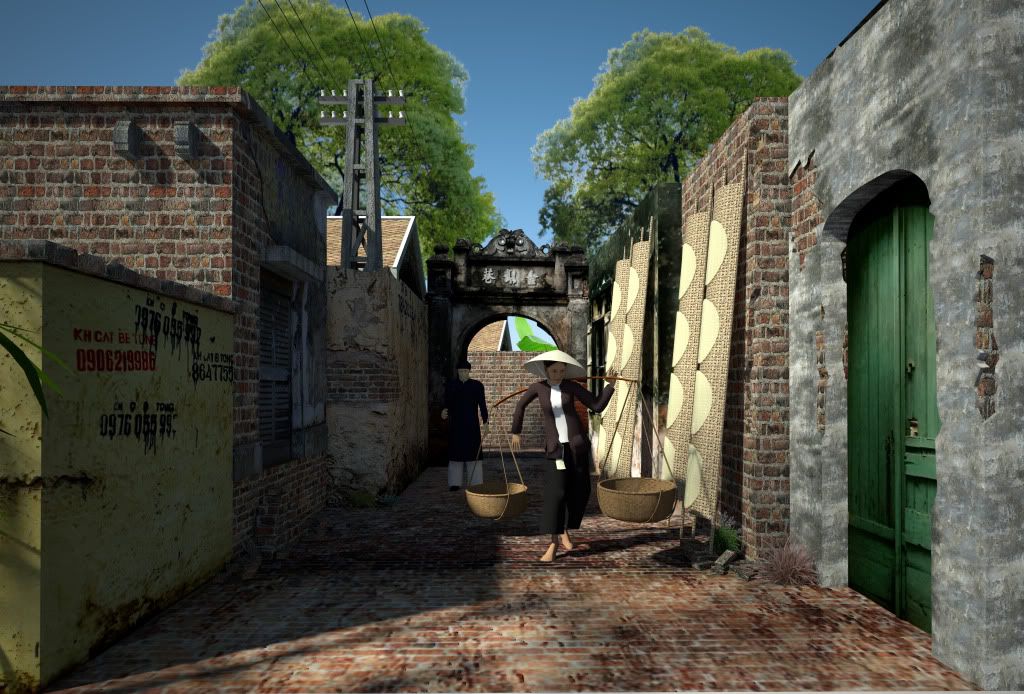
Here it is..
I hope this is useful!
Nomeradona
Labels:
Tutorial,
Vray SketchUp,
VRImage
Tuesday, 2 August 2011
Monday, 1 August 2011
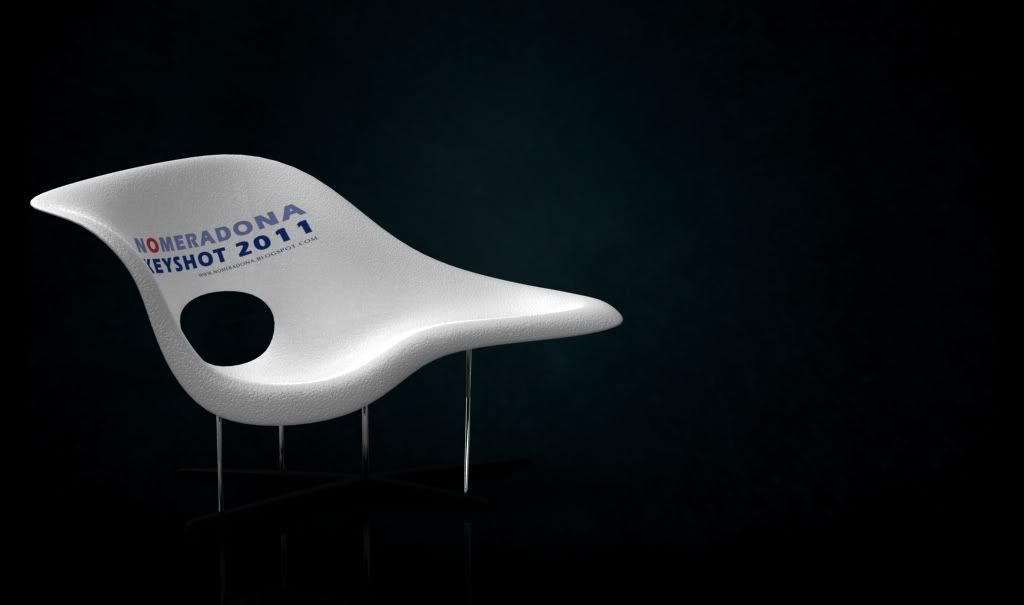
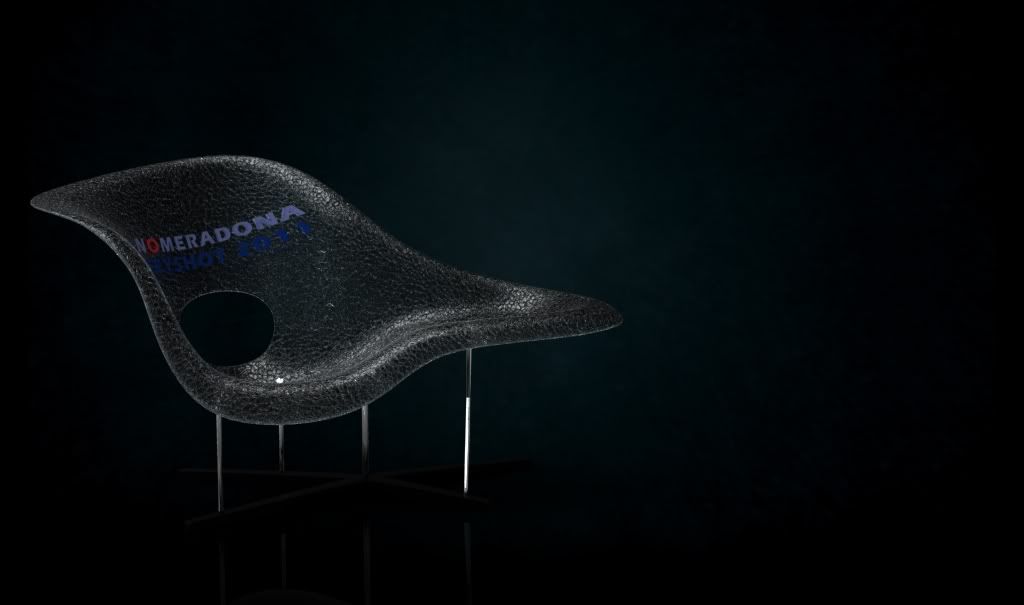
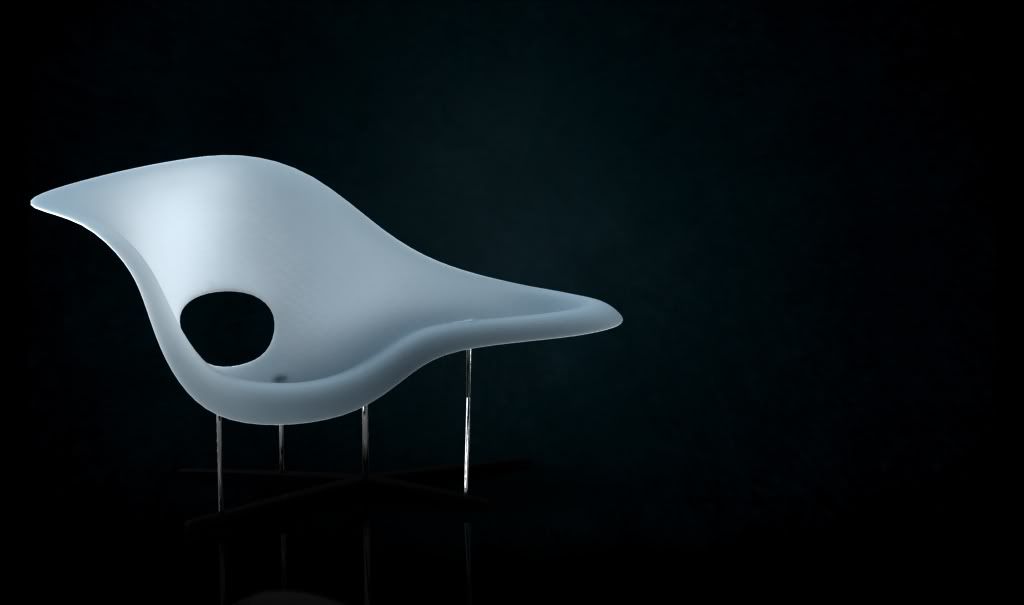
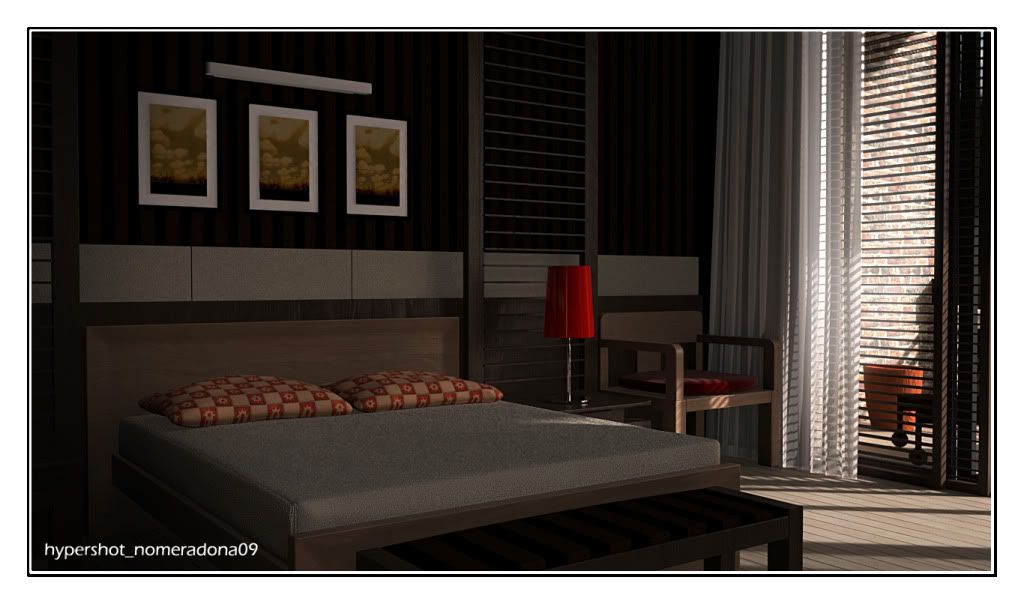
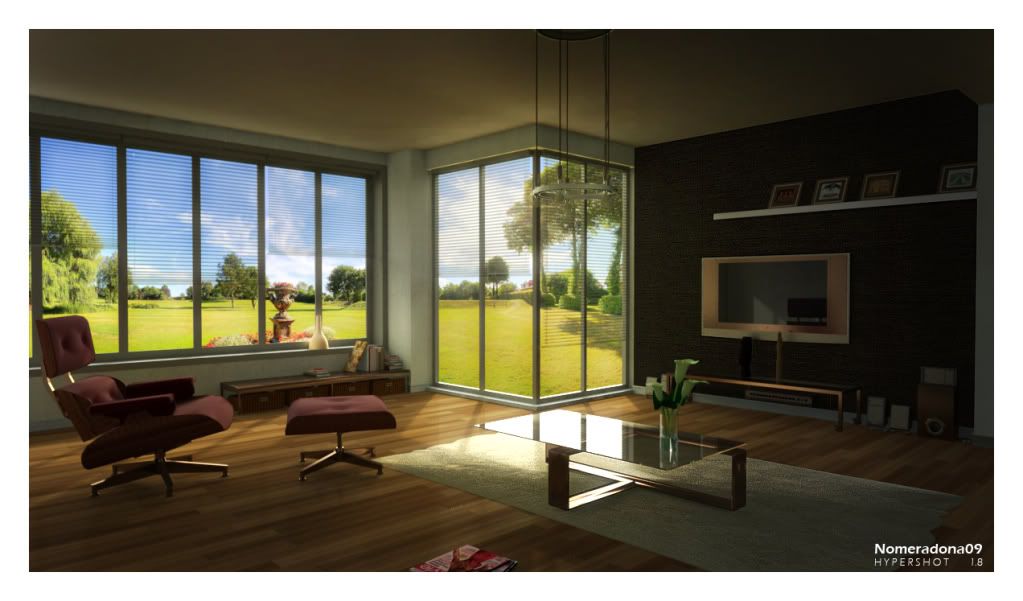
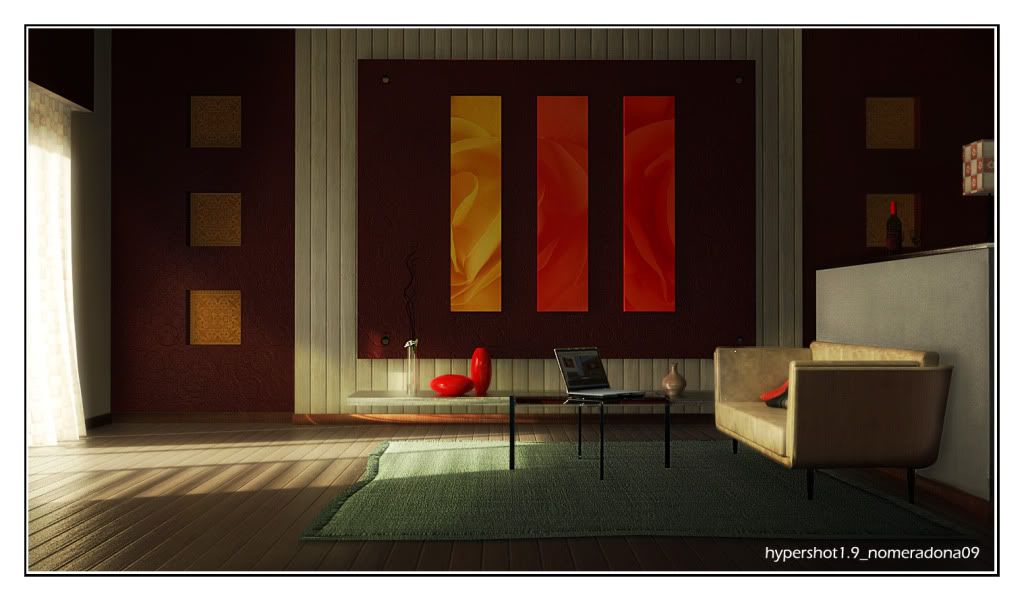
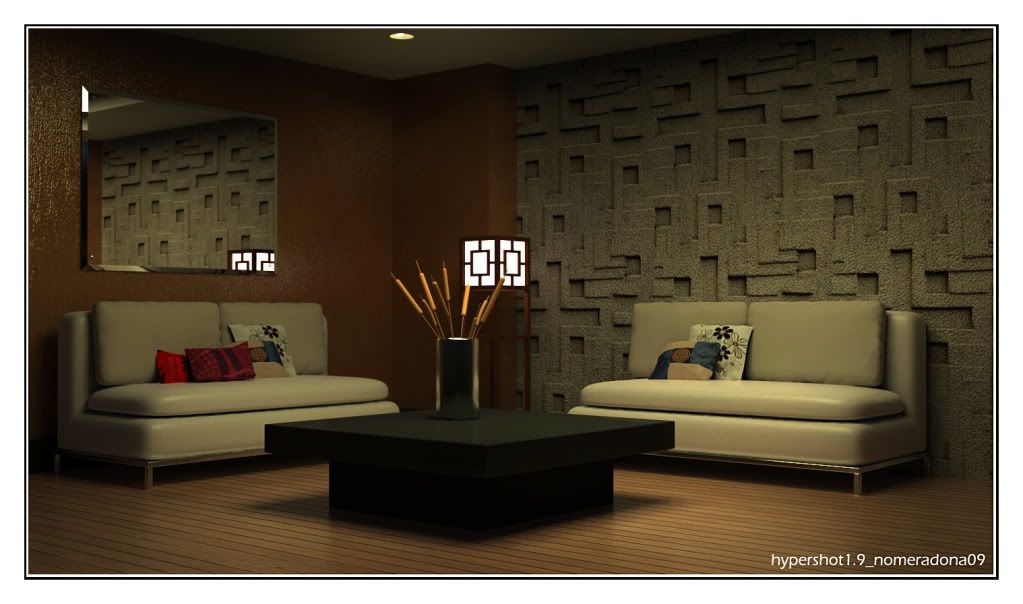
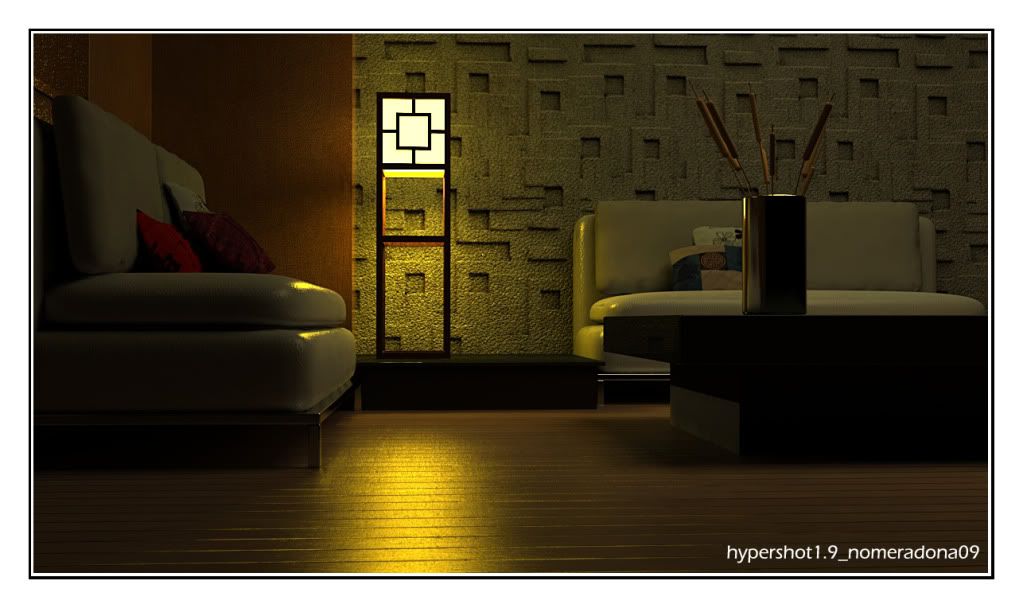
OLD HYPERSHOT RENDER
Here are some of my render in Hypershot before LUxion and Bunkspeed seperated. After that I loose my interest with Hypershot.
Key Shot: Architectural tryout
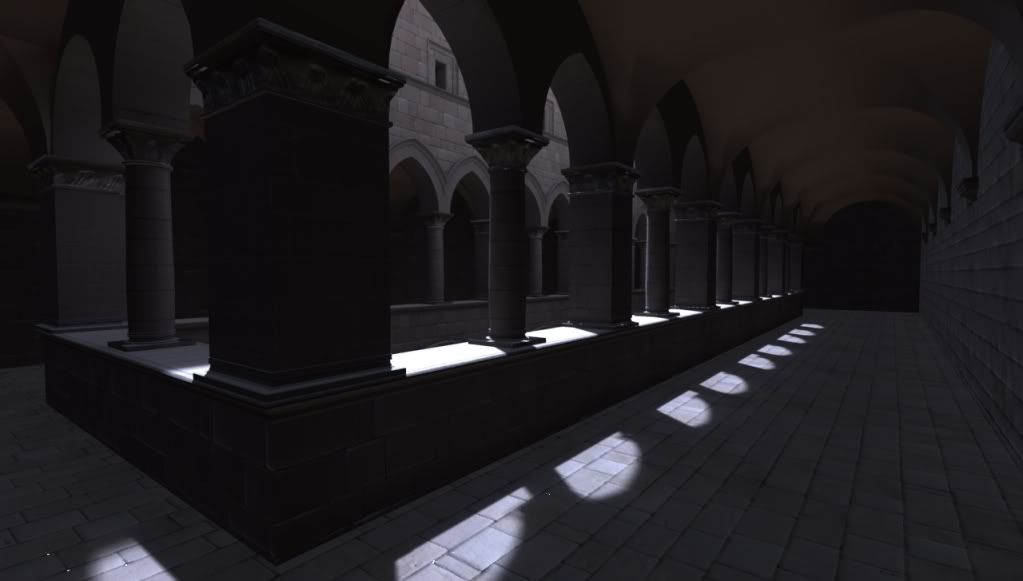
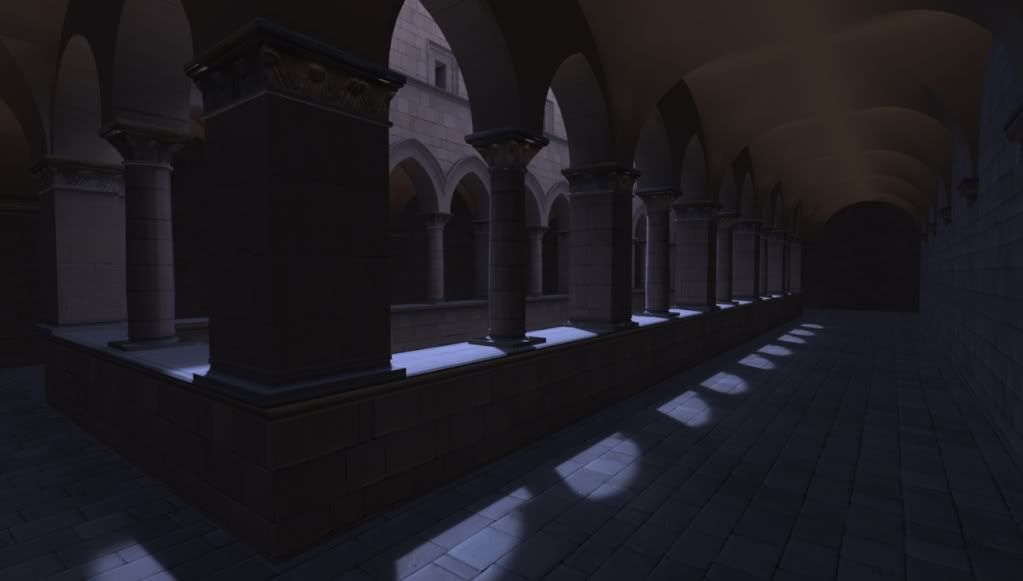
One of the most difficult to achieve in either using Keyshot, Hypershot or Bunkspeed Shot rendering engine is Architectural interior. I am trying it again with this partly open model of Sponza.
No post processing involve in these two render images. They are both raw render output of Keyshot.
No post processing involve in these two render images. They are both raw render output of Keyshot.
Labels:
Keyshot
The New Thea render
One of the thing i am looking for a render is proxy or instancing. I just bought Thea recently and I am excited what could it offer in the future.
Here are some images
2 billion instancing courtesy of Thea (Click Image to vie original image
Another instancing courtesy of Solo
Here are some images
2 billion instancing courtesy of Thea (Click Image to vie original image
Another instancing courtesy of Solo
Subscribe to:
Comments (Atom)
Bedroom Interior Rendering
