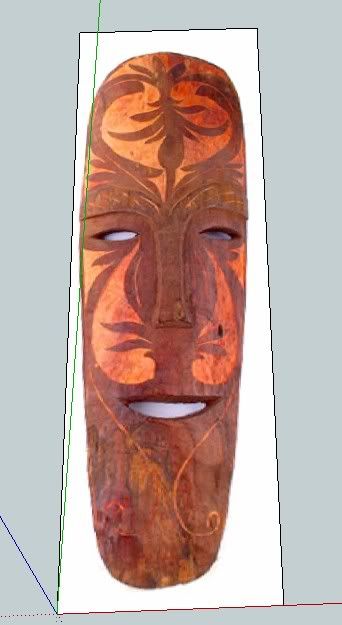
Step 1: Trace the outline
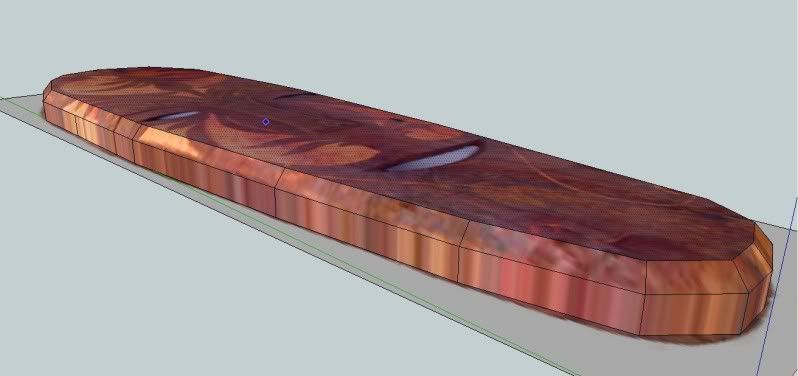
Trace the outline of th mask, tracing can be faceted. It does not matter.See the image below.
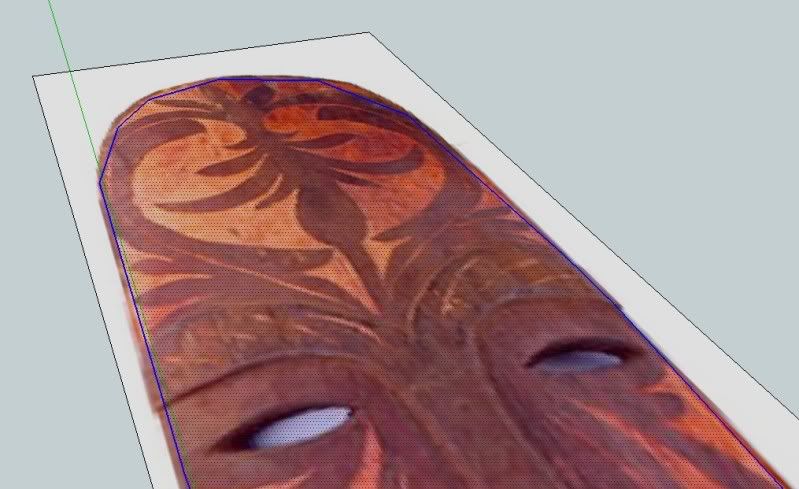
Step 2: Push Pull
After tracing the whole image, we can push pull it with desired height. Tracing images will always have projected texture. If projected texture in not on then right click and tick projected texture.
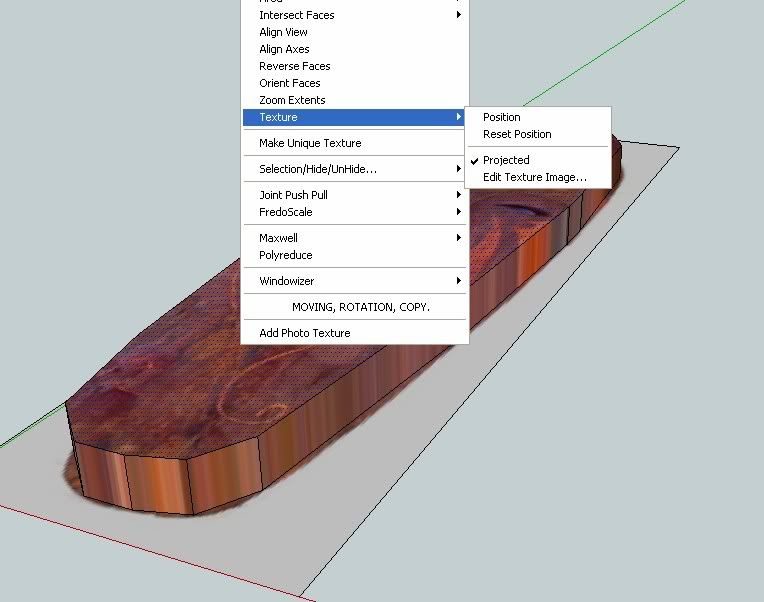
Step 3: Offset tool
Select the outside boundary of the top face and use the offset tool. (see image below).
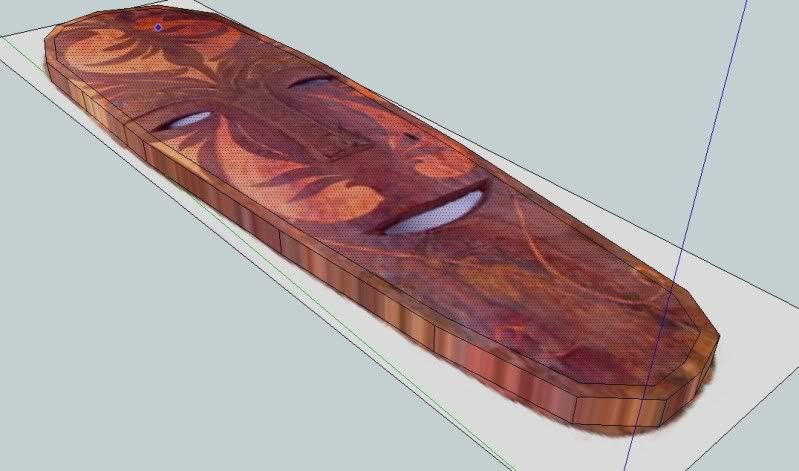
Step 4: Autofold
To enable autofold function, select the face and then use the move tool and at the same time press Alt.
Step 5: Trace the eyes.
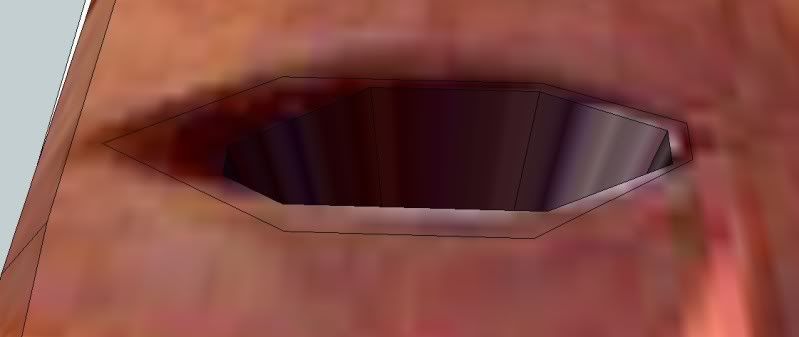
I traced the eye like the below image. Then I created the hole.
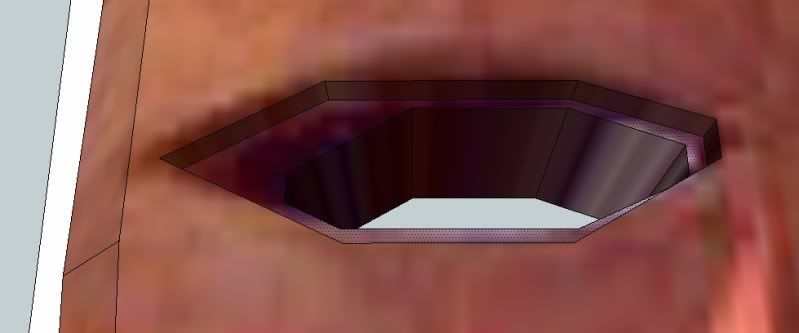
Then push the other part like the below image.
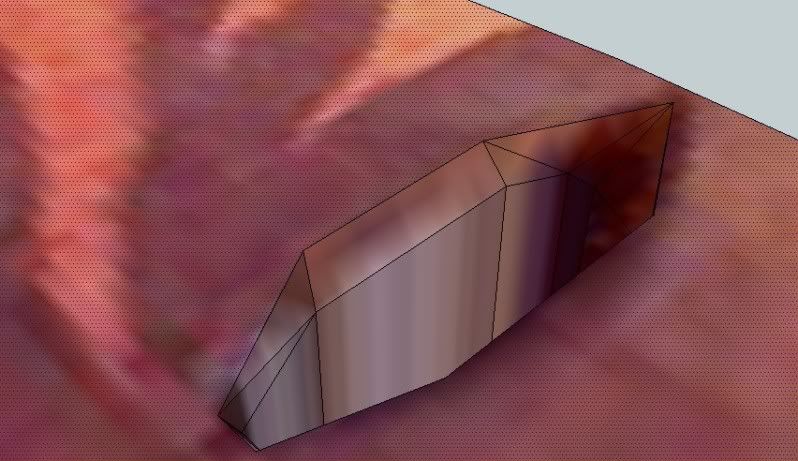
I then move some of the below lines to the upper lines to create some slopes. I did the same thing with the other eye and the mouth.
Step 6. Tracing the nose
Next I traced the nose. (see the image below)
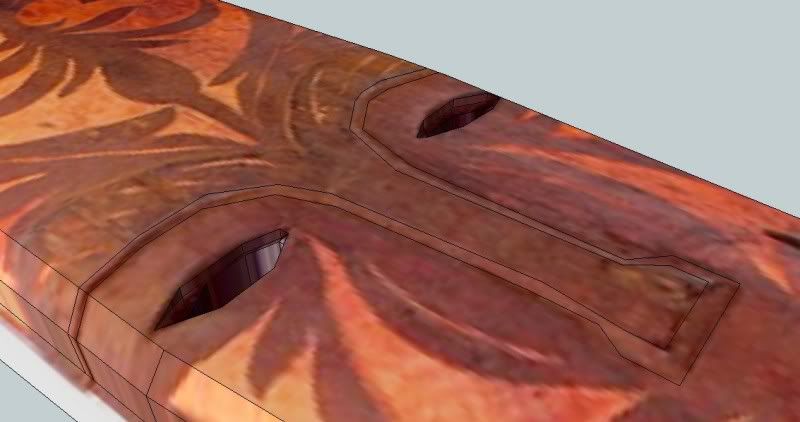
I push again the whole thing up (see image)
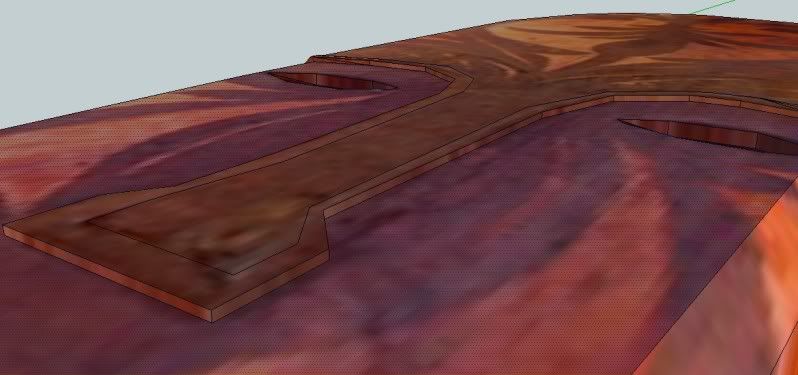
I selected some of the lines (see highlighted lines below)
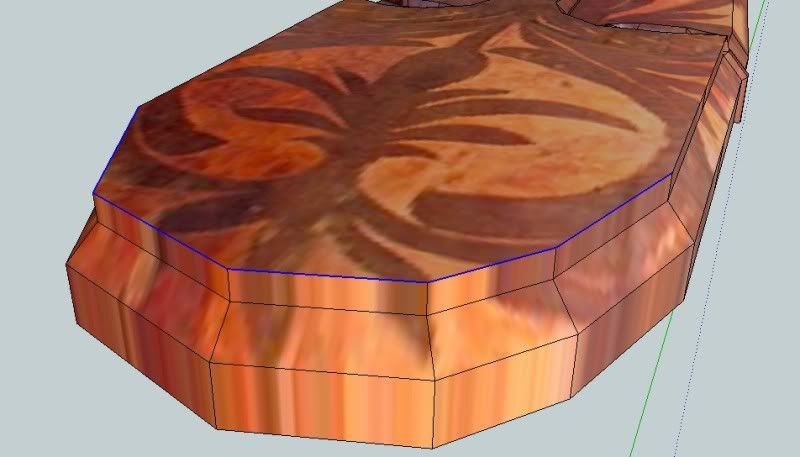
and move them to the below lines.
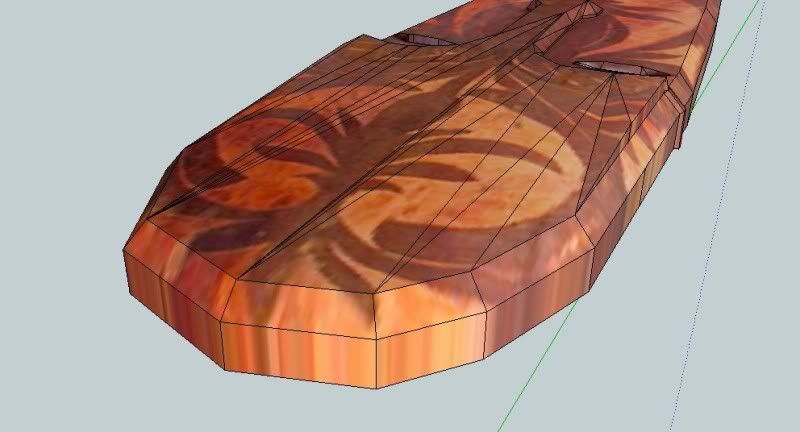
Here is so far the model.
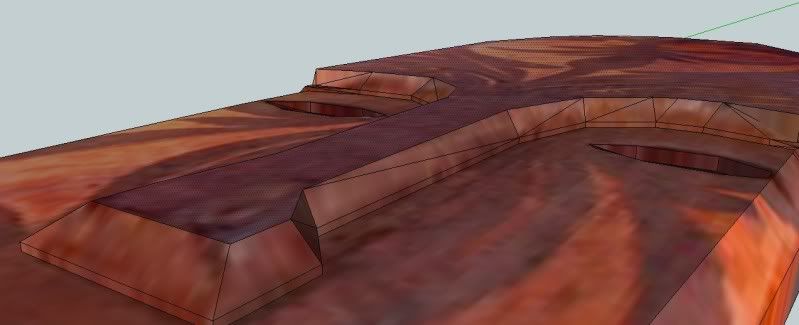
Step 7: Tracing the details.
I traced some of the details and pushed them a bit. now we are ready to subdivide. I would like you to notice the line near the mouth.
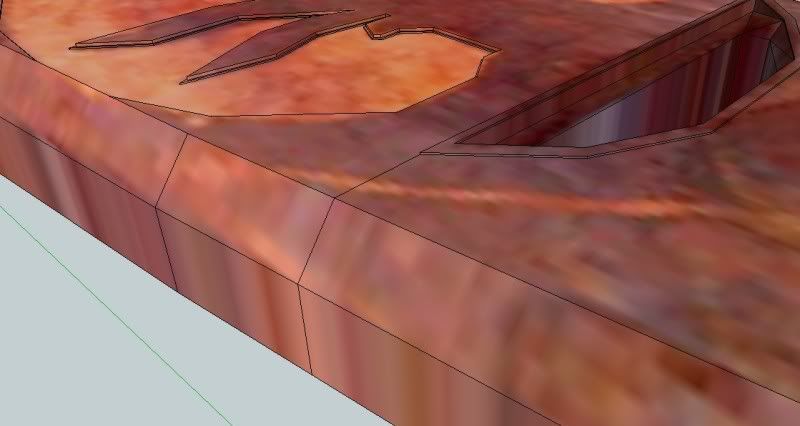
This is the subdivided mesh. Notice the abruptness of the subdivision near the mouth. This because there is big area below the mouth and the distance between the edge of the mouth and side is too small. The lines diverged on that area whilst you can see some abruptness.
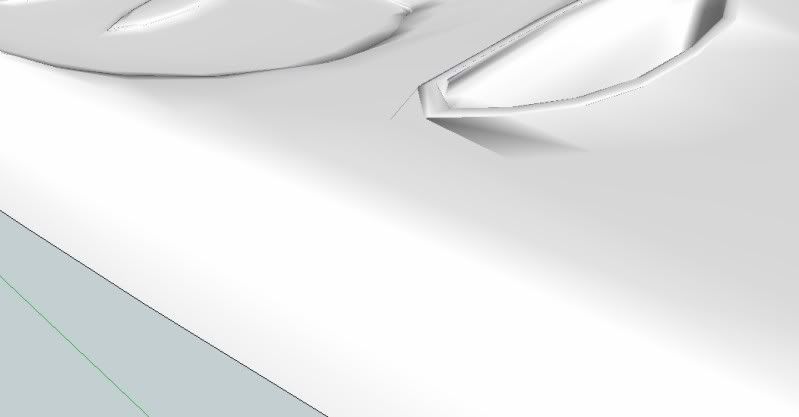
Next I added another line. To separate that area with the rest.
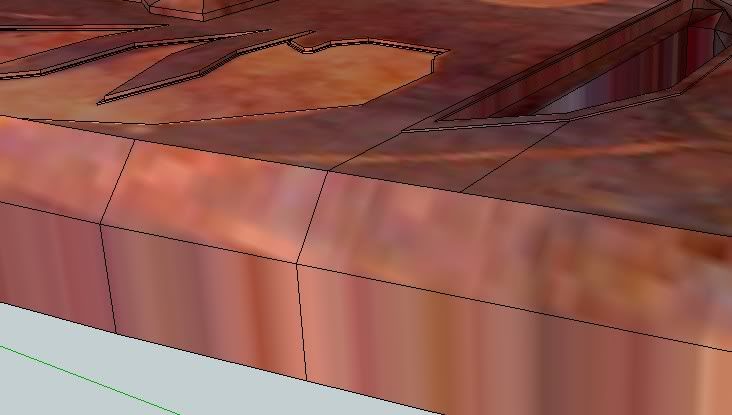
Now the subdivision is smoother.
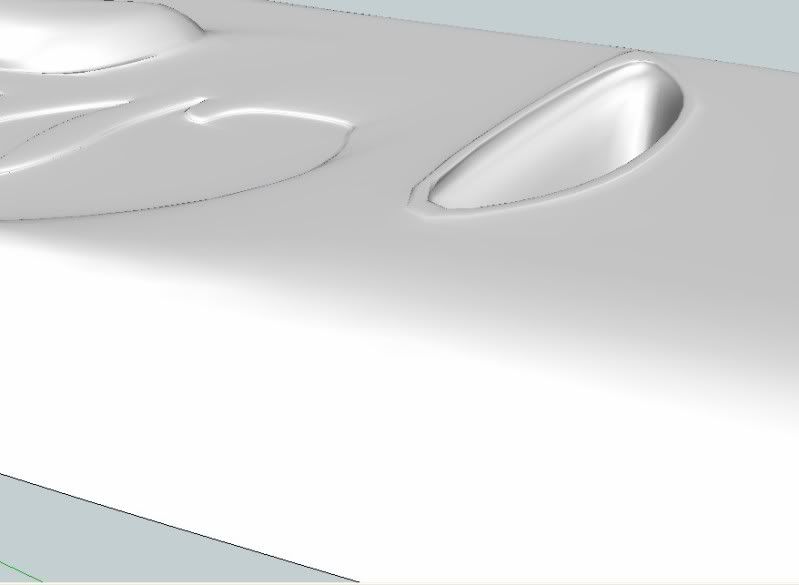
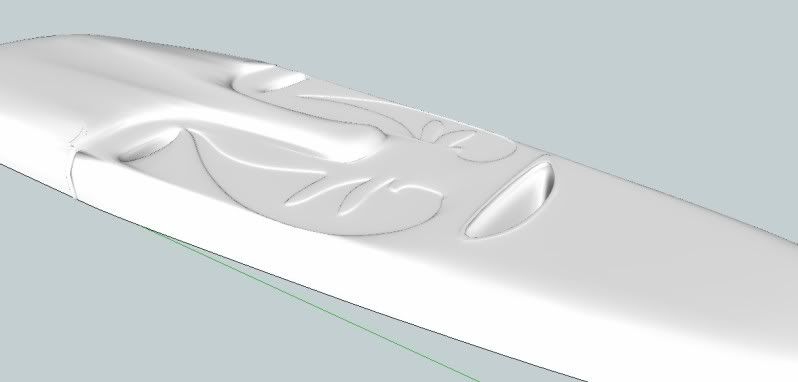
Here is the complete subdivided model
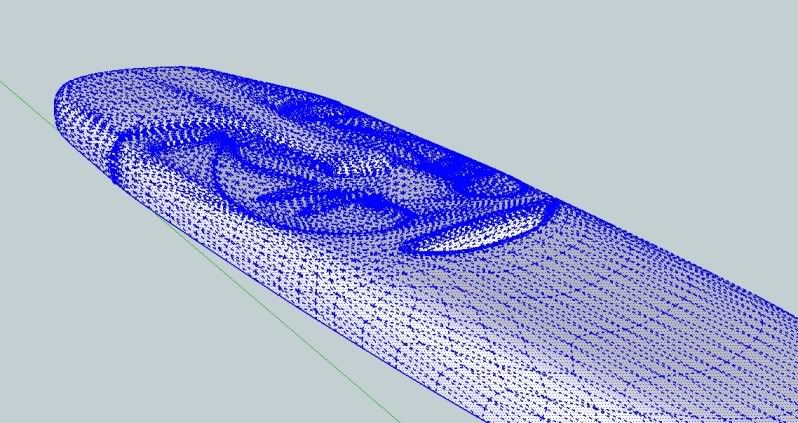
Here is the wireframe
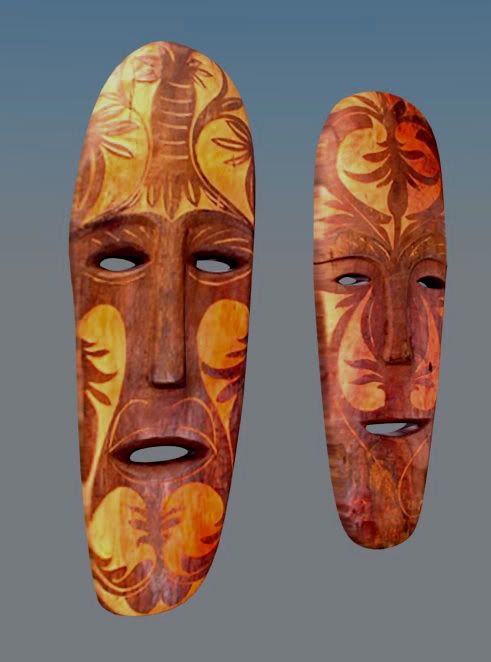
I painted the texture.
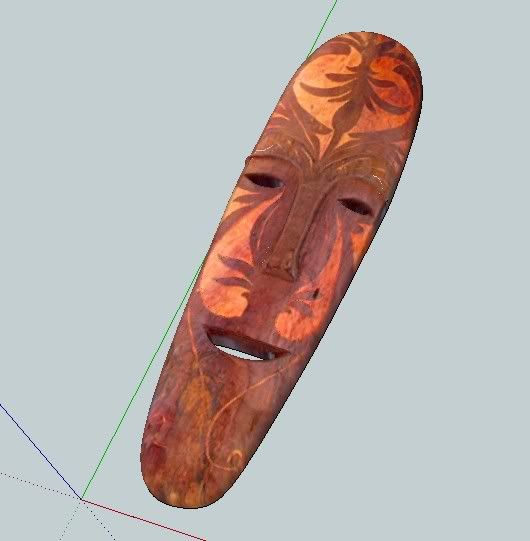
Here is the render.

Thanks a lot!Mr No.
ReplyDeleteCan you give me the picture in the tutorial?
I want to do step by stey so that I understand your tutorial clealy.
Wow.. thanks alot..
ReplyDeletethis is what i looking for..