Introduction
In this tutorial we will see how to set up a simple studio scene; will look at how professional photographers set up their studio lighting; and finally how to simulate these lighting using Vray rectangular and omni lights.
Step 1: Modeling the studio scene.
I will be using this profile for my studio background wall
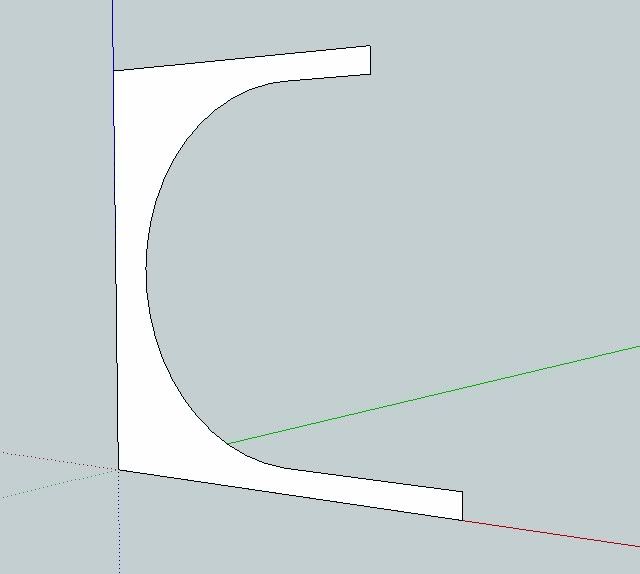 |
| Studio Scene Profile |
Next, I created an arc with 48 sides
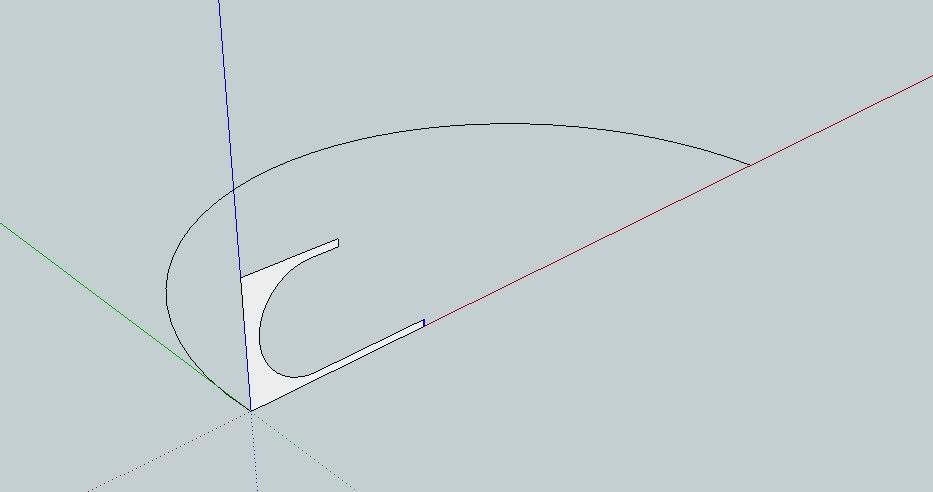 |
| 48 Sides arc drawn |
I used the follow me tool to create this.
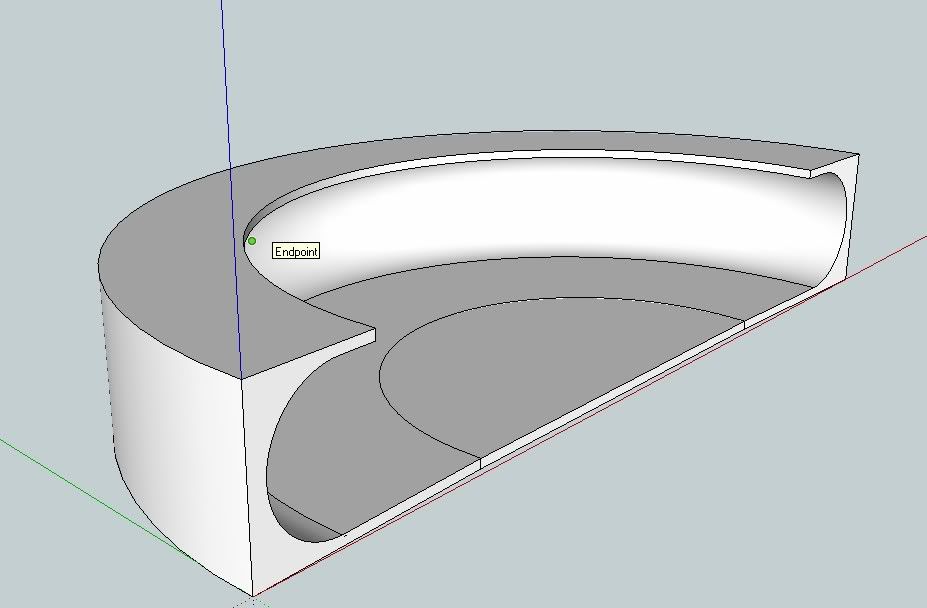 |
| Follow me tool was used |
I used soften edges to smoothen the whole thing.
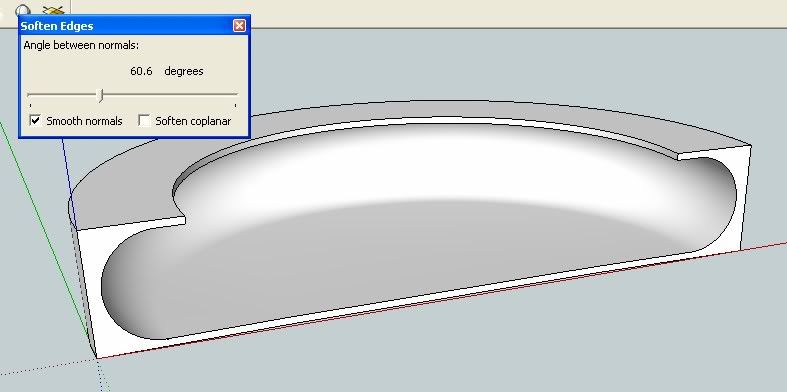 |
| Soften Edges |
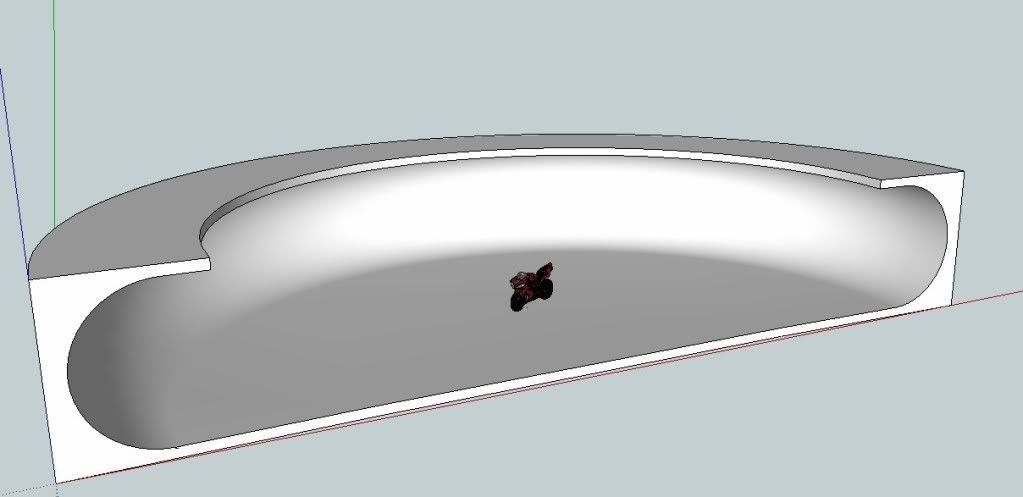
I imported a low resolution model from the 3D Warehouse and placed it in the middle of the scene. The model was further smoothed using "smooth and subdivide script". Download this Motorbike HERE
 |
| Main subject imported and placed in the middle |
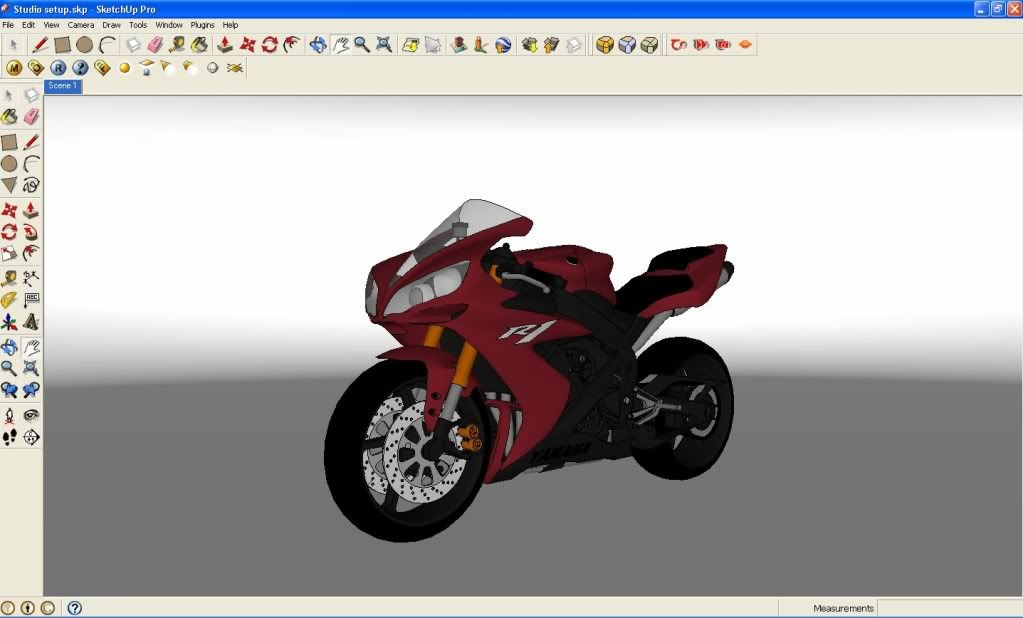
Here is the close up camera view.
Step 2: Studio Lighting
One of the subject I teach in the school is Digital Photography class. In our school we love to play studio lighting. For those of you who want to know more, how professional photographer set-up their studio lighting, here is my number one resource SITE for studio set up. Through this site, I have learned so much about studio lighting.
In this site, they explain clearly about different equipments like soft boxes, nbarn light, diffusers etc. They also focus on the theory of light in general. So if you are an avid photographer, this is a must site to visit.
 |
| Light Theory |
 |
| Using typical soft box |
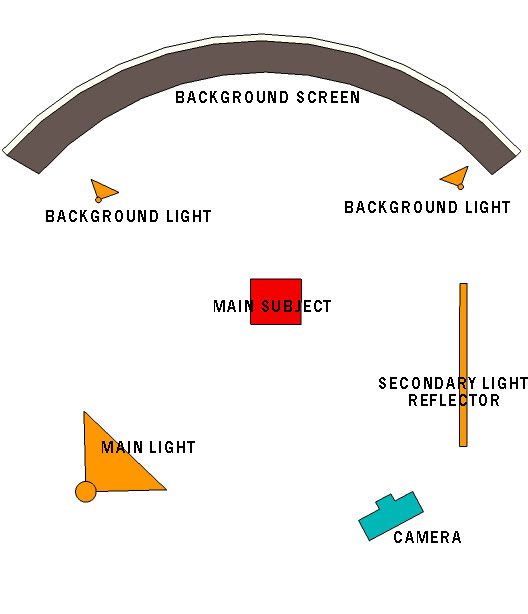
There are different ways to set up studio lights. It depends of what mood and what type of lighting you want to accomplish; ghetto, high key, low key etc. In this particular tutorial, I will be focusing on common "high key lighting set-up.
 |
| Typical High Key lighting set-up |
The image above represents the common high key lighting set-up. The subject is in the middle; two background lights shooting on the white background; the main soft box light in front; and the secondary light reflector on the right.
Of course there are different ways to set up studio lighting, but this thing wont be covered in this tutorial.
 |
| Set up to be used in this tutorial |
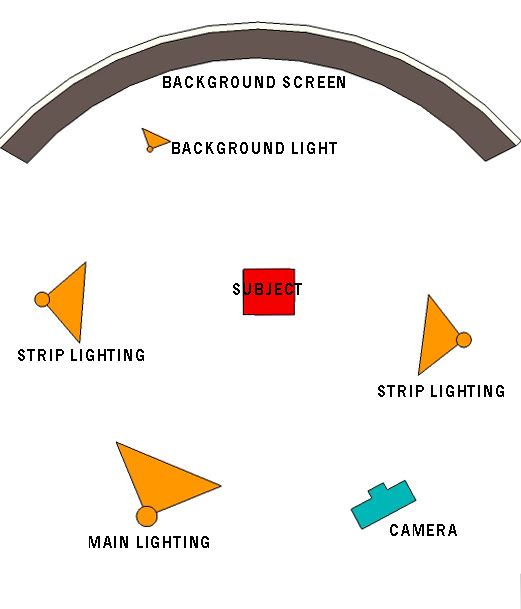
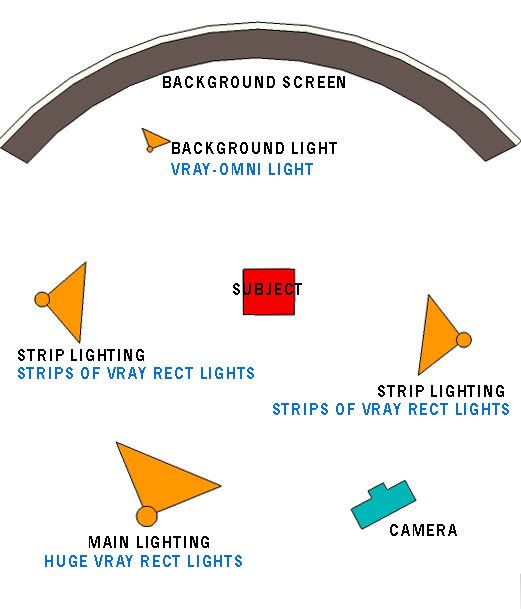
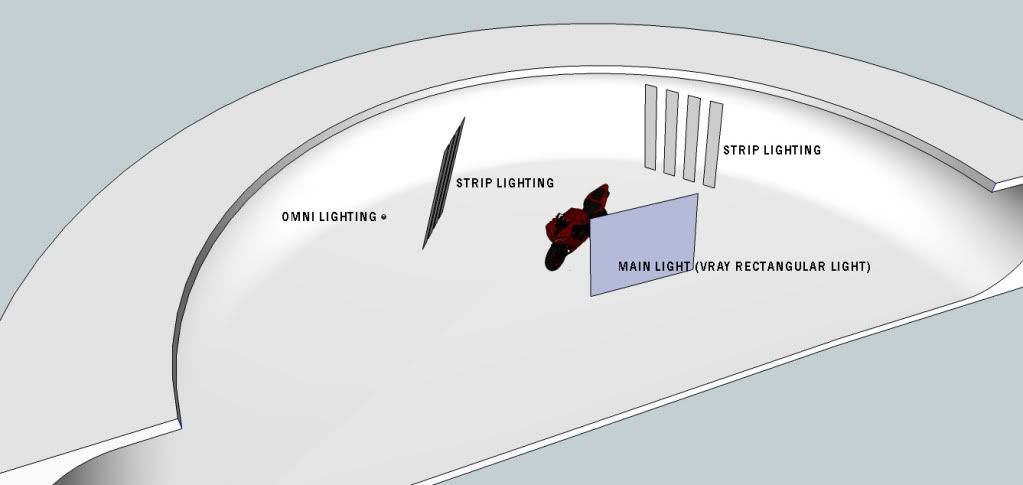
The above layout represents the kind of lighting I want to do in this tutorial while the image below represents these lighting elements with VRAY Lights.
 |
| Lighting set-up represented by Vray Lights |
Note: The bigger the area of the Vray rectangular light the softer the shadow.
 |
| The set-up |
Step 3: Vray Light Settings
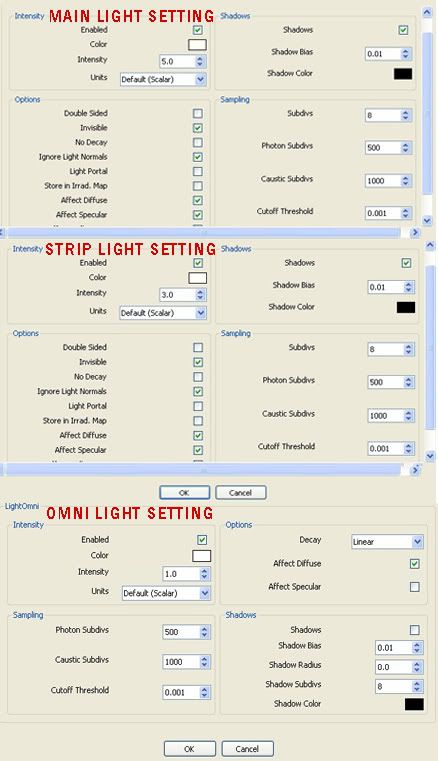
Next is we need to set the parameters of our lighting. I put the main light multiplier @5, secondary strip lights@3 and background omni light @1.
The image above shows my lighting settings.
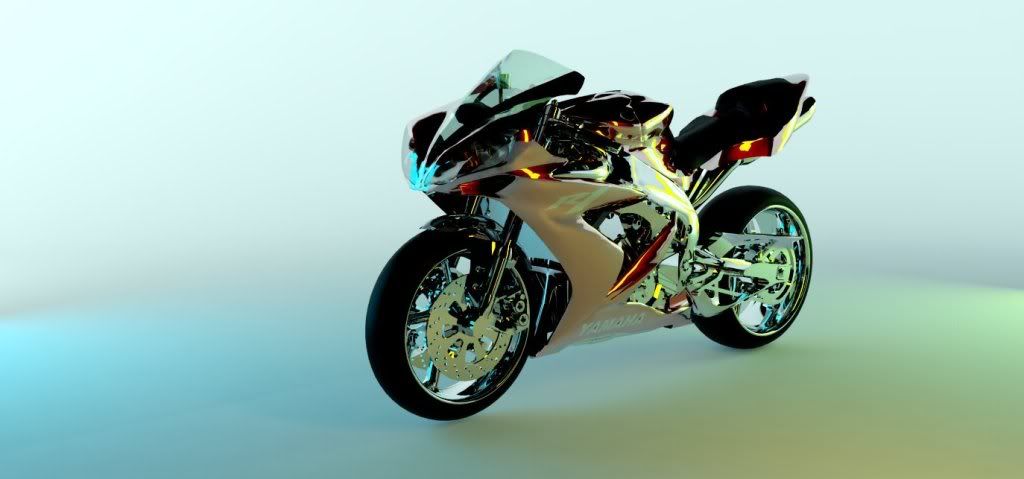
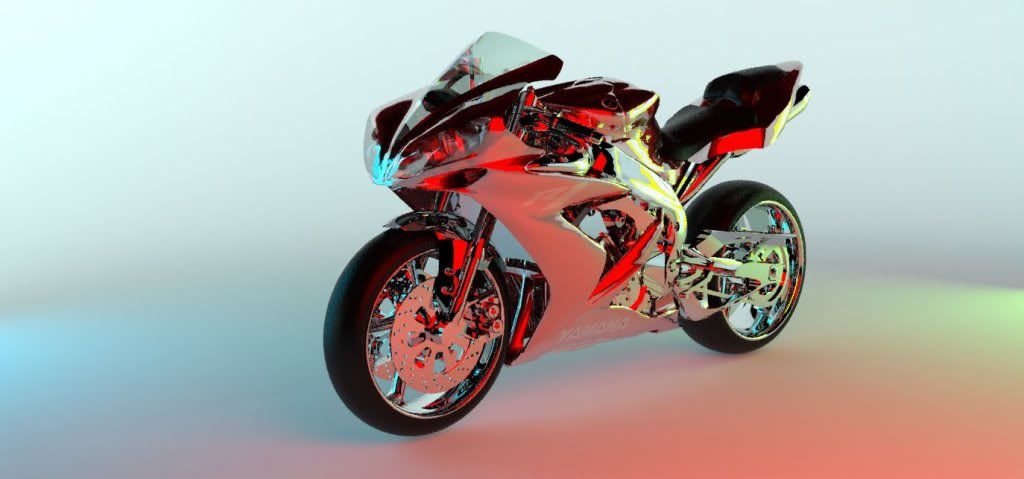
Here are the render images. Below shows a birds eye view on the effects of lighting to the main model.
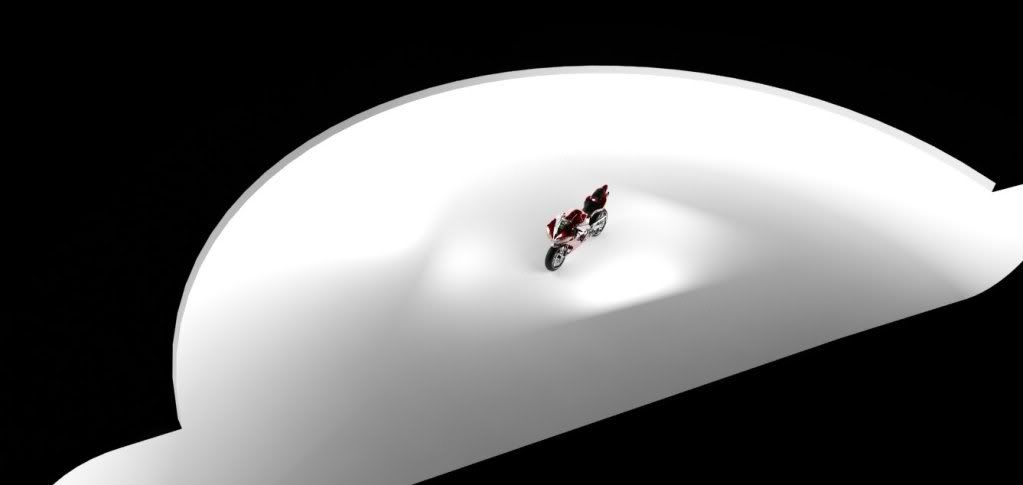
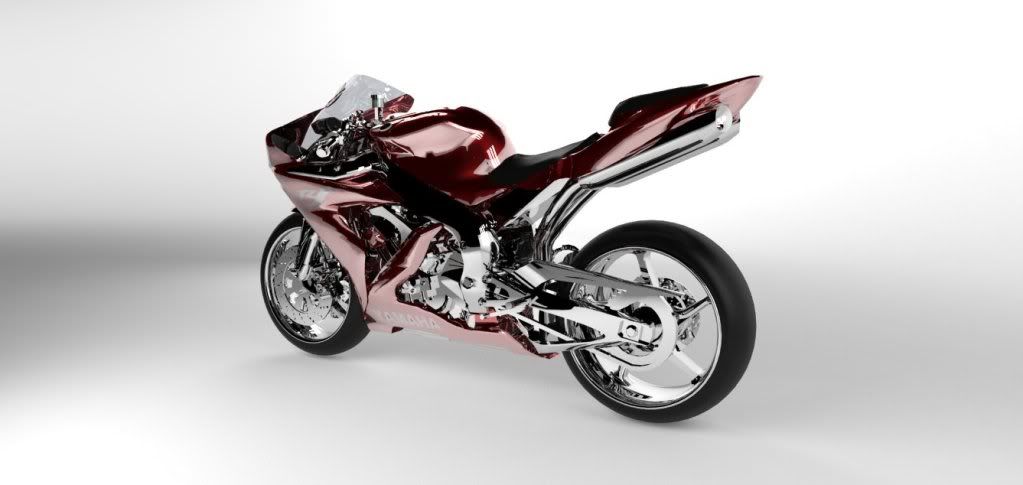
Here is a render with my normal camera view set-up. In the render below the specular effect of strip lighting is very obvious.
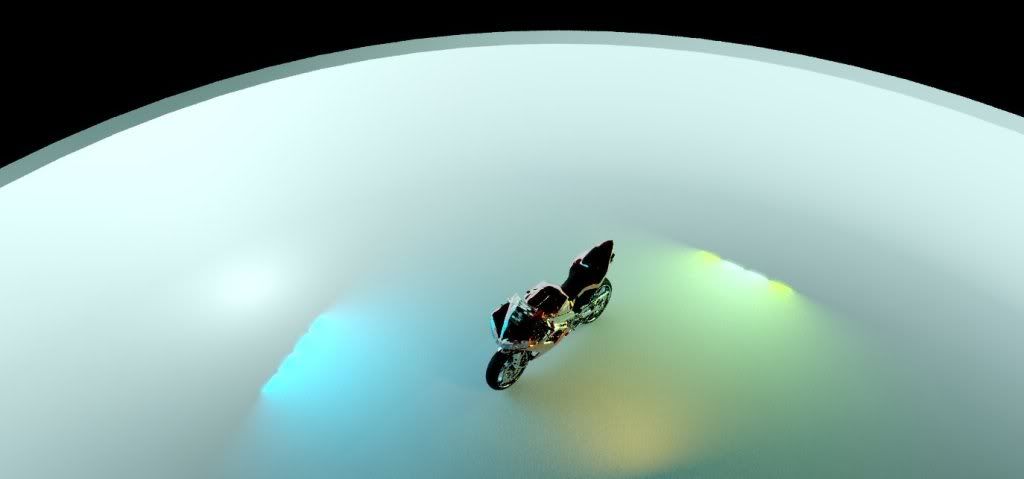
To extend exploring this tutorial, we can also experiment by changing the light colors just light gels that they put in a typical photographic studio lighting.
I hope this tutorial is useful. Second part of this tutorial is coming soon.
Nomeradona

Thank you a lot! that's the way a teacher should be.. master! always useful, outstanding tutorial!
ReplyDeleteGreat Tutorials Master...thanks for share :)
ReplyDeletevery nice tutorial sir nomer...thank's again!
ReplyDeleteWHEN THE SECOND PART????
ReplyDeleteMAGNIFIC!!!
BRAVO
thanks sir! it helped me a lot,, I practiced it and it worked great.
ReplyDeleteGreat Tutorial Sir :) ... but can you explain how to make car / bike lamp glow in night render scene... i already use IES Light and emmisive for the lamp material, but still doesn't work... hopefully you can share the tutorial for this things Sir :)... a lot of thanks once again for your tutorial Sir... Keep rockin' sir
ReplyDeleteok you might be using meter as unit. try to use centimeter or inches. units has some effects with lights.
ReplyDelete