
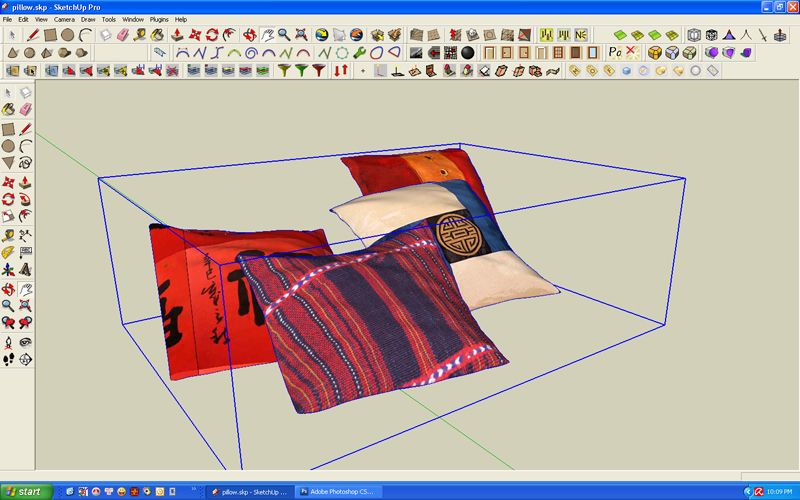
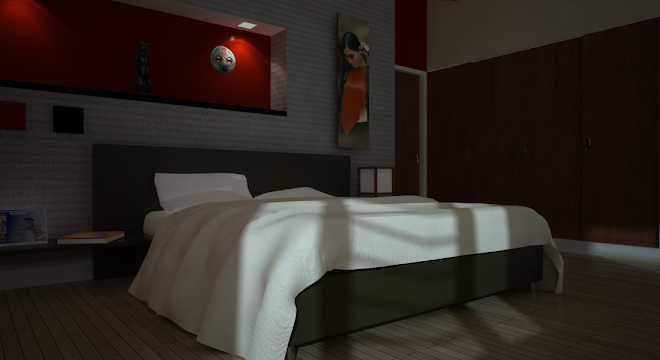
Here is the image that we will do.
1. Here is the original SketchUp scene. I used the texture from form fonts for these pillows.

In SketchUp, I selected by texture and then group the components with the same materials, whic means in 3Dmax, all with the same materials will be inb one group.
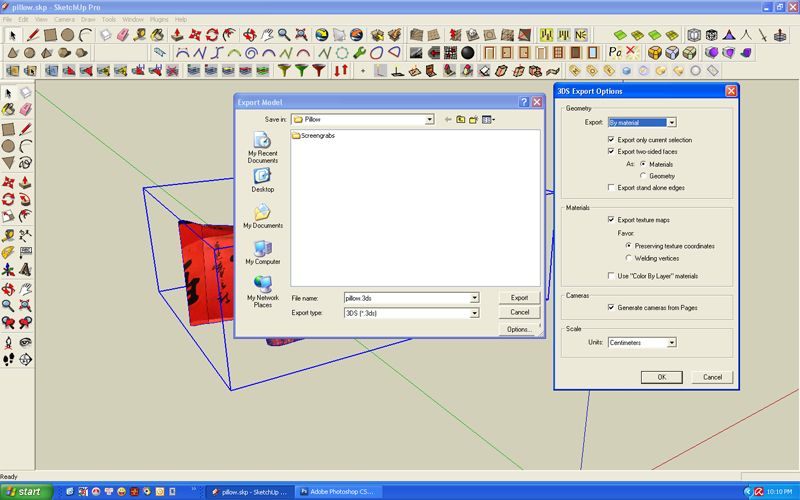
2. Export to 3ds file. Below is a screen grab that shows the settings how I exported my files.
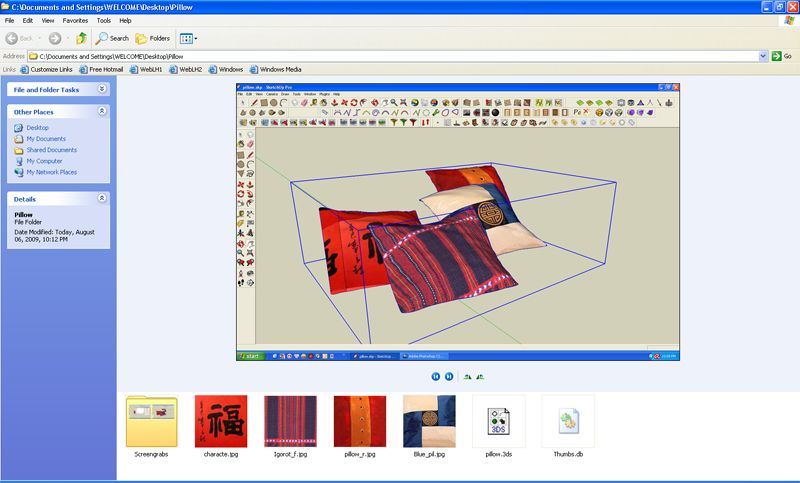
3. Be sure to create one separate folder for this exported files. As you can see on the image below all the materials that I used were placed on one folder.
4. Now open 3DMax and import the 3ds file.
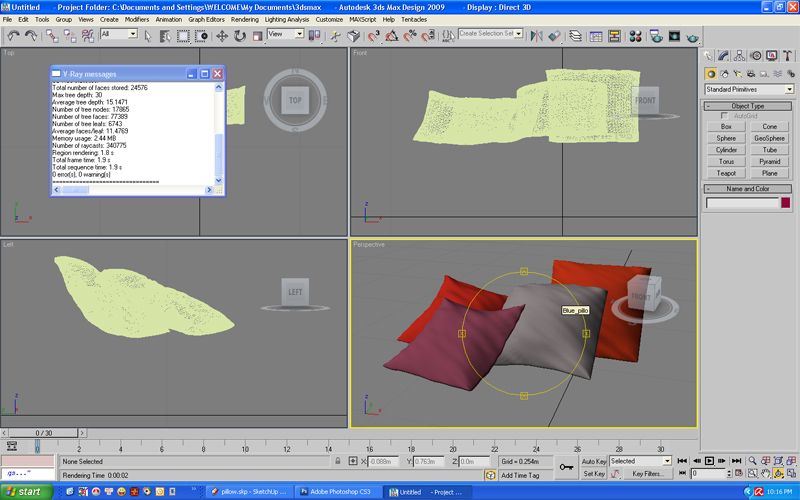
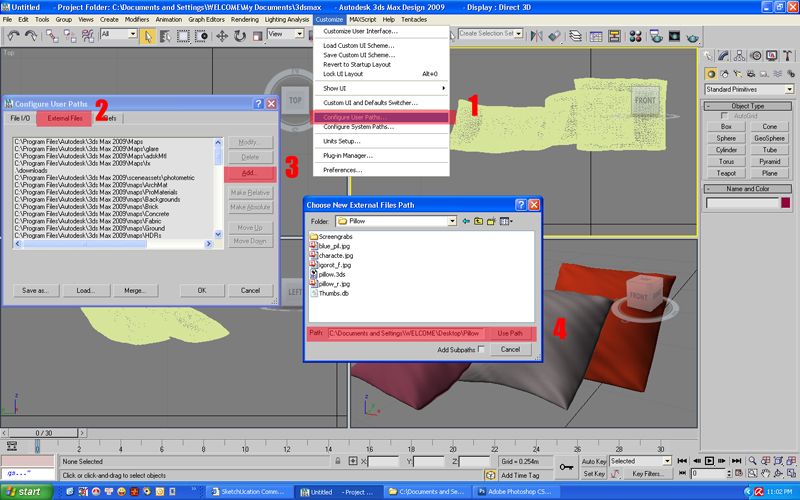
5. Configure Paths. Link the folder where your textures are, this way 3DMax can link them.
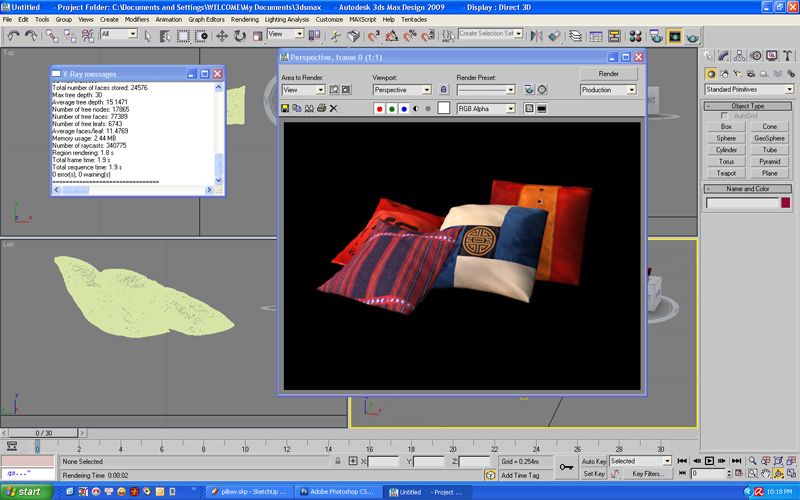
6. Once you linked the texture path, try to render the scene. You will see the textures are applied like in SketchUp.
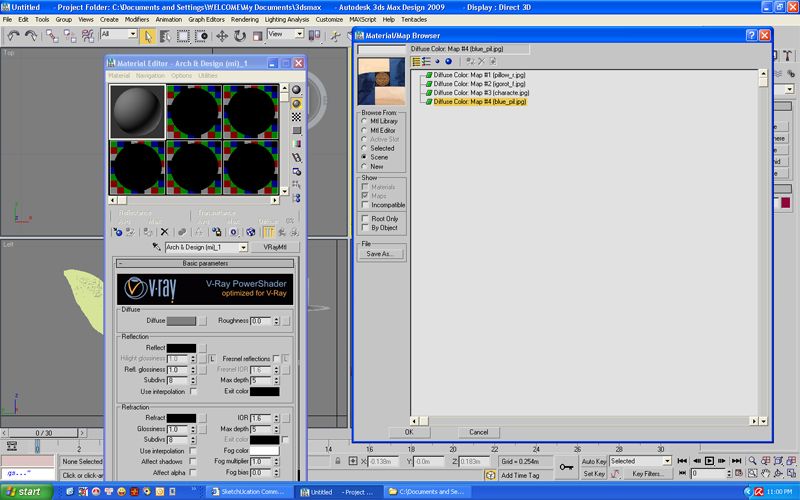
I dont want to stop there. I want to create vray materials and tweak further the Vray materials parameters.
7. Using the eyedropper, click the material you want to convert into vray material. Onced clicked, create new vray material and on the diffuse slot box load your texture which are located on the material/map browser.
Alternatively you can automate the process by downloading the script to max plugins. http://www.scriptspot.com/3ds-max/vraymtlconverter-v2-5
No comments:
Post a Comment