The Arc Tool
Let me start with Arc tool. The default side for arc tool is 12 sides.

The faceted sides are very obvious when you draw the arc.
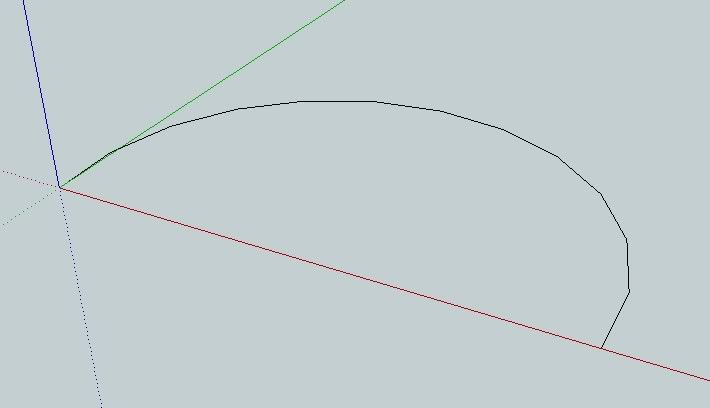
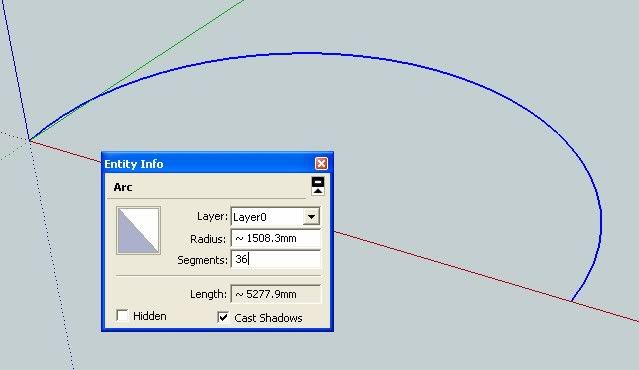
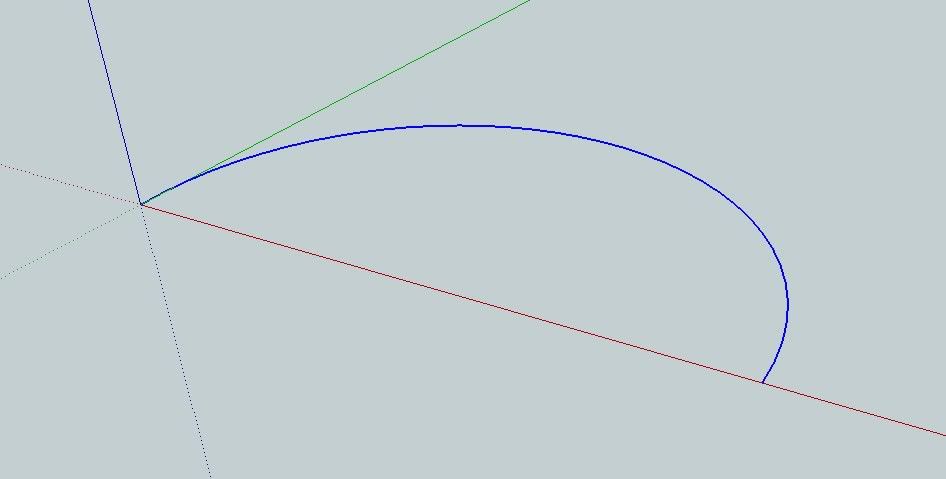
But using entity info, (window/entity info) or using Shift+I in the keyboard you can change easily the number of sides. Below, I click the arc and change it to 36 sides. You will see the arc is much smoother.
Or if you don't want this way, you can specify the number of sides in the measurement box before drawing the arc. Click the arc tool and enter the number of sides, say 36, then enter. This time the number 12 (the default) changed into 36. When you draw the arc it will have 36 sides.

The Circle Tool
For the circle basically the same principle will be applied. Circles had default sides of 24.
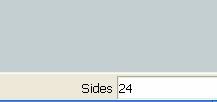
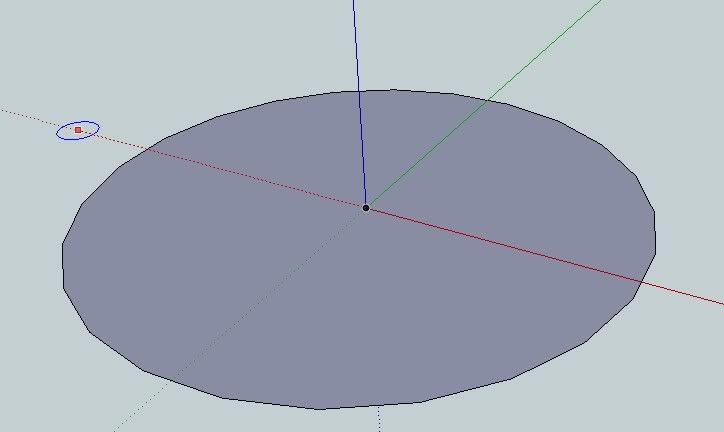
Now follow the same procedure with the arc to create a smoother circles.
How Arcs and Circles render in Vray SketchUp
Here is a simple scenes that shows 4 cylinders. The cylinder from left to right have the following number of sides; 12, 24, 48 and 100 respectively.
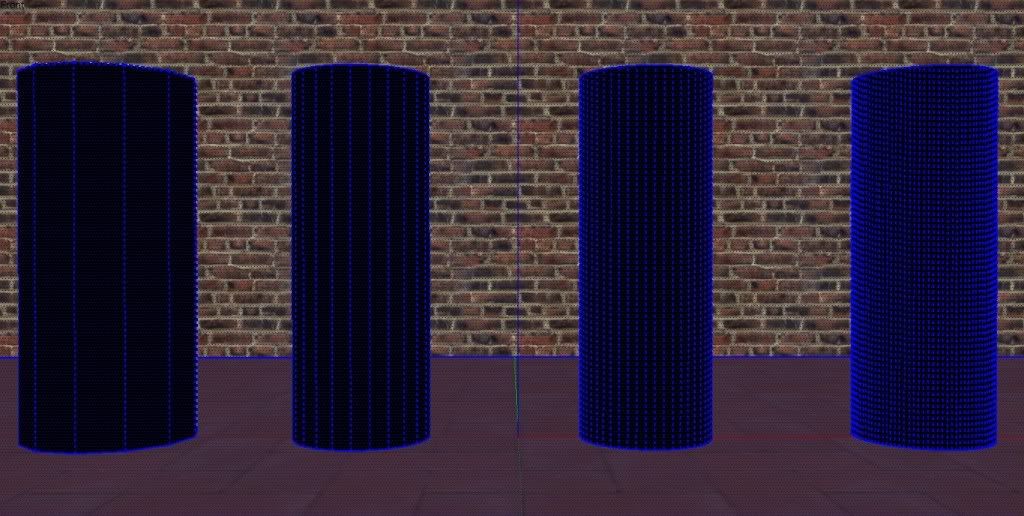
Here is the rendered image.
We could only notice a big difference between the first cylinder and the other cylinders.(soften edges 20degrees)
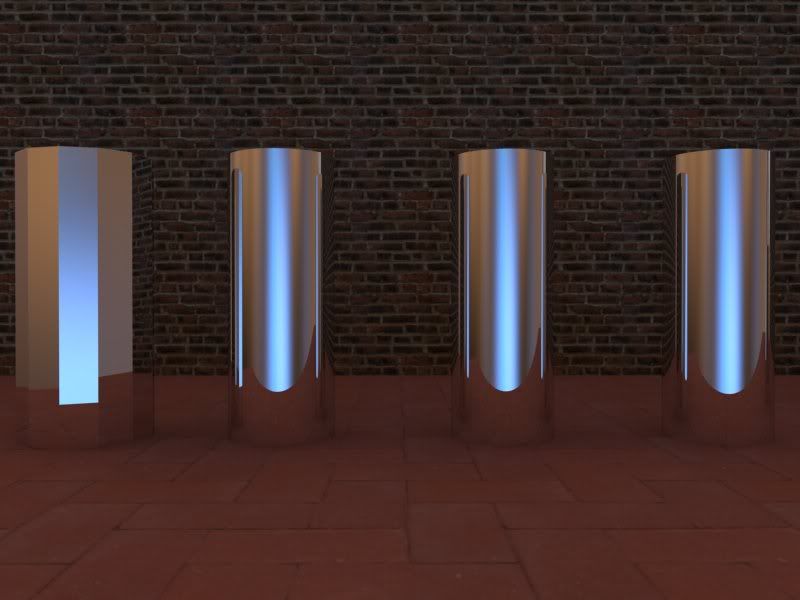
The above rendered image. Soften edges is 20.0 degrees
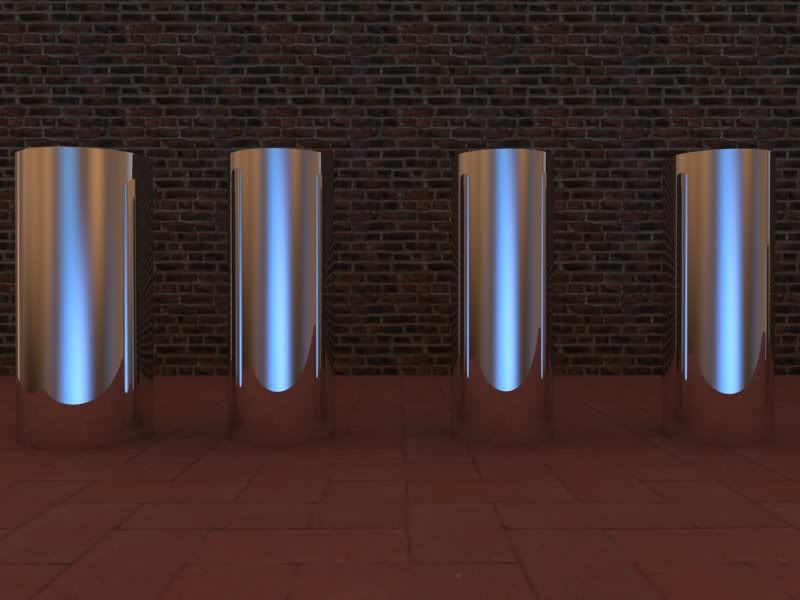
Let us change the soften edges to 60 degrees. You can do this by selecting the cylinders and then access soften edges by going to Window drop down menu.
Note: I suggest do not go beyond 100 degrees.
Once the soften edges had been increased to 60 degrees, the render below shows that there is not much differnce between 12, 24, 36 and 100 sides.
Faceted Arcs
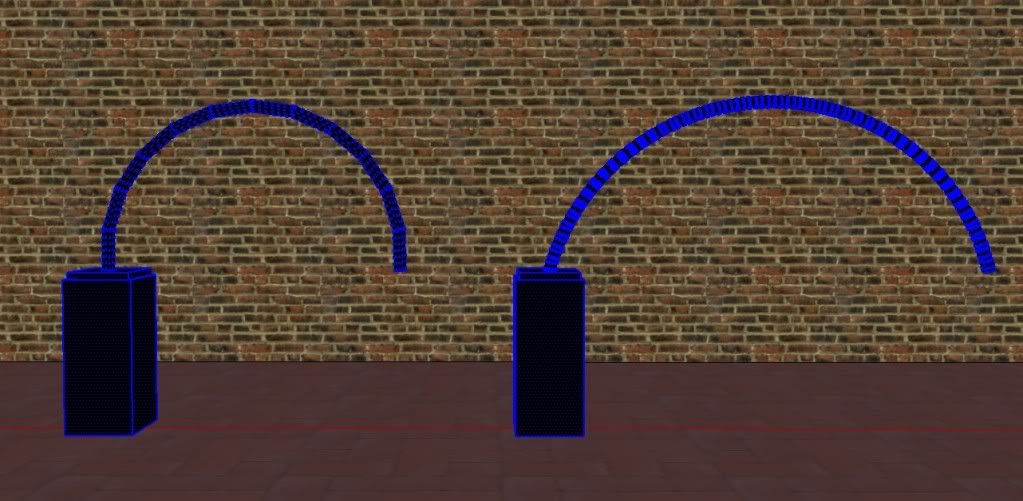
How about those faceted Arcs? Below shows the wireframe of the model. Arc in the first model is 12sides arc, tube 24 sides. Second model has an arc and circles with 48 sides.
Here is the render.
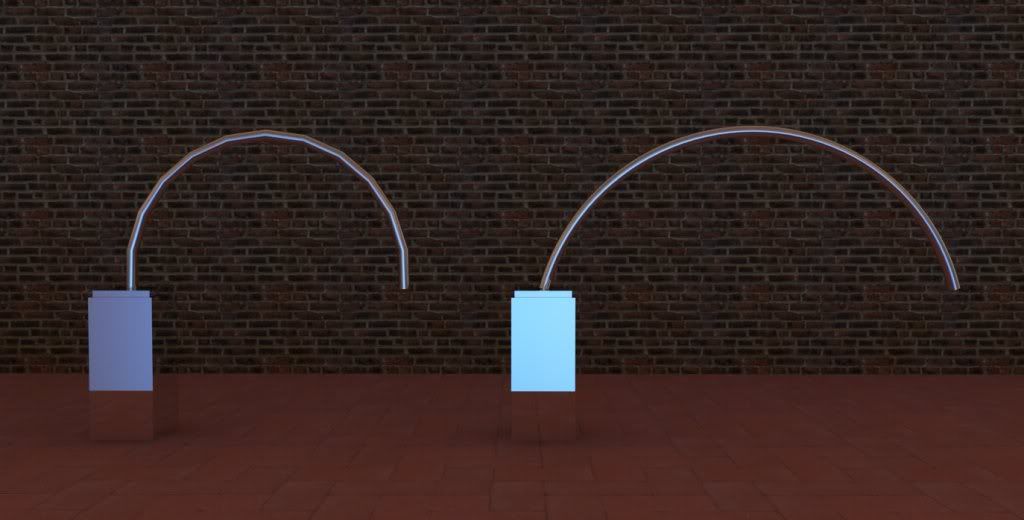
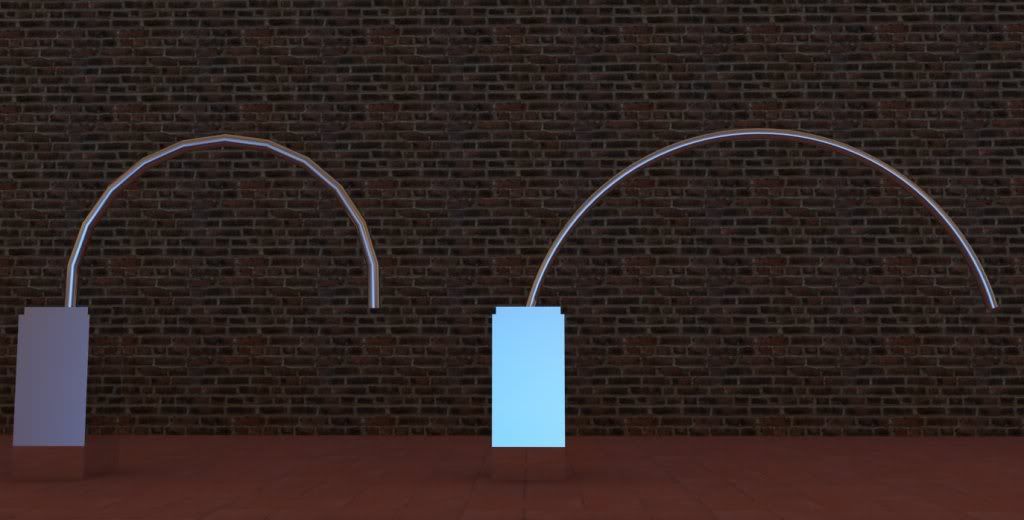
Here is another render. Here I am proposing a solution. By increasing the obvious arc into 48 edges, but making the diameter of the pipe with lesser sides (12) and using soften edges tool (60 degrees atleast), you can have a smooth looking cylinders. Both of the models below have 12 sides circles, but the difference is the arc. The arc for the left model is 12 sides while the arc for the right model is 48.
Cheers! Hope the tutorial is helpful.
Nomeradona


thank you sir,it helped alot
ReplyDeletehi would u please tell about the material of them.
ReplyDeletejust a chrome material of vraysu
ReplyDelete